
Hi and welcome to another tutorial from Codingdemos. Today you will learn how to send email from within your app using Android email intent. Let’s start coding 🙂
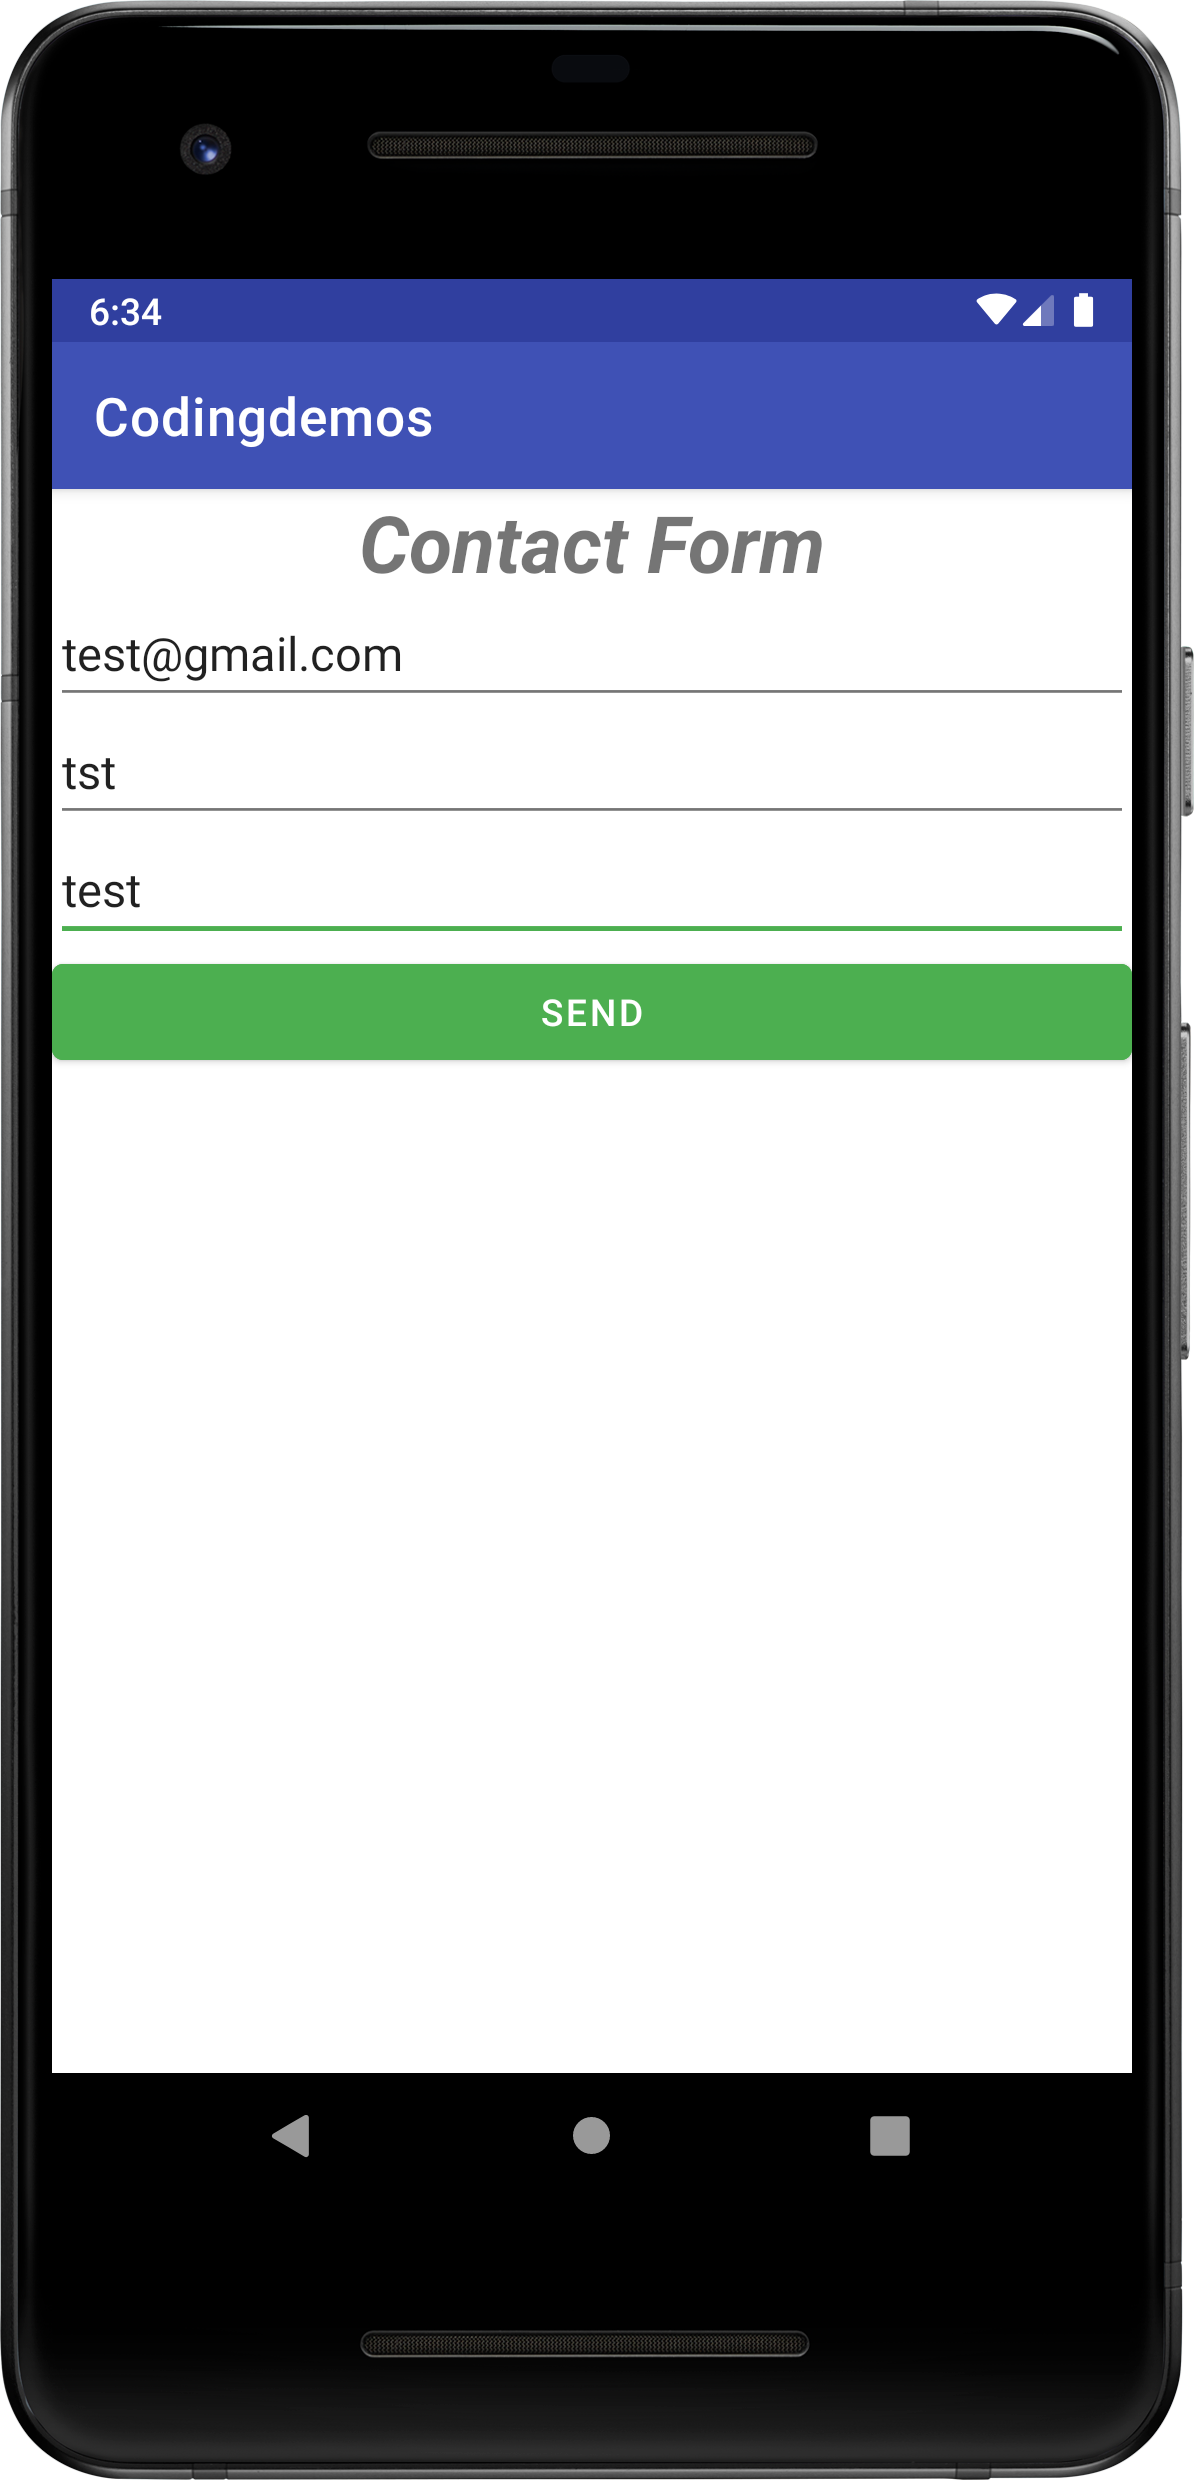
By the end of this tutorial, you will have an app that looks like this. (Large preview)
In this tutorial we will be using the following:
Android Studio version 4.1.2
Minimum SDK API 23
1- Open Android Studio.
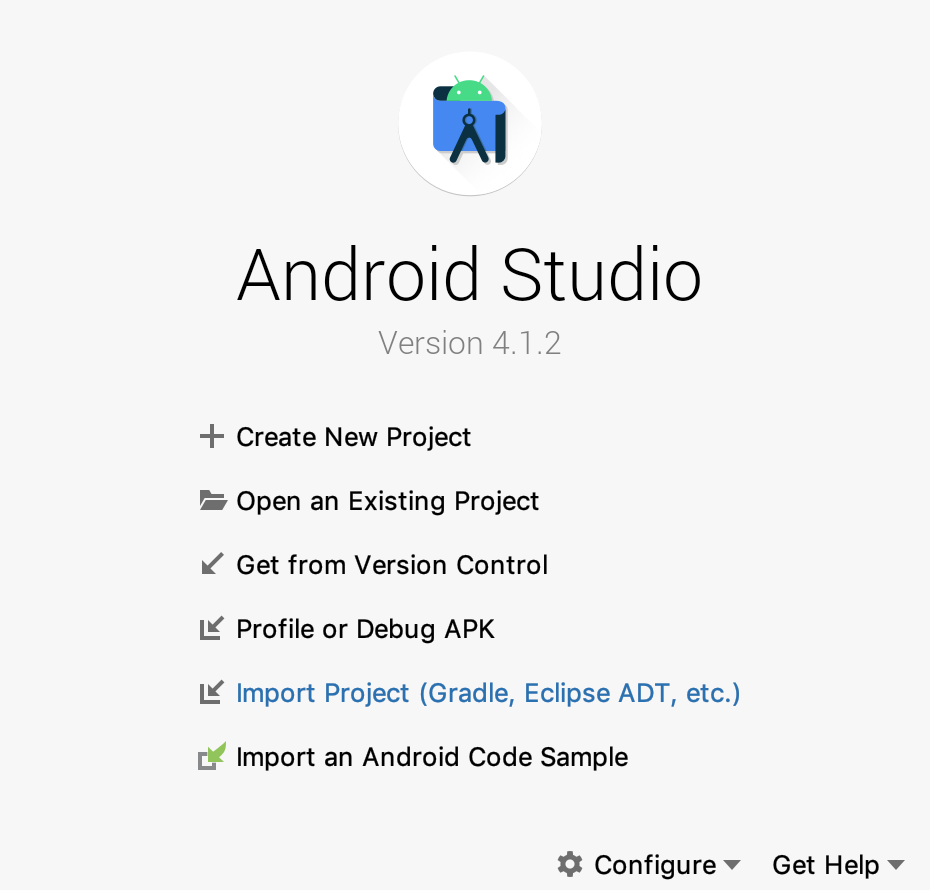
Android studio 4.1.2 welcome screen. (Large preview)
2- Open activity_main.xml file, and will create a simple contact form that will have 3 types of views: TextView, EditText and Button.
3- First will add a TextView that will hold the title of the form.
< TextView
    android:id="@+id/textView"
    android:layout_width="wrap_content"
    android:layout_height="wrap_content"
    android:text="Contact Form"/>
4- Let’s do a bit of customization to the TextView by changing the text size, the position on the screen and the text style.
< TextView
    android:id="@+id/textView"
    android:layout_width="wrap_content"
    android:layout_height="wrap_content"
    android:layout_gravity="center"
    android:text="Contact Form"
    android:textSize="30sp"
    android:textStyle="bold|italic" />
5- Next, will add 3 EditText to the form. Those EditText will be used by the user to input the email, subject, and email body.
< EditText
    android:id="@+id/etTo"
    android:layout_width="match_parent"
    android:layout_height="wrap_content"
    android:ems="10"
    android:hint="Email"
    android:inputType="textEmailAddress" />

< EditText
    android:id="@+id/etSubject"
    android:layout_width="match_parent"
    android:layout_height="wrap_content"
    android:ems="10"
    android:hint="Subject"
    android:inputType="textEmailSubject" />

< EditText
    android:id="@+id/etBody"
    android:layout_width="match_parent"
    android:layout_height="wrap_content"
    android:ems="10"
    android:hint="Body"
    android:inputType="text" />
6- Now will add the final view which is the Button.
< Button
    android:id="@+id/btnSend"
    android:layout_width="match_parent"
    android:layout_height="wrap_content"
    android:text="Send" />
Let’s change the Button’s background color from Blue to Green using android:backgroundTint=”@color/colorAccent”. The final code for the Button will be as follows:
< Button
    android:id="@+id/btnSend"
    android:layout_width="match_parent"
    android:layout_height="wrap_content"
    android:backgroundTint="@color/colorAccent"
    android:text="Send" />
7- Now build and run the app to see the output.
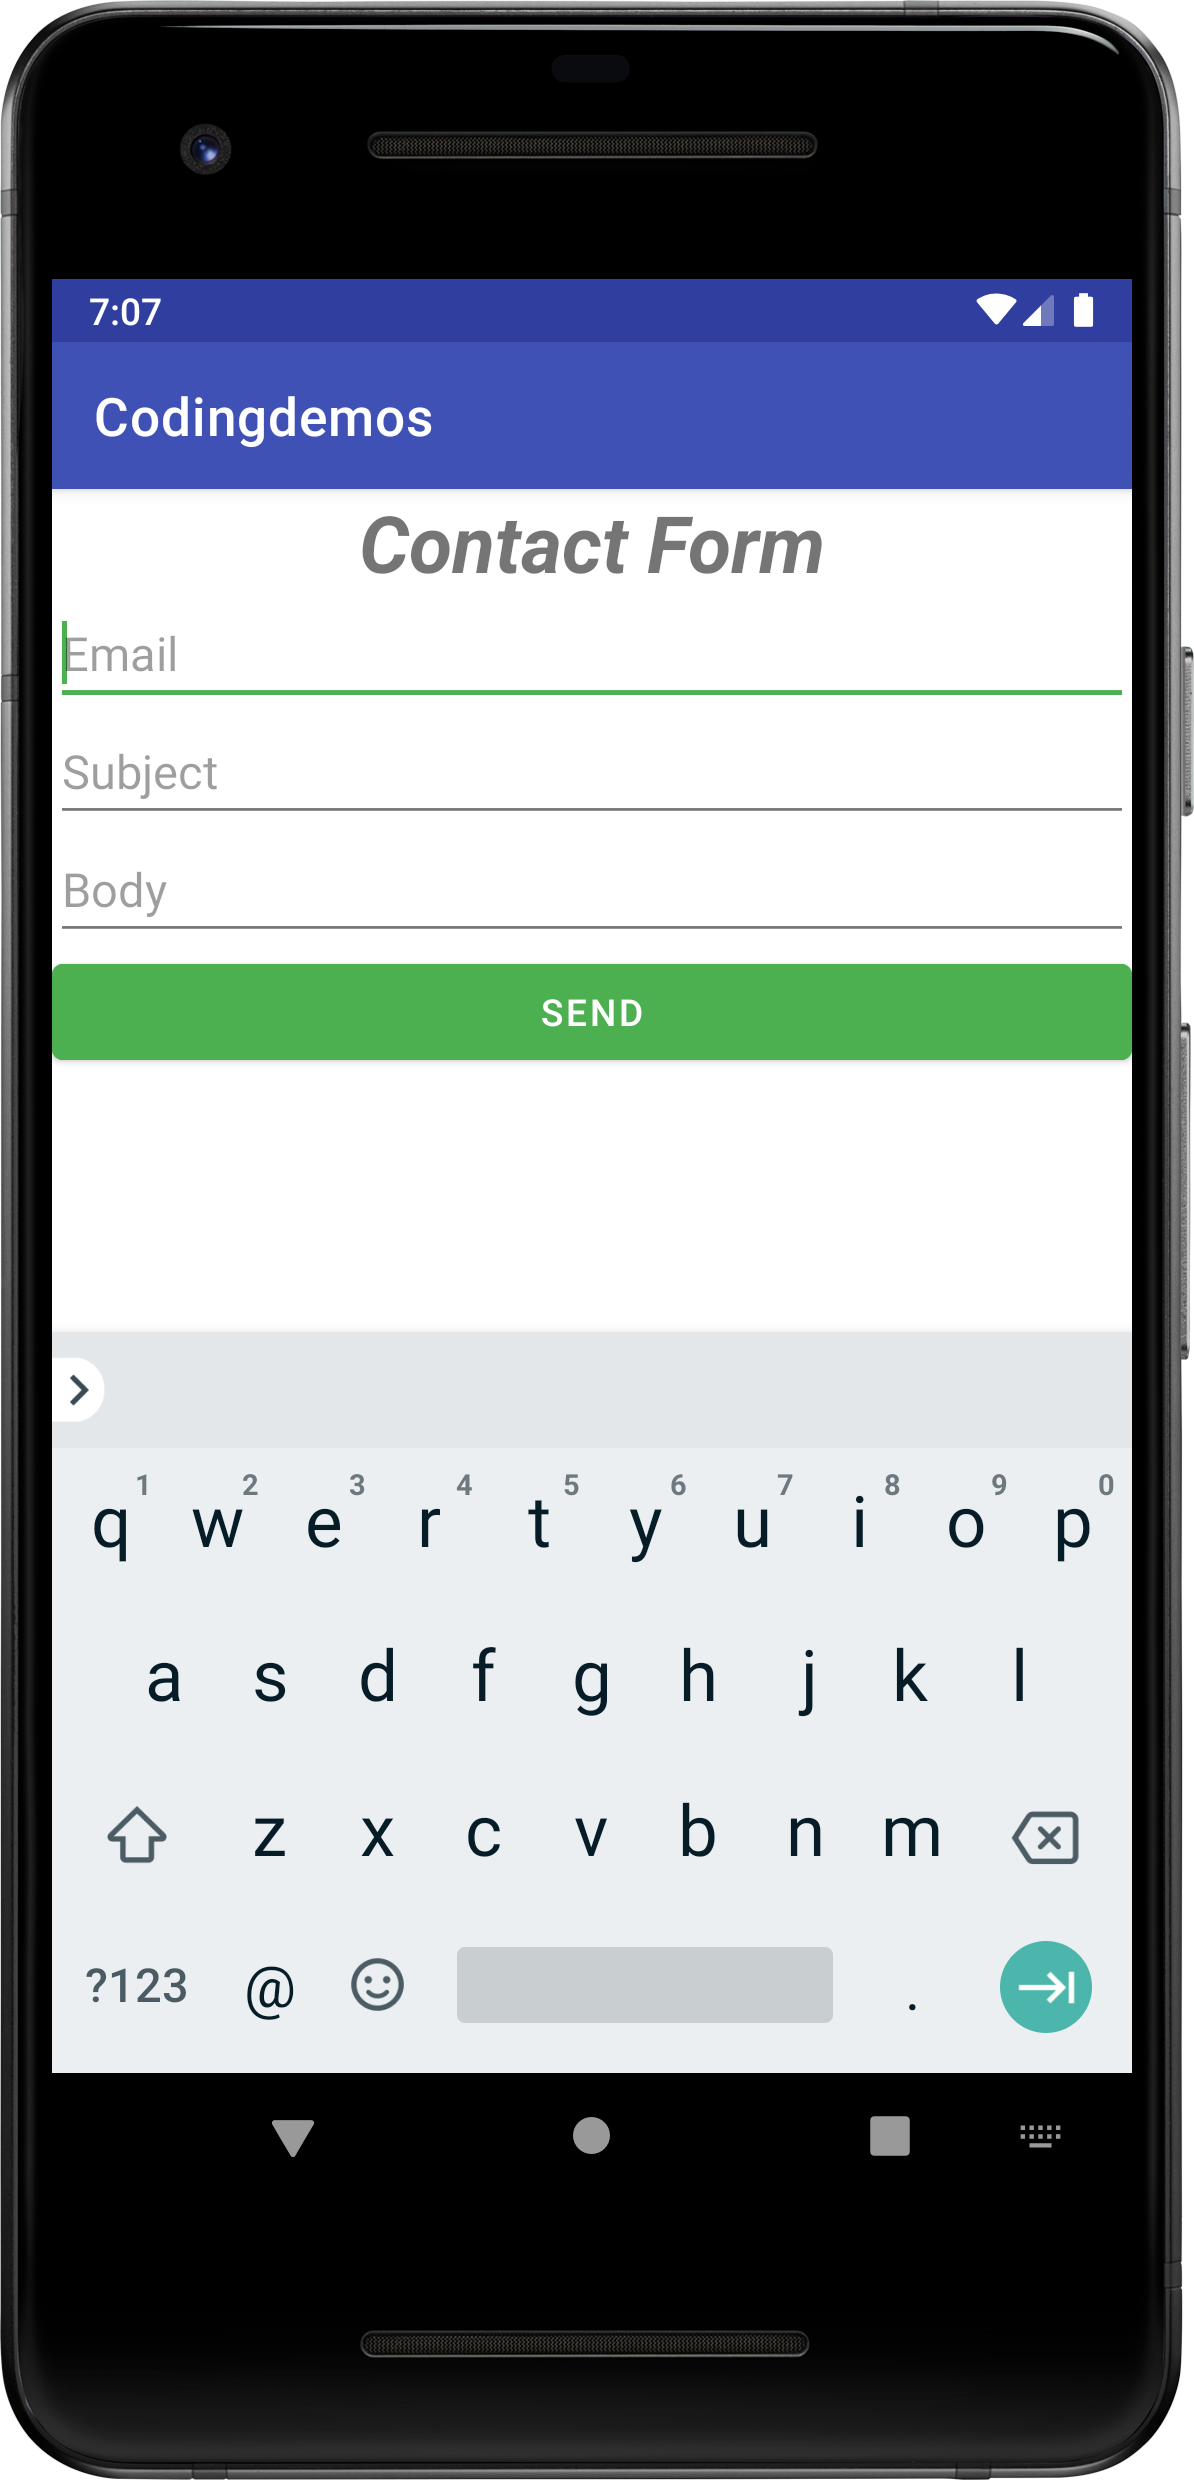
Android email contact form. (Large preview)
8- Open MainActivity.java file and will declare and reference those Android views from the Activity_main.xml.
EditText email = findViewById(R.id.etTo);
EditText subject = findViewById(R.id.etSubject);
EditText body = findViewById(R.id.etBody);
Button buttonSend = findViewById(R.id.btnSend);
9- Let’s make the Button clickable by using setOnClickListener.
buttonSend.setOnClickListener(new View.OnClickListener() {
      @Override
      public void onClick(View v) {
      }
});
10- Will add the Android intent email code inside the button onClickListener method. Before we do that, we need to perform a quick check to ensure the form fields are not empty. We will show a simple message when some or all of the fields are empty.
if (!email.getText().toString().isEmpty() && !subject.getText().toString().isEmpty()
            && !body.getText().toString().isEmpty()) {

} else {
          Toast.makeText(MainActivity.this, "Please fill all the fields",
              Toast.LENGTH_SHORT).show();
}
});
11- Let’s work on setting up the Android email intent by first specifying the type of action that we need to do.
Intent intent = new Intent(Intent.ACTION_SENDTO);
12- Now we will specify the type of fields that we plan to include with the email intent. Let’s start first with the email To field.
intent.putExtra(Intent.EXTRA_EMAIL, new String[]{email.getText().toString()});
You will need to use String Array for the email field so that you will be able to pass the text input to the email application. Otherwise, the email field in the email application will be blank.
Android email intent with empty email field. (Large preview)
13- Next, will add the email subject field. This field will take the user input from the subject’s EditText.
intent.putExtra(Intent.EXTRA_SUBJECT, subject.getText().toString());
14- Now will add the email message field. The input of this field will be taken from the message’s EditText.
intent.putExtra(Intent.EXTRA_TEXT, body.getText().toString());
15- We are done with initializing the email intent with the required inputs, now we will need to set the intent data type. This is important in order to filter out the non-email type of applications.
intent.setData(Uri.parse("mailto:"));
Note: Failing to set the Android intent data type will result in the following crash error: android.content.ActivityNotFoundException: No Activity found to handle Intent { act=android.intent.action.SENDTO (has extras) }
16- Next we will need to perform a check to ensure that there is an application that can handle the type of email intent action. Otherwise, will show a simple message to the user’s screen. You can implement this type of check using intent.resolveActivity
if (intent.resolveActivity(getPackageManager()) != null) {
            startActivity(intent);
          } else {
            Toast.makeText(MainActivity.this, "There is no application that support this action",
                Toast.LENGTH_SHORT).show();
          }
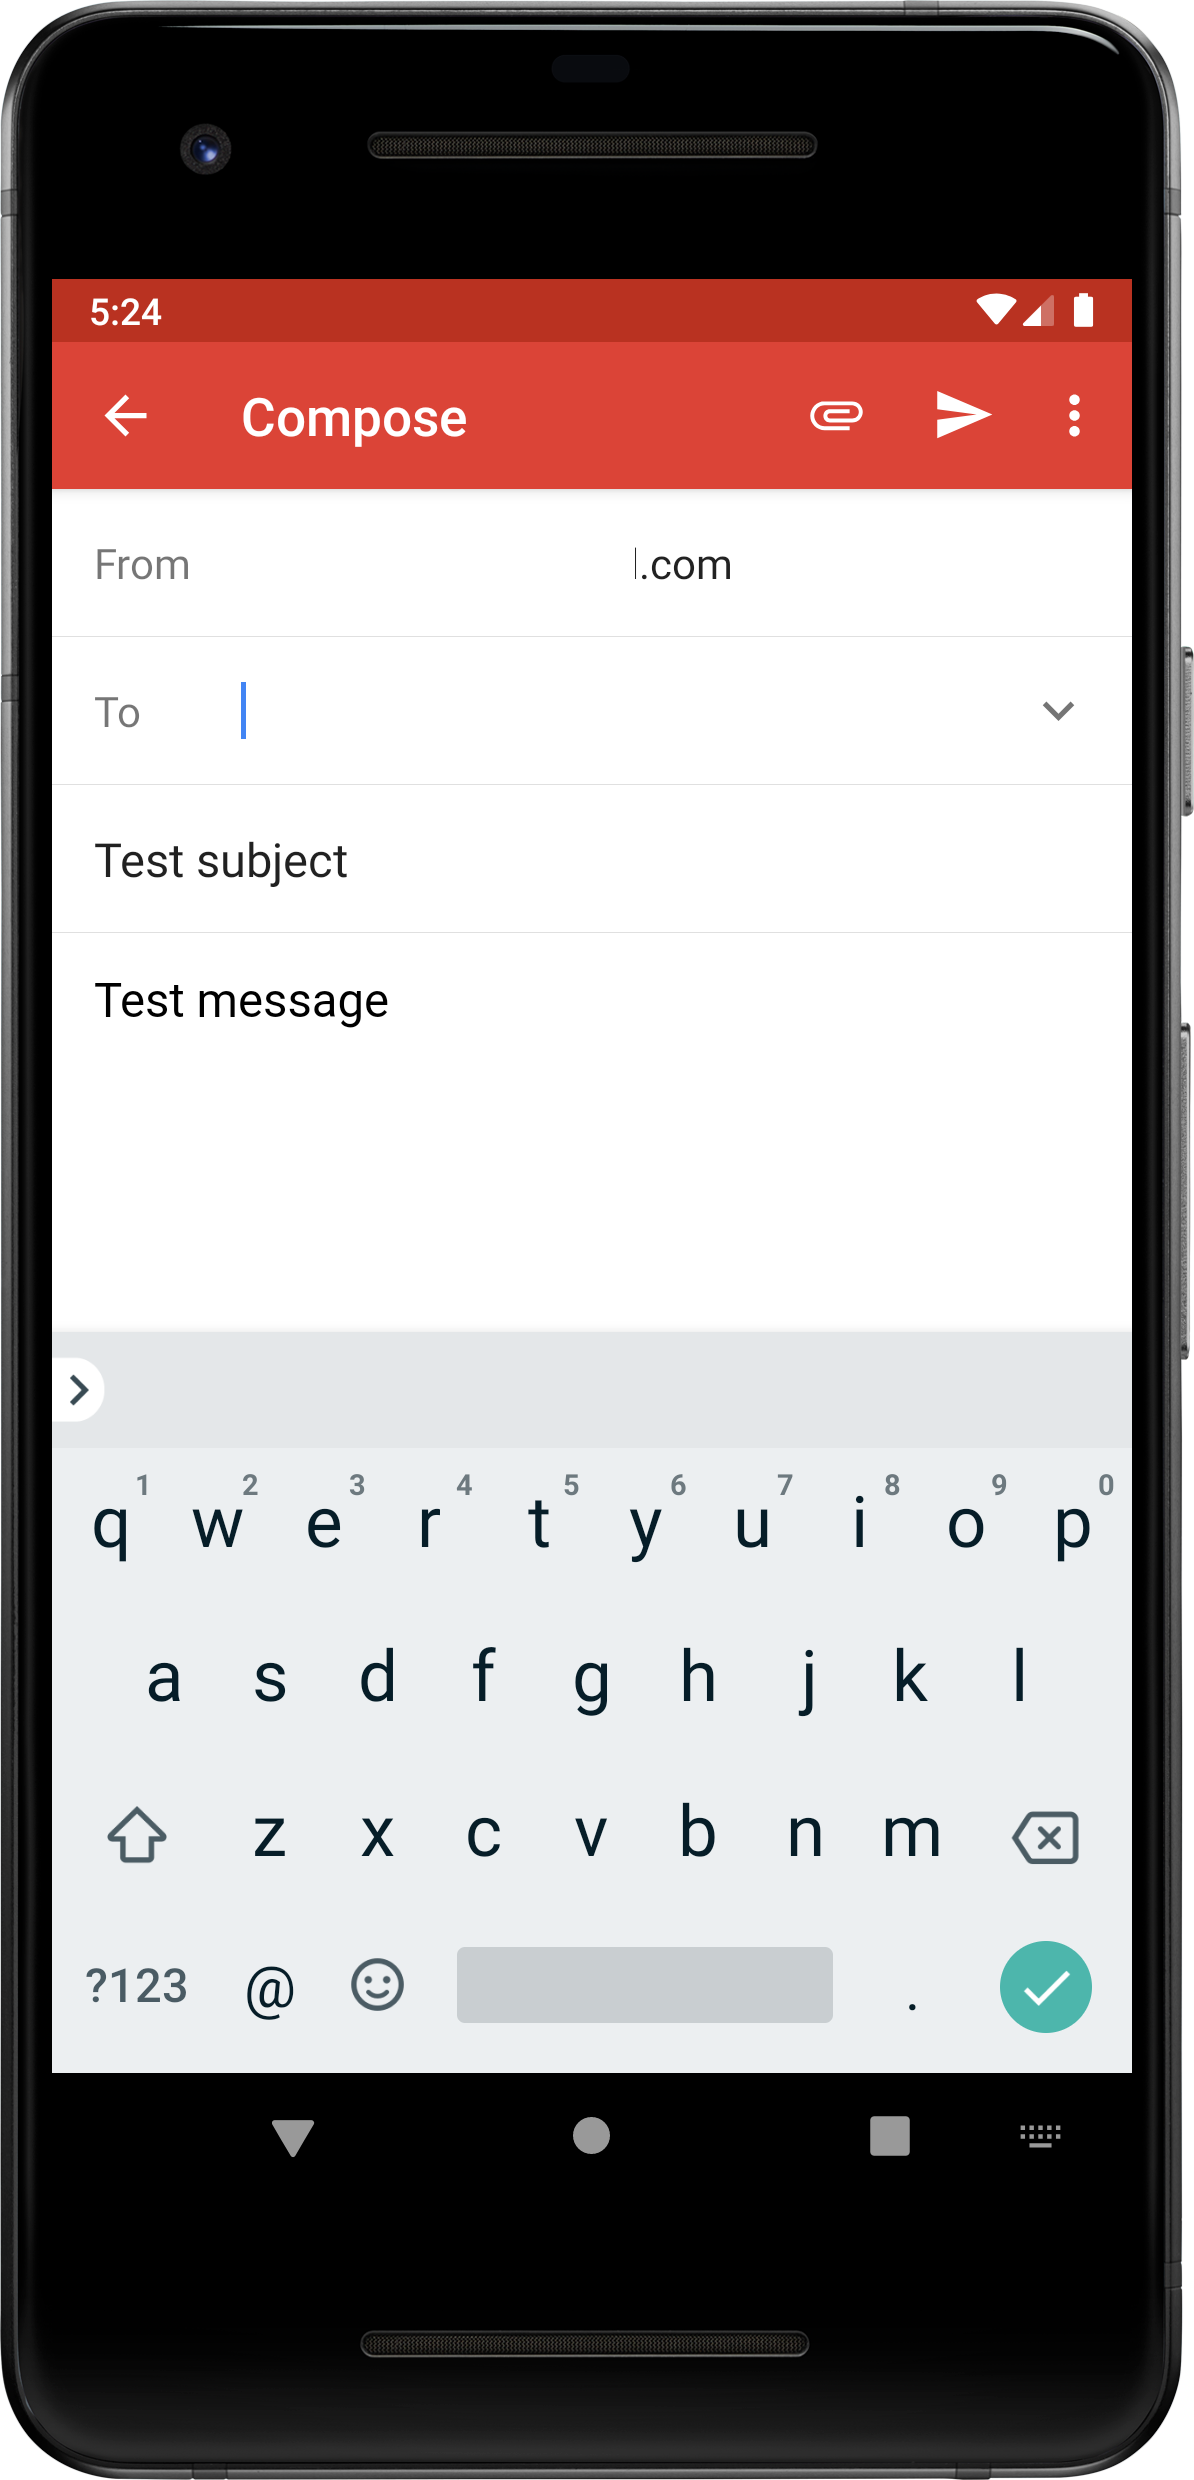
17- Let’s build and run the app to see the output.
Sending email programmatically in Android. (Large preview)
18- Here is the full code for Activity_main.xml file.
< ?xml version="1.0" encoding="utf-8"?>
< LinearLayout xmlns:android="http://schemas.android.com/apk/res/android"
  xmlns:tools="http://schemas.android.com/tools"
  android:layout_width="match_parent"
  android:layout_height="match_parent"
  android:orientation="vertical"
  tools:context=".MainActivity">

  < TextView
    android:id="@+id/textView"
    android:layout_width="wrap_content"
    android:layout_height="wrap_content"
    android:layout_gravity="center"
    android:text="Contact Form"
    android:textSize="30sp"
    android:textStyle="bold|italic" />

  < EditText
    android:id="@+id/etTo"
    android:layout_width="match_parent"
    android:layout_height="wrap_content"
    android:ems="10"
    android:hint="Email"
    android:inputType="textEmailAddress" />

  < EditText
    android:id="@+id/etSubject"
    android:layout_width="match_parent"
    android:layout_height="wrap_content"
    android:ems="10"
    android:hint="Subject"
    android:inputType="textEmailSubject" />

  < EditText
    android:id="@+id/etBody"
    android:layout_width="match_parent"
    android:layout_height="wrap_content"
    android:ems="10"
    android:hint="Body"
    android:inputType="text" />

  < Button
    android:id="@+id/btnSend"
    android:layout_width="match_parent"
    android:layout_height="wrap_content"
    android:backgroundTint="@color/colorAccent"
    android:text="Send" />

< /LinearLayout>
19- Here is the full code for MainActivity.java file.
package com.codingdemos.codingdemos;

import android.content.Intent;
import android.net.Uri;
import android.os.Bundle;
import android.view.View;
import android.widget.Button;
import android.widget.EditText;
import android.widget.Toast;

import androidx.appcompat.app.AppCompatActivity;

public class MainActivity extends AppCompatActivity {

  EditText email;
  EditText subject;
  EditText body;
  Button buttonSend;

  @Override
  protected void onCreate(Bundle savedInstanceState) {
    super.onCreate(savedInstanceState);
    setContentView(R.layout.activity_main);

    email = findViewById(R.id.etTo);
    subject = findViewById(R.id.etSubject);
    body = findViewById(R.id.etBody);
    buttonSend = findViewById(R.id.btnSend);

    buttonSend.setOnClickListener(new View.OnClickListener() {
      @Override
      public void onClick(View v) {
        if (!email.getText().toString().isEmpty() && !subject.getText().toString().isEmpty()
            && !body.getText().toString().isEmpty()) {

          Intent intent = new Intent(Intent.ACTION_SENDTO);
          intent.putExtra(Intent.EXTRA_EMAIL, new String[]{email.getText().toString()});
          intent.putExtra(Intent.EXTRA_SUBJECT, subject.getText().toString());
          intent.putExtra(Intent.EXTRA_TEXT, body.getText().toString());
          intent.setData(Uri.parse("mailto:"));

          if (intent.resolveActivity(getPackageManager()) != null) {
            startActivity(intent);
          } else {
            Toast.makeText(MainActivity.this, "There is no application that support this action",
                Toast.LENGTH_SHORT).show();
          }
        } else {
          Toast.makeText(MainActivity.this, "Please fill all the fields",
              Toast.LENGTH_SHORT).show();
        }
      }
    });

  }
}
20- Show some love by sharing the post, and if you have any questions, please post them in the comment below. Happy coding 🙂