
Last Updated on August 21, 2023
Hi and welcome to another tutorial from Codingdemos. I did a tutorial a while back that showed you how to take a photo using the camera and display it in Android Imageview. Few months after that, one of the methods that I used in the tutorial called Android OnActivityResult was deprecated. In this tutorial, we will look into the alternative method that replaced this called Android ActivityResultLauncher. Let’s start coding 🙂
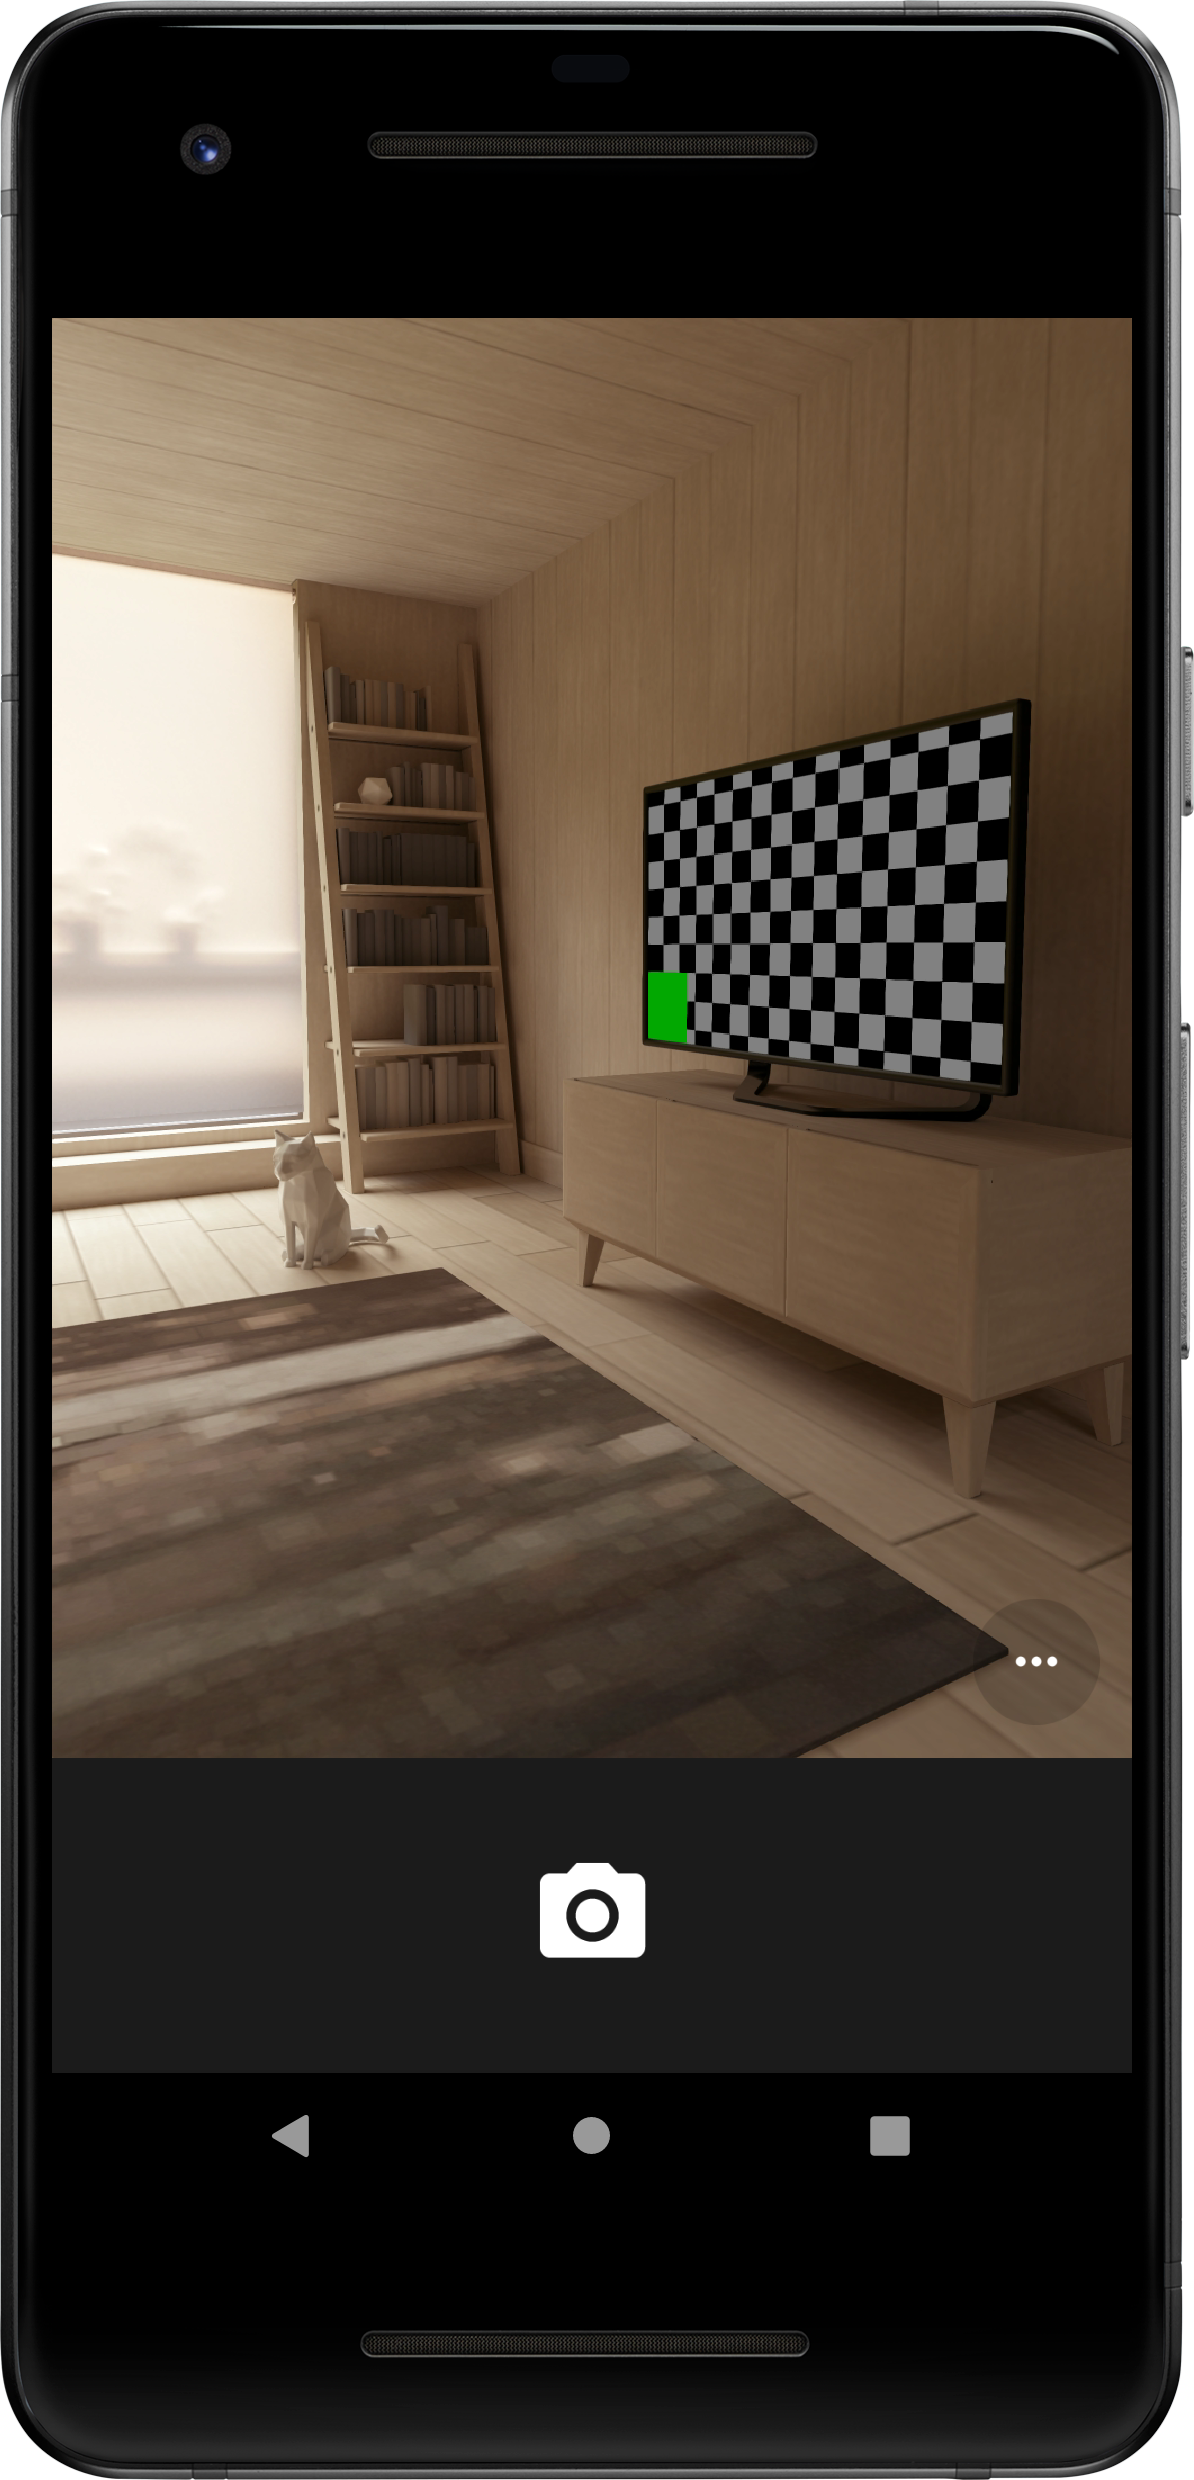
By the end of this tutorial, you will have an app that looks like this. (Large preview)
In this tutorial we will be using the following:
Android Studio version 4.1.2
Minimum SDK API 23
1- Open Android Studio.
Android studio 4.1.2 welcome screen. (Large preview)
2- Open MainActivity.java file, here we will do some changes by replacing the Android OnActivityResult implementation with Android ActivityResultLauncher. First will start by commenting out the Android OnActivityResult part.
@Override
  protected void onActivityResult(int requestCode, int resultCode, @Nullable Intent data) {
    super.onActivityResult(requestCode, resultCode, data);
    if(requestCode == CAMERA_ACTION_CODE && resultCode == RESULT_OK && data != null){
      Bundle bundle = data.getExtras();
      Bitmap bitmap = (Bitmap) bundle.get("data");
      imageView.setImageBitmap(bitmap);
    }
  }
3- Next, you need to comment out the other part of onActivityResult inside the Android Button OnClickListener method.
startActivityForResult(intent, CAMERA_ACTION_CODE);
4- Now, you need to declare Android ActivityResultLauncher.
ActivityResultLauncher activityResultLauncher;
5- You will need to initialize ActivityResultLauncher before you use it inside the Button’s OnClickListener.
activityResultLauncher = registerForActivityResult(new ActivityResultContracts.StartActivityForResult(), new ActivityResultCallback() {
      @Override
      public void onActivityResult(ActivityResult result) {

      }
    });
As you can see from the code above, the registerForActivityResult takes 2 arguments:
- ActivityResultContracts.StartActivityForResult()
- ActivityResultCallback()
6- Inside the onActivityResult is where you will add the code that you previously used.
if(requestCode == CAMERA_ACTION_CODE && resultCode == RESULT_OK && data != null){
          Bundle bundle = data.getExtras();
          Bitmap bitmap = (Bitmap) bundle.get("data");
          imageView.setImageBitmap(bitmap);
        }
7- The ActivityResultLauncher doesn’t have requestCode and resultCode. Let’s make some slight changes to make it all work.
if (result.getResultCode() == RESULT_OK && result.getData() != null) {
          Bundle bundle = result.getData().getExtras();
          Bitmap bitmap = (Bitmap) bundle.get("data");
          imageView.setImageBitmap(bitmap);
}
What we did here, is we replaced requestCode and resultCode with result.getResultCode(). We also replaced the data with result.getData().
8- Let’s make the final change inside the Android’s Button setOnClickListener by replacing startActivityForResult(intent, CAMERA_ACTION_CODE); with the following code.
activityResultLauncher.launch(intent);
9- Now build and run the app to see the result.

Taking a photo with the camera using Android ActivityResultLauncher. (Large preview)
10- Here is the full code for MainActivity.java file.
package com.codingdemos.codingdemos;

import android.content.Intent;
import android.graphics.Bitmap;
import android.os.Bundle;
import android.provider.MediaStore;
import android.view.View;
import android.widget.Button;
import android.widget.ImageView;
import android.widget.Toast;

import androidx.activity.result.ActivityResult;
import androidx.activity.result.ActivityResultCallback;
import androidx.activity.result.ActivityResultLauncher;
import androidx.activity.result.contract.ActivityResultContracts;
import androidx.appcompat.app.AppCompatActivity;

public class MainActivity extends AppCompatActivity {

  ImageView imageView;
  Button takePhoto;
  ActivityResultLauncher activityResultLauncher;

  @Override
  protected void onCreate(Bundle savedInstanceState) {
    super.onCreate(savedInstanceState);
    setContentView(R.layout.activity_main);

    imageView = findViewById(R.id.imageView);
    takePhoto = findViewById(R.id.btnPhoto);

    activityResultLauncher = registerForActivityResult(new ActivityResultContracts.StartActivityForResult(), new ActivityResultCallback() {
      @Override
      public void onActivityResult(ActivityResult result) {
        if (result.getResultCode() == RESULT_OK && result.getData() != null) {
          Bundle bundle = result.getData().getExtras();
          Bitmap bitmap = (Bitmap) bundle.get("data");
          imageView.setImageBitmap(bitmap);
        }
      }
    });


    takePhoto.setOnClickListener(new View.OnClickListener() {
      @Override
      public void onClick(View v) {
        Intent intent = new Intent(MediaStore.ACTION_IMAGE_CAPTURE);
        if (intent.resolveActivity(getPackageManager()) != null) {
          activityResultLauncher.launch(intent);
        } else {
          Toast.makeText(MainActivity.this, "There is no app that support this action",
              Toast.LENGTH_SHORT).show();
        }
      }
    });
  }
}
11- Show some love by sharing the post, and if you have any questions, please post them in the comment below. Happy coding 🙂