
Last Updated on February 23, 2020
Hello and welcome to another tutorial from Codingdemos, today you will learn how to use Android Firebase UI in your app to authenticate users to your app. You can use Firebase phone auth in your app during registration or when you want to verify that your user is using a real phone number.
Android Firebase UI phone authentication. (Large preview)
This tutorial assumes that you have successfully added Firebase into your Android project. For further instructions, please refer to Android Firebase documentation.
In this tutorial we will be using the following:
– Android Studio version 3.5.3
– Minimum SDK API 23
1- Open Android Studio.
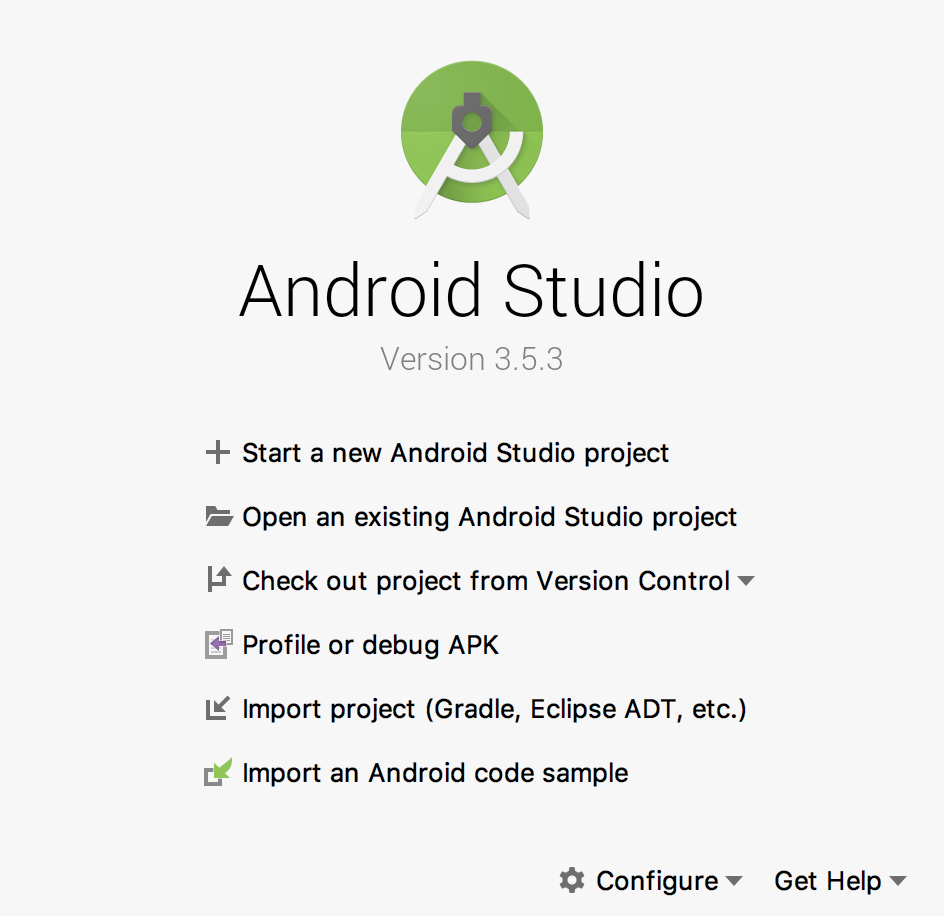
Create new Android Studio project or open existing project. (Large preview)
2- Open build.gradle (module:app) and add Android Firebase UI library in the dependencies.
implementation 'com.firebaseui:firebase-ui-auth:4.3.1'
3- Now sync your project by clicking on Sync Now.

Android studio sync project. (Large preview)
4- Next open activity_main.xml and add the following code.
< Button
    android:id="@+id/btnSignIn"
    android:layout_width="match_parent"
    android:layout_height="wrap_content"
    android:text="@string/label_sign_in" />
You will use this Android Button to trigger the Firebase phone authentication process when tapping on it.
5- Now open MainActivity.java and add this code.
signIn = findViewById(R.id.btnSignIn);
signIn.setOnClickListener(new View.OnClickListener() {
      @Override
      public void onClick(View v) {

  }
});
In the code above, you initialize the button and you make it clickable by calling setOnClickListener.
6- Build and run the app to see the progress.
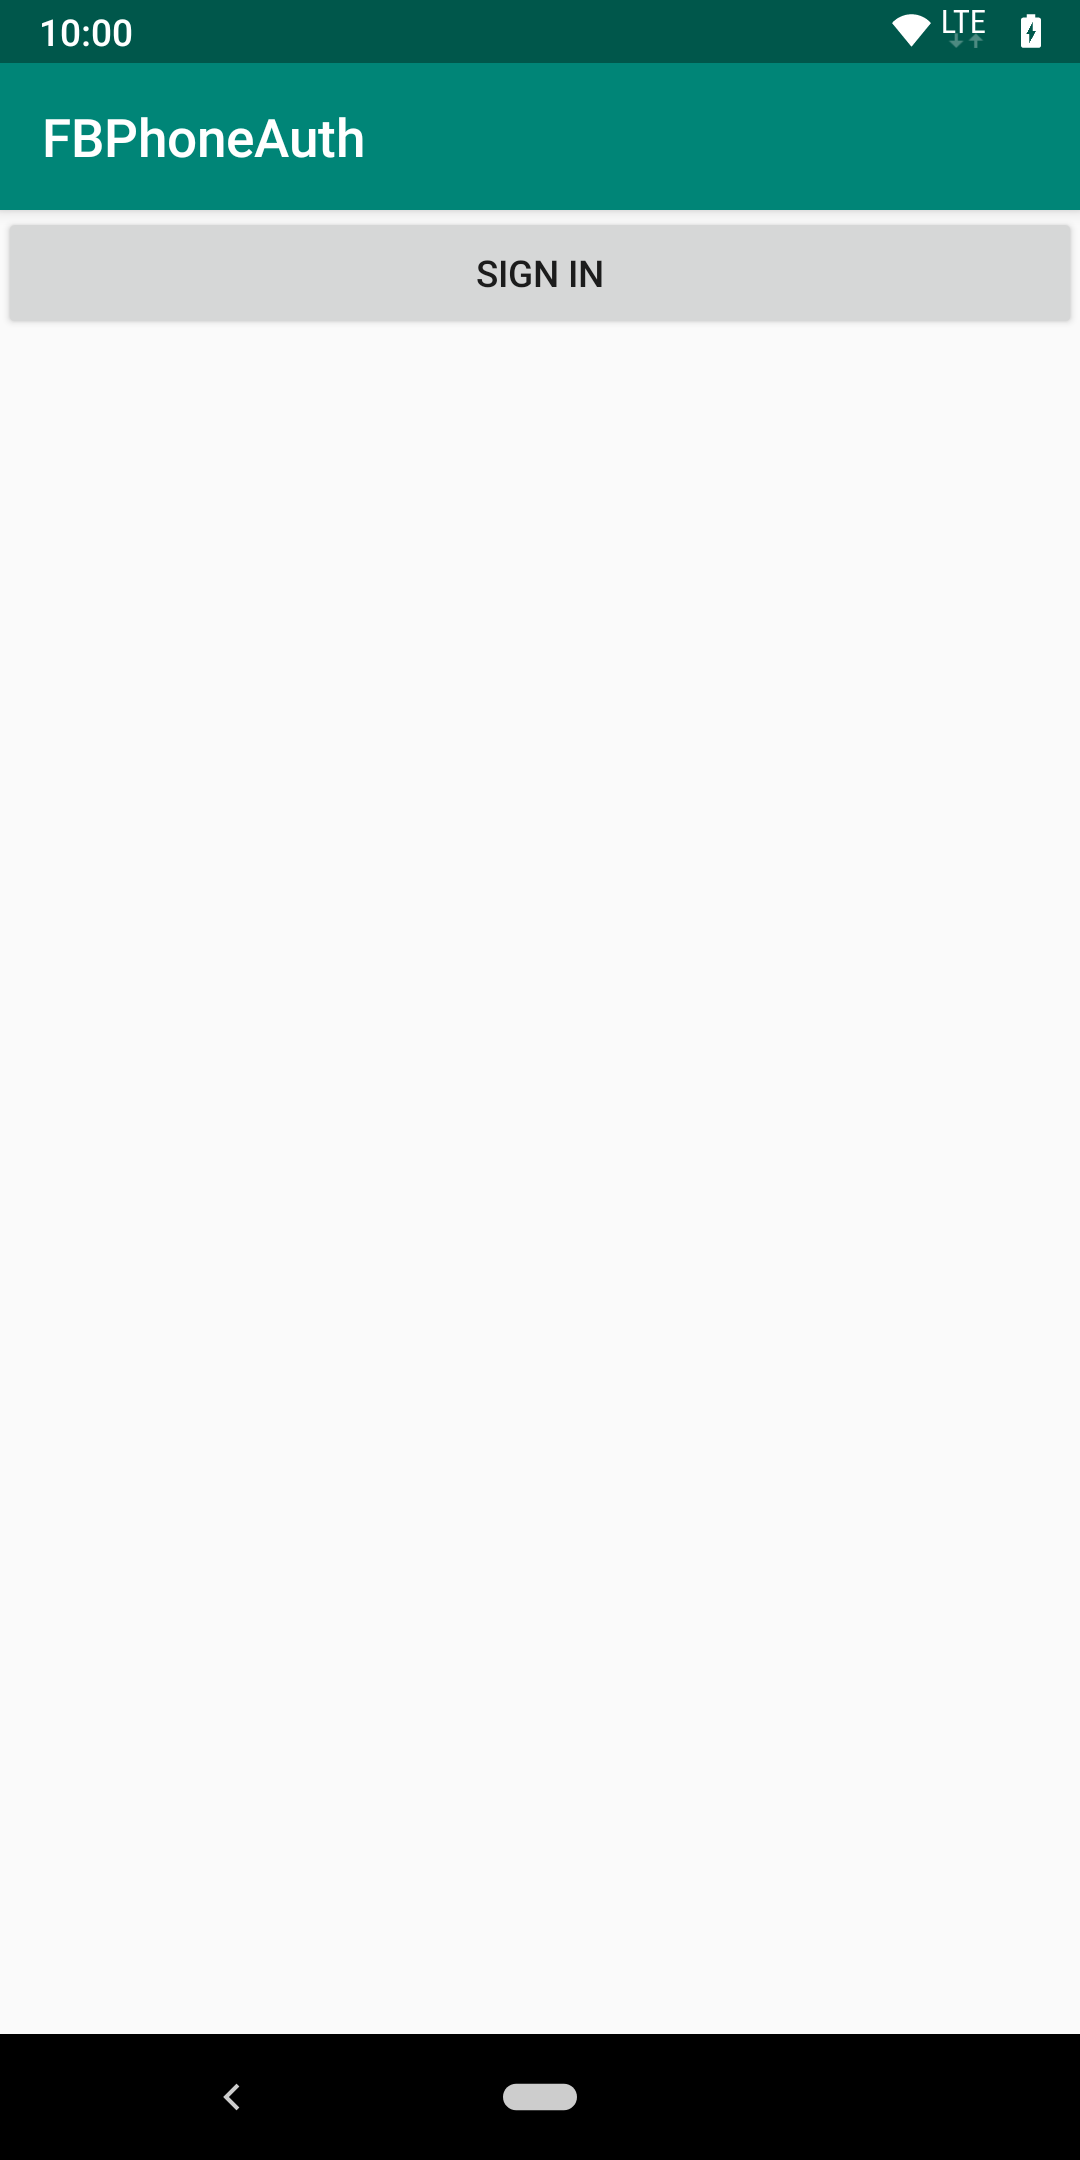
Android Sign In Button. (Large preview)
7- Next add the following code inside the button’s OnClickListener().
List<AuthUI.IdpConfig> providers = Collections.singletonList(
            new AuthUI.IdpConfig.PhoneBuilder().build());

        startActivityForResult(
            AuthUI.getInstance()
                .createSignInIntentBuilder()
                .setAvailableProviders(providers)
                .build(),
            1);
First, you initialize the type of authentication provider that you want to use from the Firebase Auth UI library. Secondly you will call startActivityForResult and pass 2 parameters. The first parameter is you initialize Firebase Auth UI and pass the provider that you initialize earlier and finally call build(). The second parameter is the request code which you can initialize it with any number that you want.
8- To be able to receive the result from Firebase Auth UI, you need to override onActivityResult.
@Override
  protected void onActivityResult(int requestCode, int resultCode, @Nullable Intent data) {
    super.onActivityResult(requestCode, resultCode, data);

  }
9- Next add the following code inside onActivityResult.
if (requestCode == 1) {
      if (resultCode == RESULT_OK) {
        Toast.makeText(MainActivity.this, "Phone number is verified", Toast.LENGTH_LONG).show();
      } else {
        Toast.makeText(MainActivity.this, "Phone verification process was cancelled", Toast.LENGTH_LONG).show();
      }
}
First, you need to check the request code value is the same as the one you initialize early, then you also need to check if the response results successfully by showing a friendly Toast message notifying the user that the verification process is complete. If the user decides to cancel the verification process such as by tapping on the device back button, you can notify the user by showing a different message.
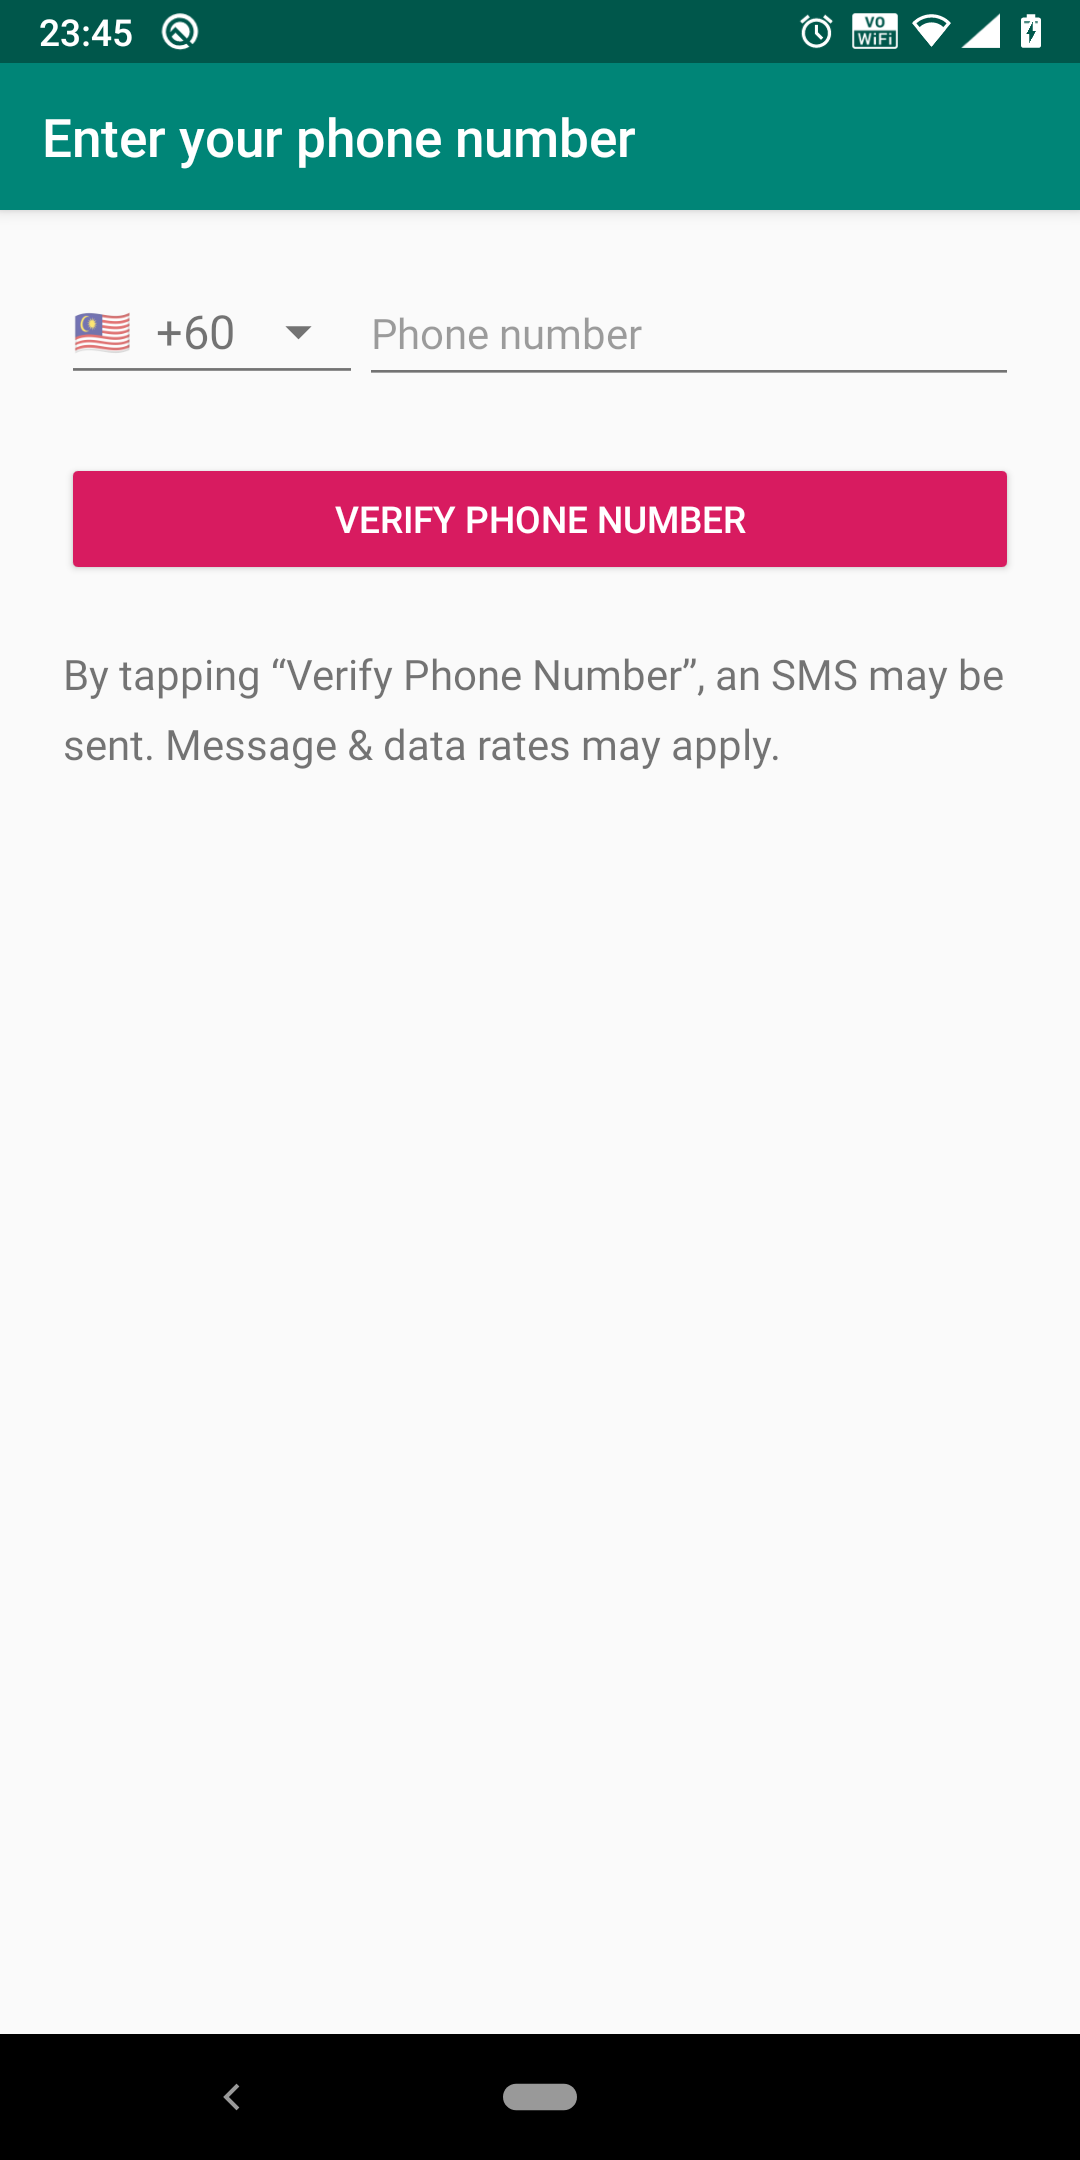
10- To see the progress, it’s best to run the app on a real device.
Android Firebase phone authentication. (Large preview)
Test Firebase Auth With Whitelisted Phone Numbers
During the development phase, you will be constantly testing Firebase phone auth using a phone number which will consume your usage quota. Now you don’t have to worry anymore because in Firebase console you can use a phone number for testing and it will not consume your usage quota.
11- Open Firebase console in your browser and click on Authentication –> Sign-in Method –> Phone.
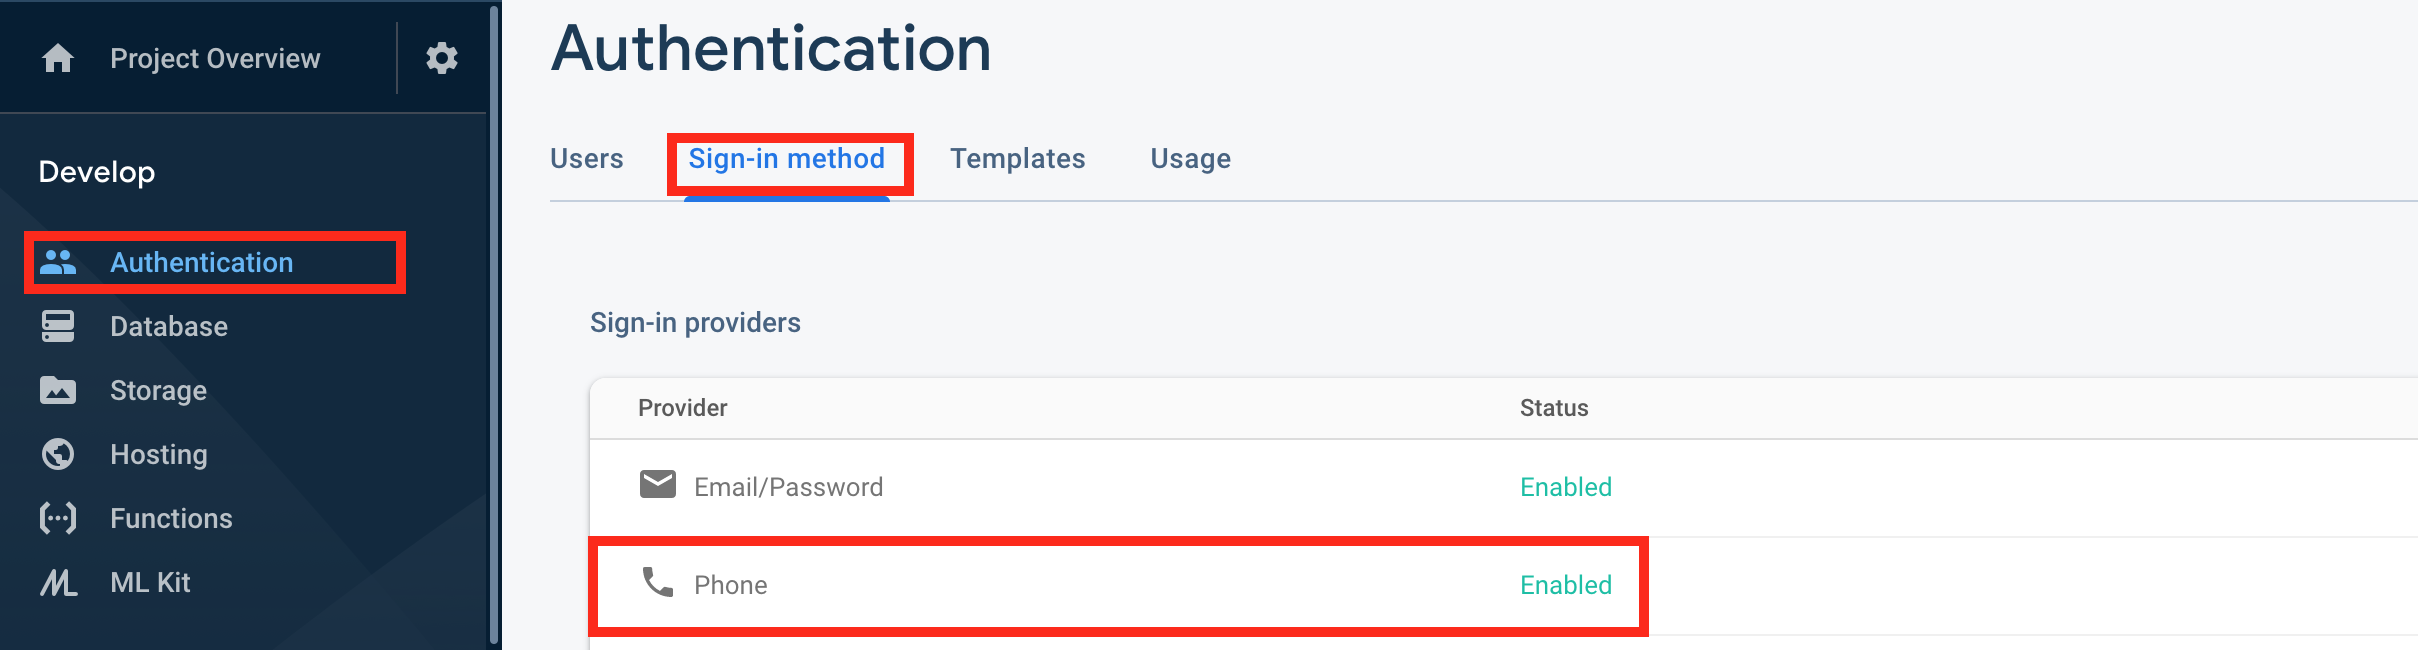
Firebase Console Phone Auth. (Large preview)
12- Next enters the phone number that you would like to use for authentication together with the verification code.

Add Test Phone Number in Firebase Console. (Large preview)
13- Now to authenticate, all you have to do is enter your phone number and verification code that you recently entered inside the Firebase console.
Limit List of Countries in Android Firebase UI
By default when you try to authenticate, you will see the full list of countries shown in the Firebase phone auth UI picker. If your app supports specific countries, you can limit the list of countries shown in the phone auth UI picker so that it will be easier for your app users to select the preferred country.
14- Open MainActivity.java and add the following code.
List<String> whitelistedCountries = new ArrayList<>();
whitelistedCountries.add("US");
whitelistedCountries.add("AU");
whitelistedCountries.add("IN");

List<AuthUI.IdpConfig> providers = Collections.singletonList(
            new AuthUI.IdpConfig.PhoneBuilder().setWhitelistedCountries(whitelistedCountries).build());
Here you declare a variable of a type List and make sure to initialize it with Alpha-2 Code, otherwise the app will crash.
Please refer to Alpha-2 Code for the full list of country codes.
Firebase Auth UI has a method called setWhitelistedCountries that will allow you to limit the countries that you want to show inside Firebase auth UI picker.
15- Now build and run the app to see the result.
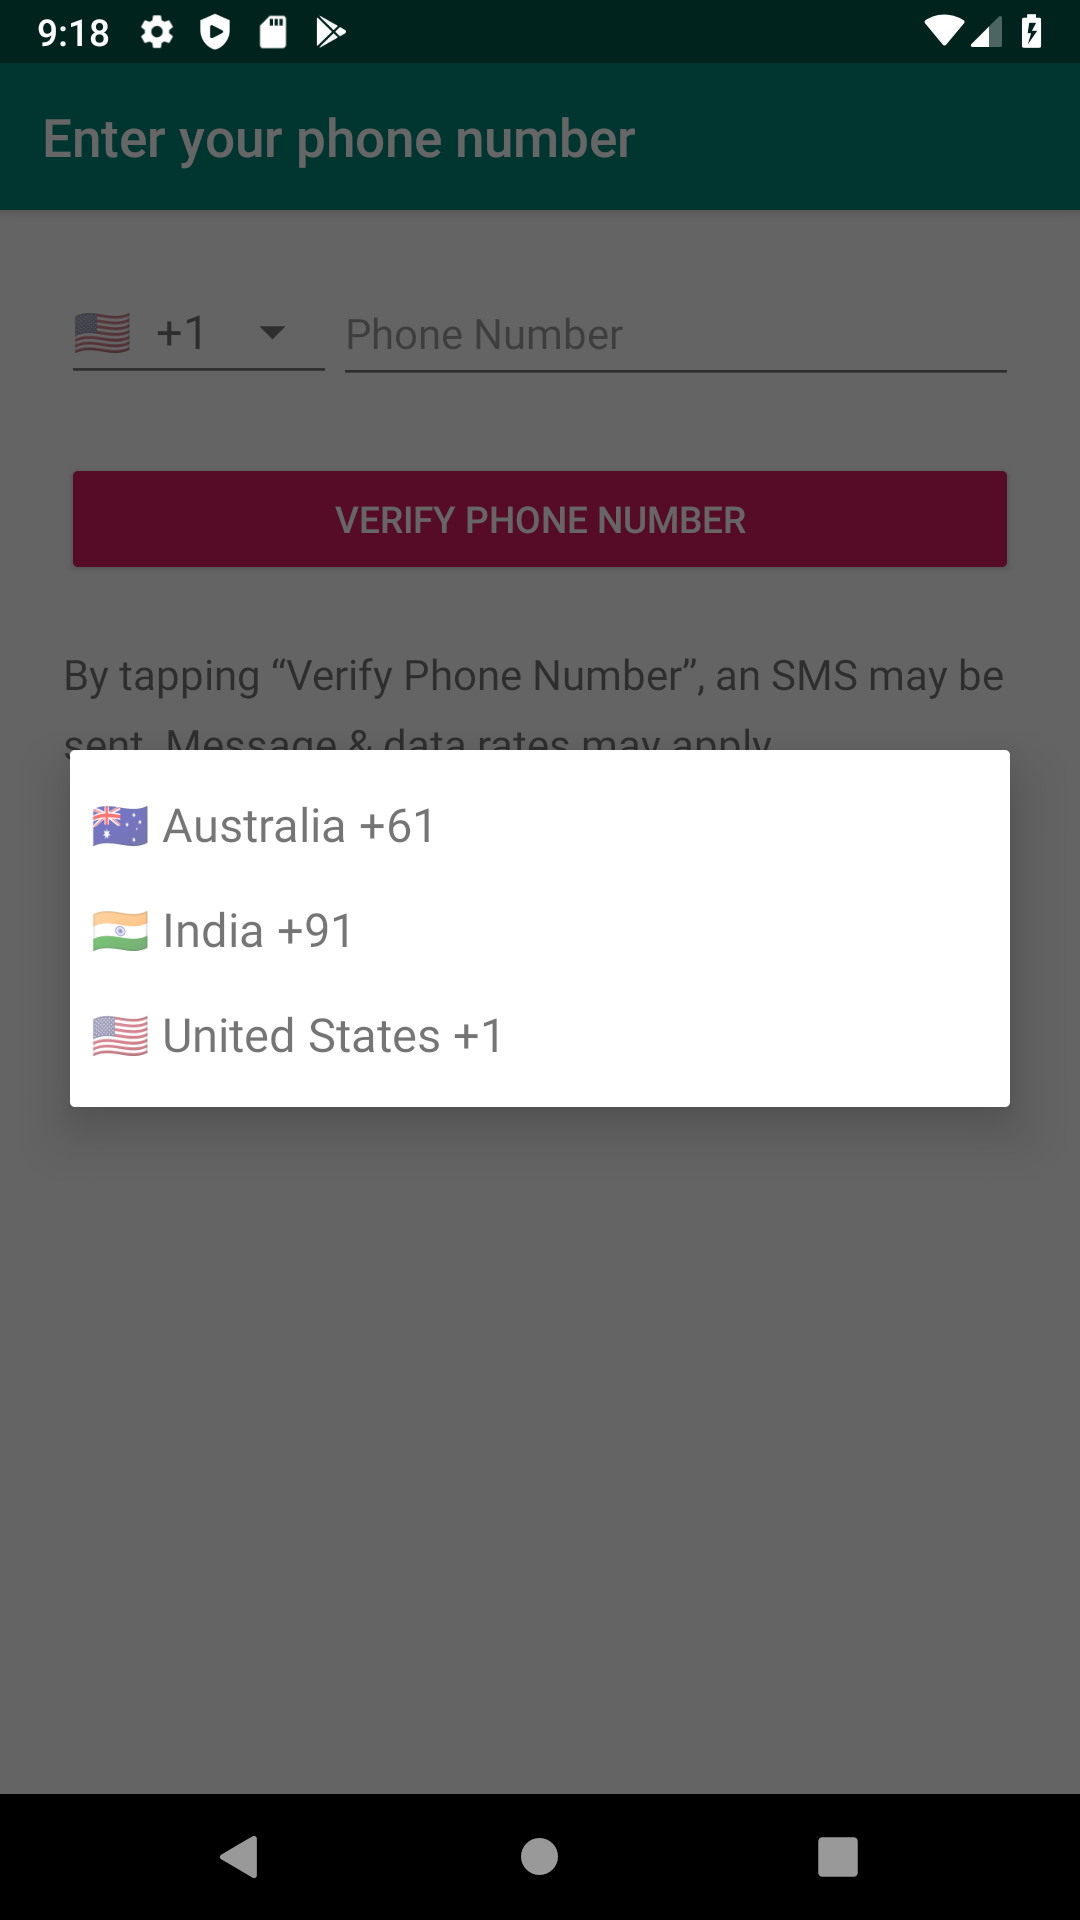
Firebase Auth Phone Country Picker. (Large preview)
Firebase Phone Auth UI With Default Country
If you are building an app that is targeted to the audience coming from a specific country. You can define the country ISO inside Firebase auth UI using setDefaultCountryIso(“”) method.
16- Modify the following code inside MainActivity.java file.
List<AuthUI.IdpConfig> providers = Collections.singletonList(
            new AuthUI.IdpConfig.PhoneBuilder().setDefaultCountryIso("IN").build());
Here you’ve set India as the default country for Firebase Auth. Now build and run the app to see the changes.
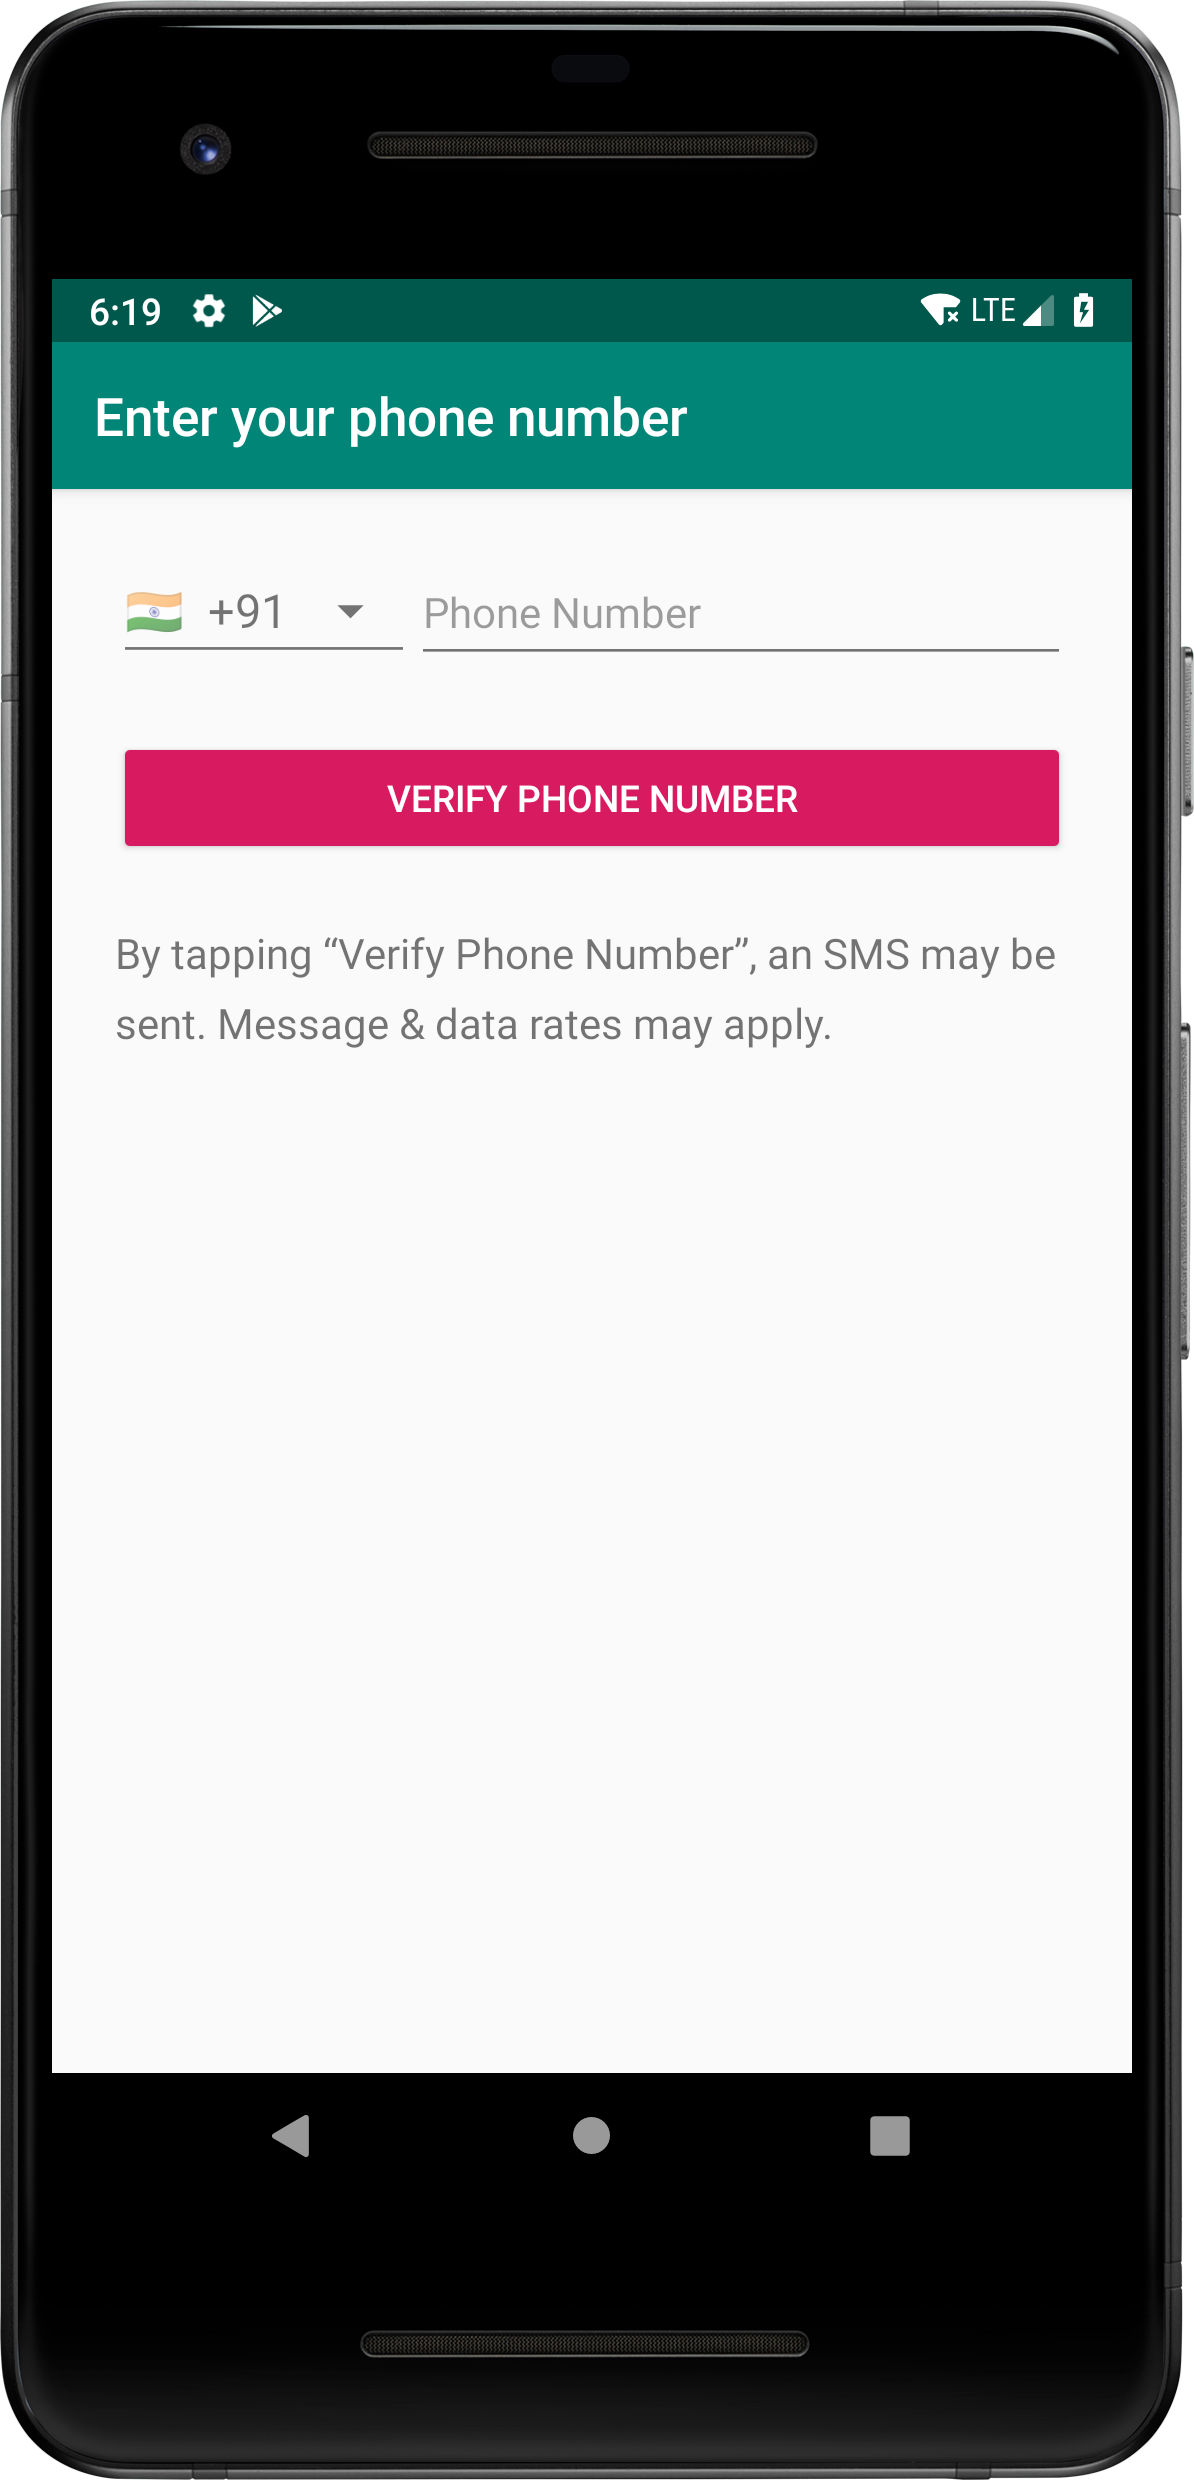
Android Firebase UI Default Country. (Large preview)
17- Here is the full code for activity_main.xml file.
< ?xml version="1.0" encoding="utf-8"?>
< LinearLayout xmlns:android="http://schemas.android.com/apk/res/android"
  xmlns:tools="http://schemas.android.com/tools"
  android:layout_width="match_parent"
  android:layout_height="match_parent"
  android:orientation="vertical"
  tools:context=".MainActivity">

  < Button
    android:id="@+id/btnSignIn"
    android:layout_width="match_parent"
    android:layout_height="wrap_content"
    android:text="@string/label_sign_in" />
< /LinearLayout>
18- Here is the full code for MainActivity.java file.
package com.codingdemos.fbphoneauth;

import android.content.Intent;
import android.os.Bundle;
import android.view.View;
import android.widget.Button;
import android.widget.Toast;

import com.firebase.ui.auth.AuthUI;

import java.util.Collections;
import java.util.List;

import androidx.annotation.Nullable;
import androidx.appcompat.app.AppCompatActivity;

public class MainActivity extends AppCompatActivity {

  Button signIn;

  @Override
  protected void onCreate(Bundle savedInstanceState) {
    super.onCreate(savedInstanceState);
    setContentView(R.layout.activity_main);

    signIn = findViewById(R.id.btnSignIn);
    signIn.setOnClickListener(new View.OnClickListener() {
      @Override
      public void onClick(View v) {

        List<AuthUI.IdpConfig> providers = Collections.singletonList(
            new AuthUI.IdpConfig.PhoneBuilder().build());

        startActivityForResult(
            AuthUI.getInstance()
                .createSignInIntentBuilder()
                .setAvailableProviders(providers)
                .build(),
            1);
      }
    });
  }
  @Override
  protected void onActivityResult(int requestCode, int resultCode, @Nullable Intent data) {
    super.onActivityResult(requestCode, resultCode, data);

    if (requestCode == 1) {
      if (resultCode == RESULT_OK) {
        Toast.makeText(MainActivity.this, "Phone number is verified", Toast.LENGTH_LONG).show();
      } else {
        Toast.makeText(MainActivity.this, "Phone verification process was cancelled", Toast.LENGTH_LONG).show();
      }
    }
  }
}
19- I hope you find this tutorial helpful and if you have any question please post them in the comment below.