
Last Updated on February 24, 2021
Hi and welcome to another tutorial from Codingdemos, today you will learn how to create Android animation button using a 3rd party library called ShineButton. Open Android Studio and let’s get started 🙂
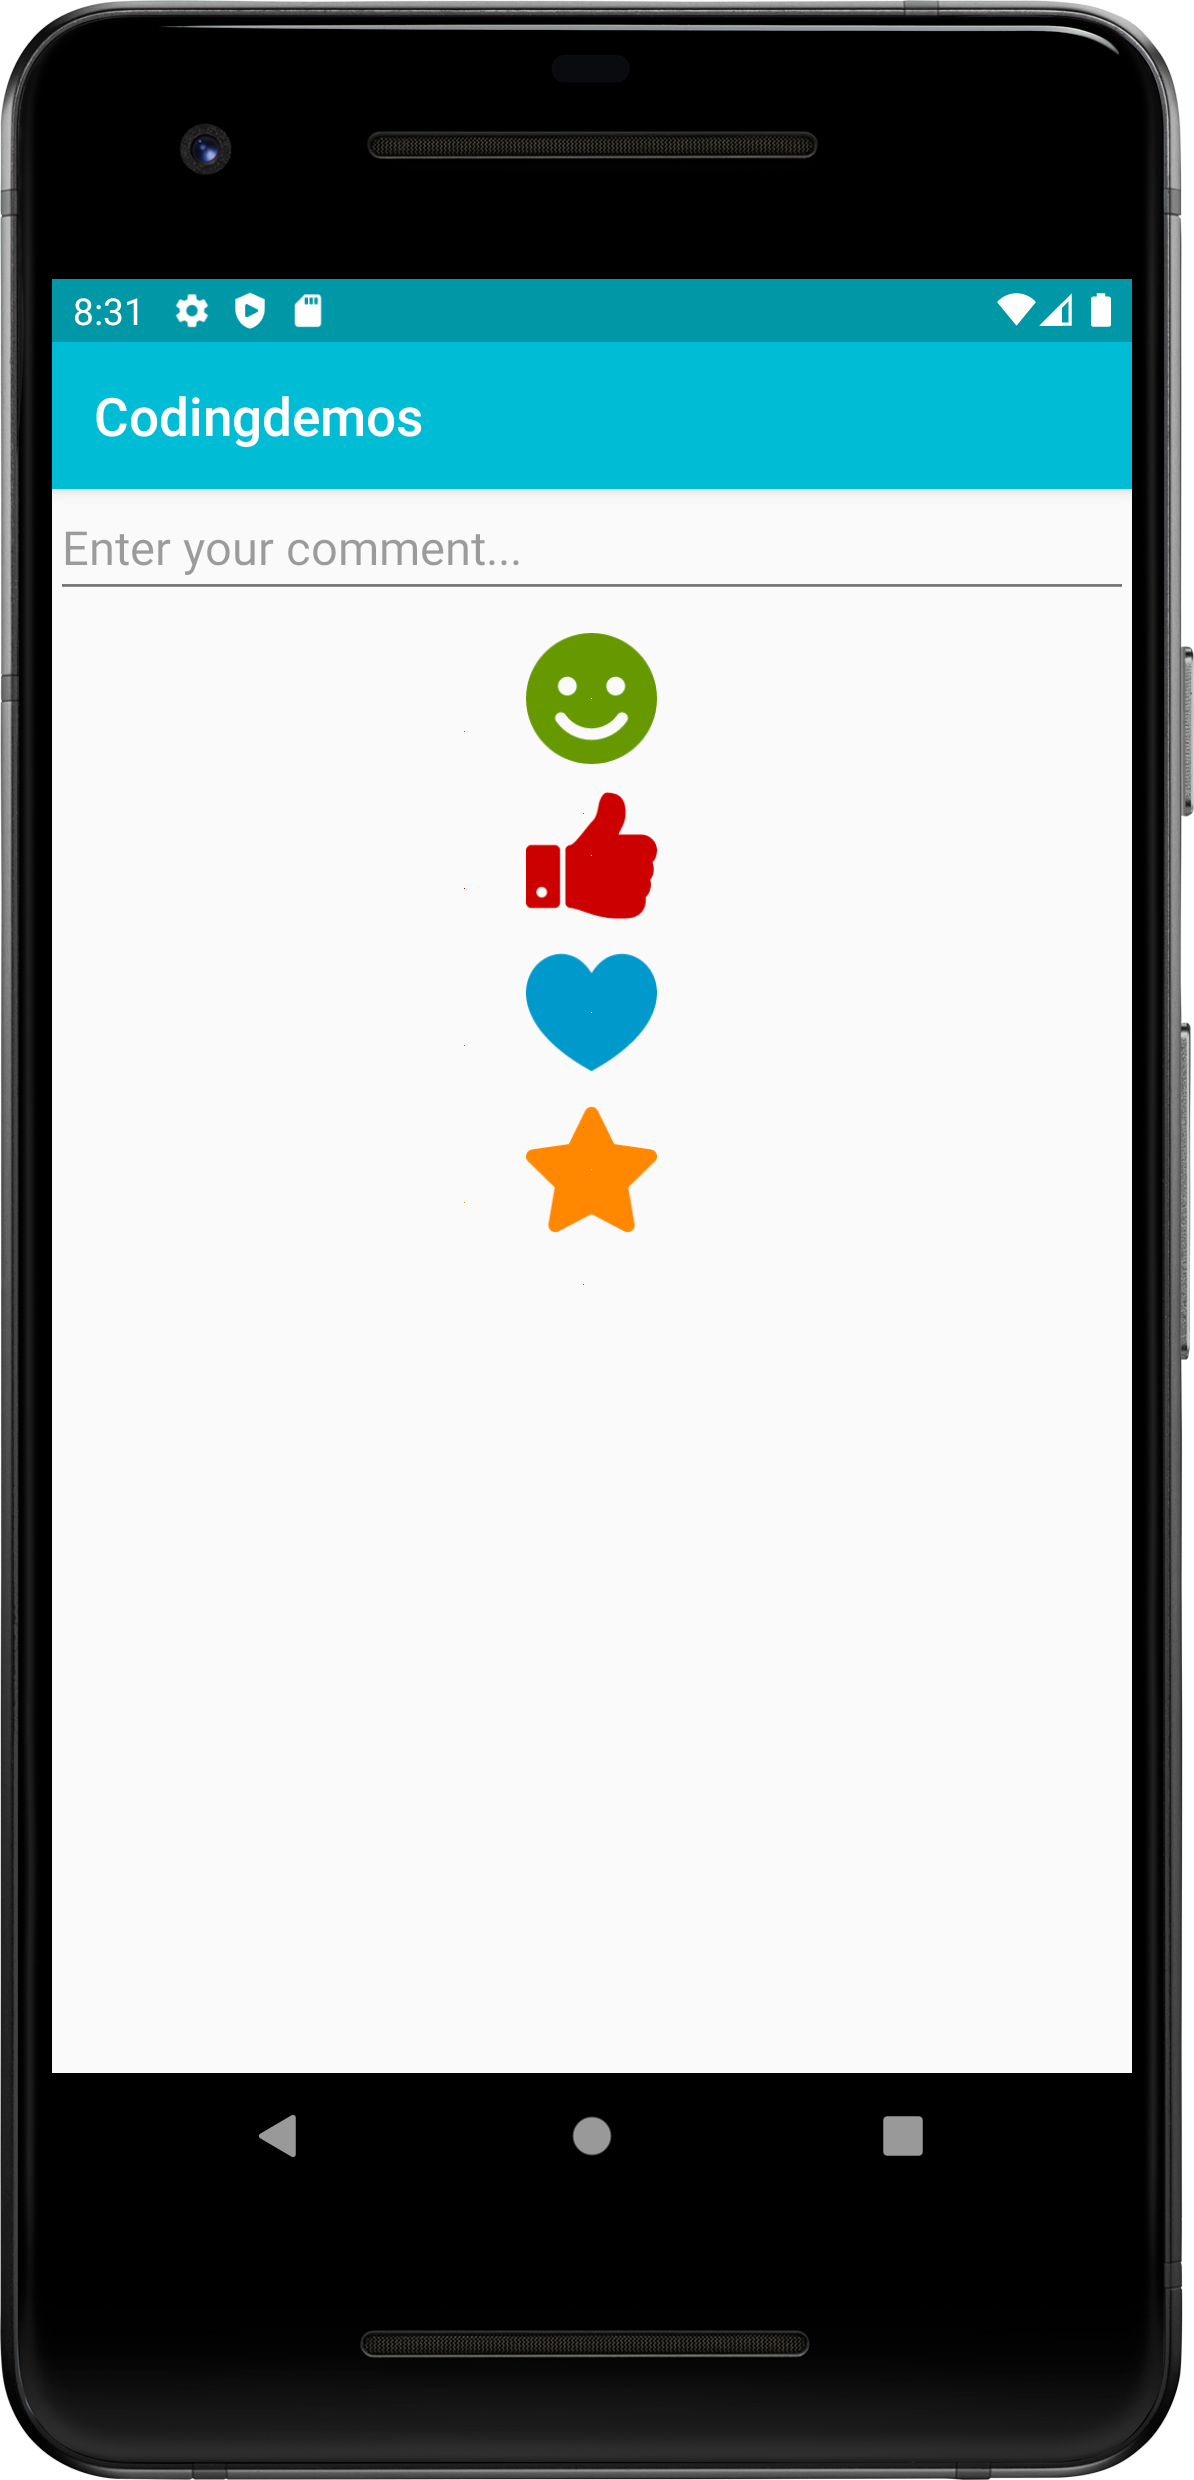
Android buttons with animation. (Large preview)
In this tutorial you will be using a 3rd party library called ShineButton to create those cool Android button animations.
In this tutorial we will be using the following:
Android Studio version 4.1.2
Minimum SDK API 23
1- Open Android Studio.
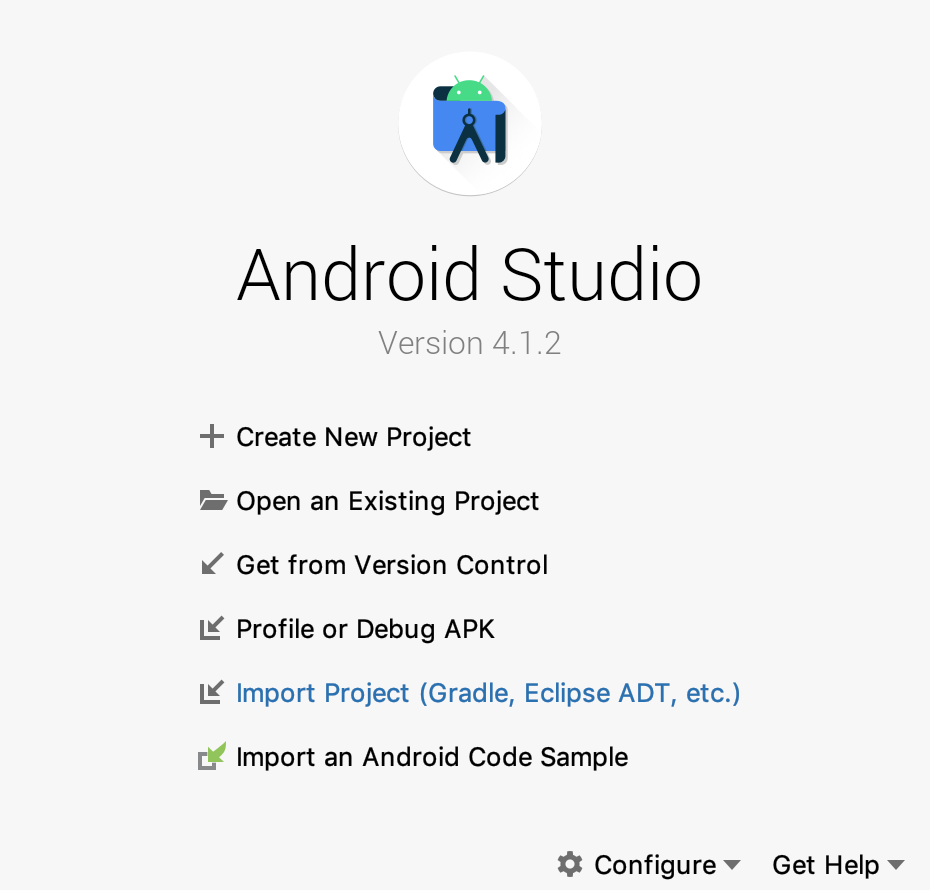
Android studio 4.1.2 welcome screen. (Large preview)
2- Open build.gradle (module:app) and add ShineButton library in the dependencies.
implementation 'com.sackcentury:shinebutton:1.0.0'
3- Now sync your project by clicking on Sync Now.

Android studio sync project. (Large preview)
4- Next open activity_main.xml and add the following code.
< EditText
    android:id="@+id/editText"
    android:layout_width="match_parent"
    android:layout_height="wrap_content"
    android:ems="10"
    android:hint="Enter your comment..."/ >
I’ve added this EditText as an example as if you are building a comment/review screen for your app.
5- Next, will add the first ShineButton and that is the smile button.
< com.sackcentury.shinebuttonlib.ShineButton
    android:id="@+id/btnSmile"
    android:layout_width="50dp"
    android:layout_height="50dp"
    android:src="@android:color/darker_gray"
    app:btn_color="@android:color/darker_gray"
    app:btn_fill_color="@android:color/holo_green_dark"
    app:siShape="@raw/smile" />
Here you set the color of the button to Dark Gray, while you set the fill color as Dark Green. app:btn_fill_color is the attribute that you use to color the button after tapping on it.
app:siShape=”@raw/smile” is the attribute that allows you to choose the type of icon that you want to set for the button.
6- Now let’s add the like button.
< com.sackcentury.shinebuttonlib.ShineButton
    android:id="@+id/btnLike"
    android:layout_width="50dp"
    android:layout_height="50dp"
    android:src="@android:color/darker_gray"
    app:btn_color="@android:color/darker_gray"
    app:btn_fill_color="@android:color/holo_red_dark"
    app:siShape="@raw/like" />
Here you’ve changed the fill color to Dark Red, and you’ve set the button icon to like.
7- Let’s add the heart button.
< com.sackcentury.shinebuttonlib.ShineButton
    android:id="@+id/btnHeart"
    android:layout_width="50dp"
    android:layout_height="50dp"
    android:src="@android:color/darker_gray"
    app:btn_color="@android:color/darker_gray"
    app:btn_fill_color="@android:color/holo_blue_dark"
    app:siShape="@raw/heart" />
Here you’ve set the fill color to Dark Blue, and you’ve set the button icon to heart.
8- Finally, let’s add the star button.
< com.sackcentury.shinebuttonlib.ShineButton
    android:id="@+id/btnStar"
    android:layout_width="50dp"
    android:layout_height="50dp"
    android:src="@android:color/darker_gray"
    app:btn_color="@android:color/darker_gray"
    app:btn_fill_color="@android:color/holo_orange_dark"
    app:siShape="@raw/star" />
Here you’ve set the fill color to Dark Orange, and the button icon to star.
9- Let’s build and run the app to see the output.
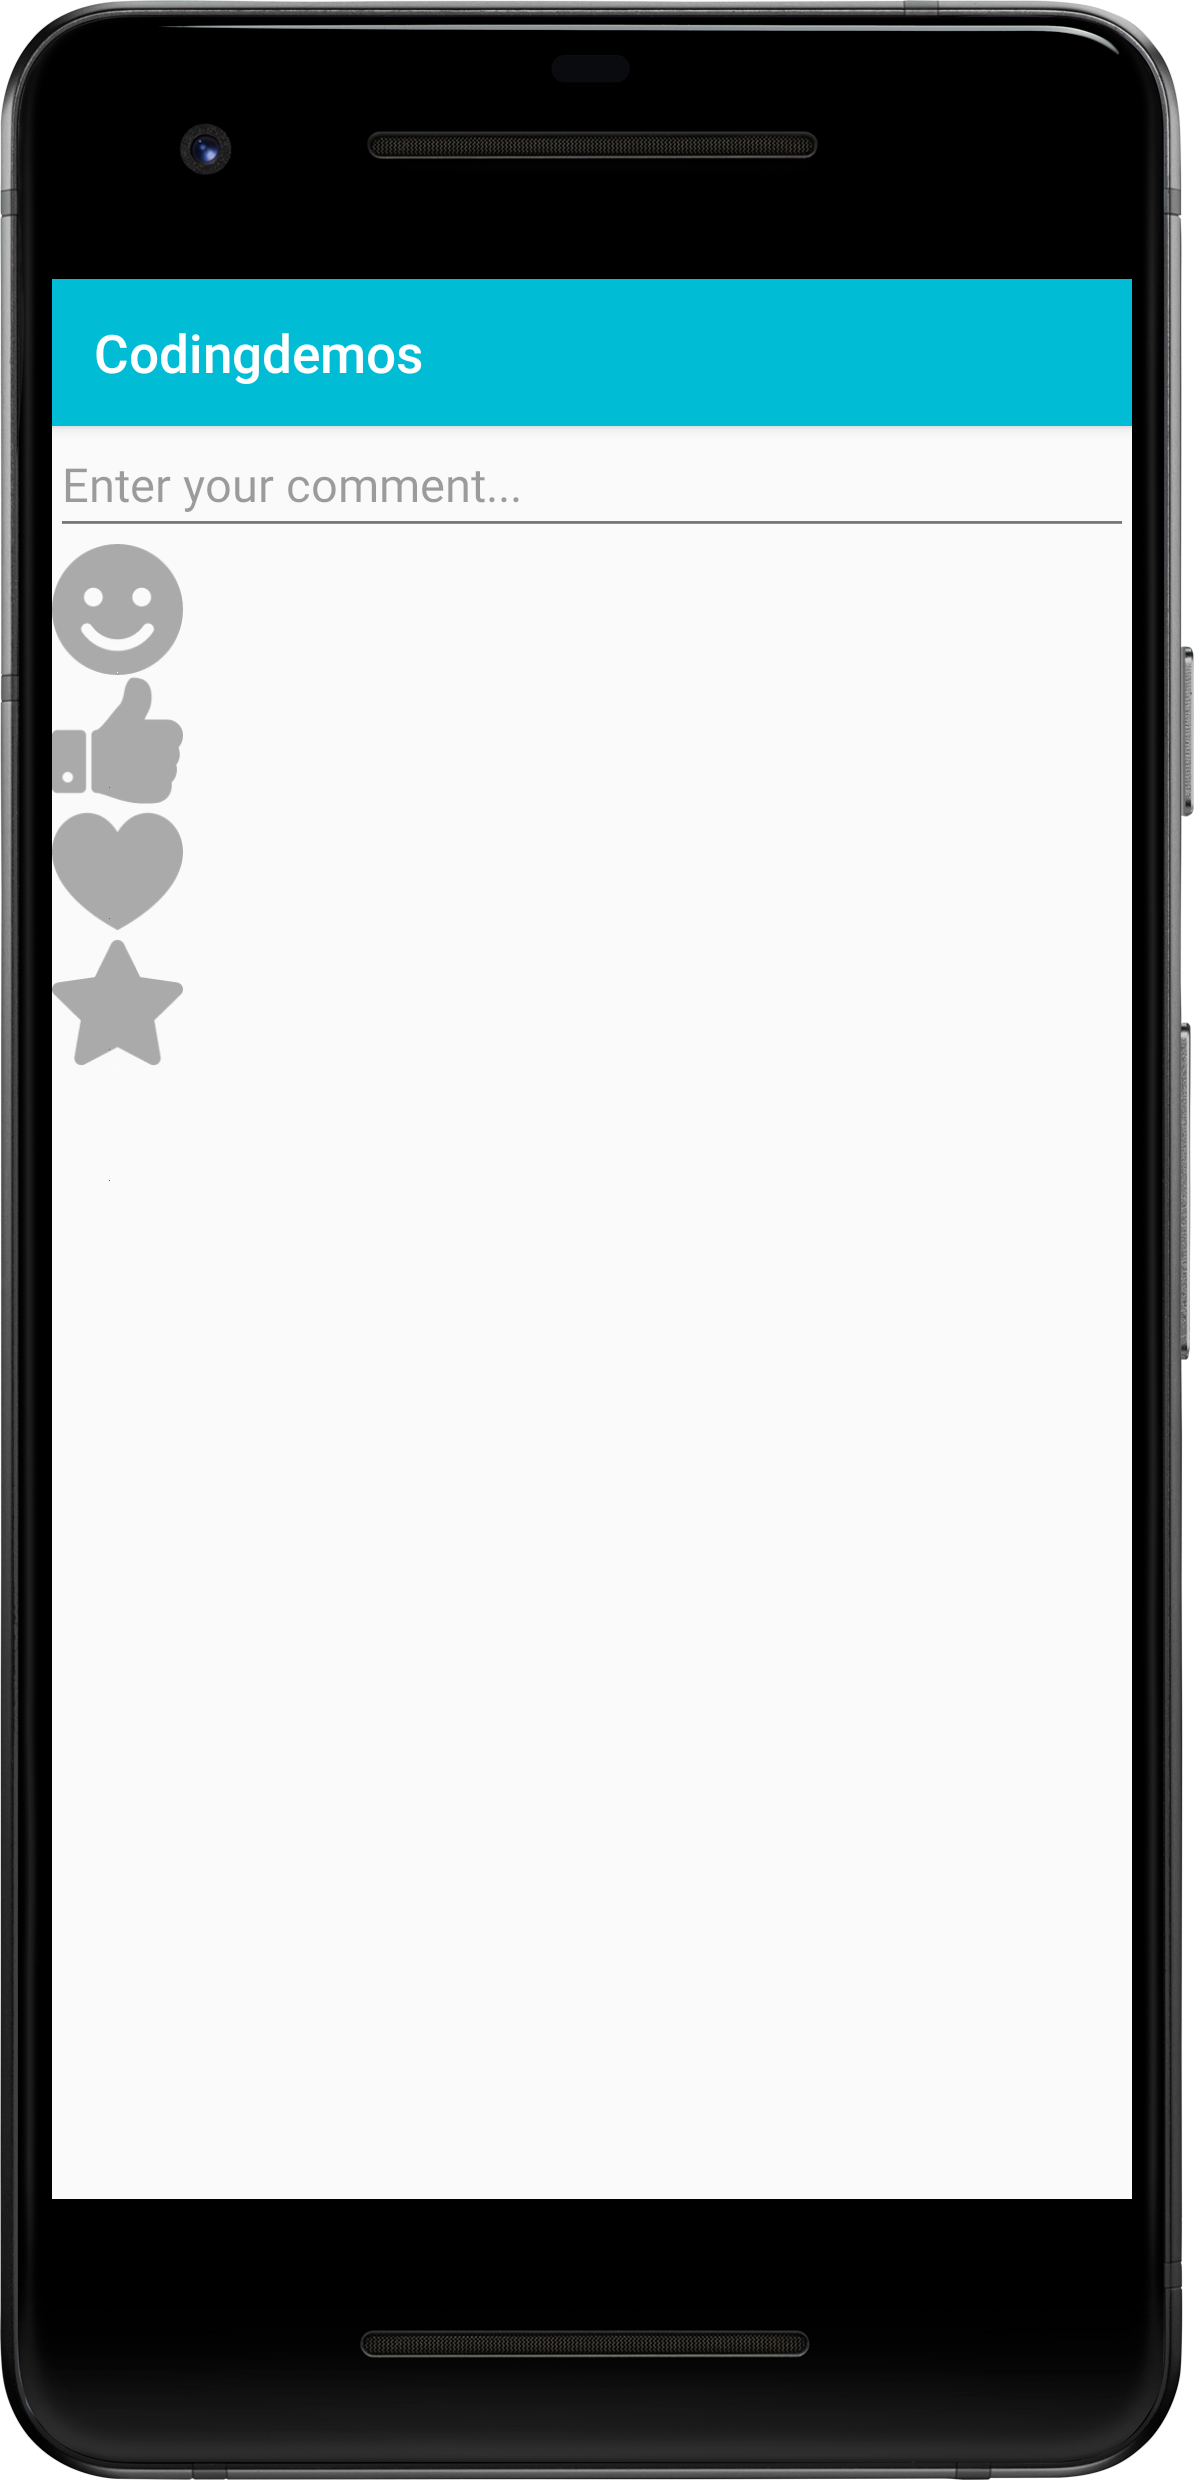
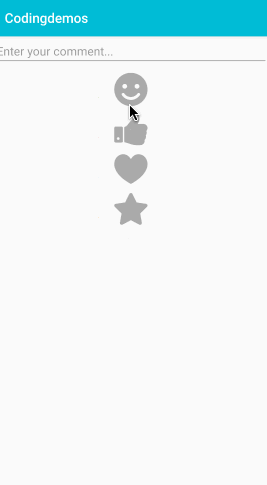
Android custom buttons. (Large preview)
10- Let’s change the appearance of the layout by centering the buttons and give margins between each other. Will add the following code to every ShineButton view.
android:layout_gravity="center"
android:layout_marginTop="10dp"
11- Build and run the app to see the result.
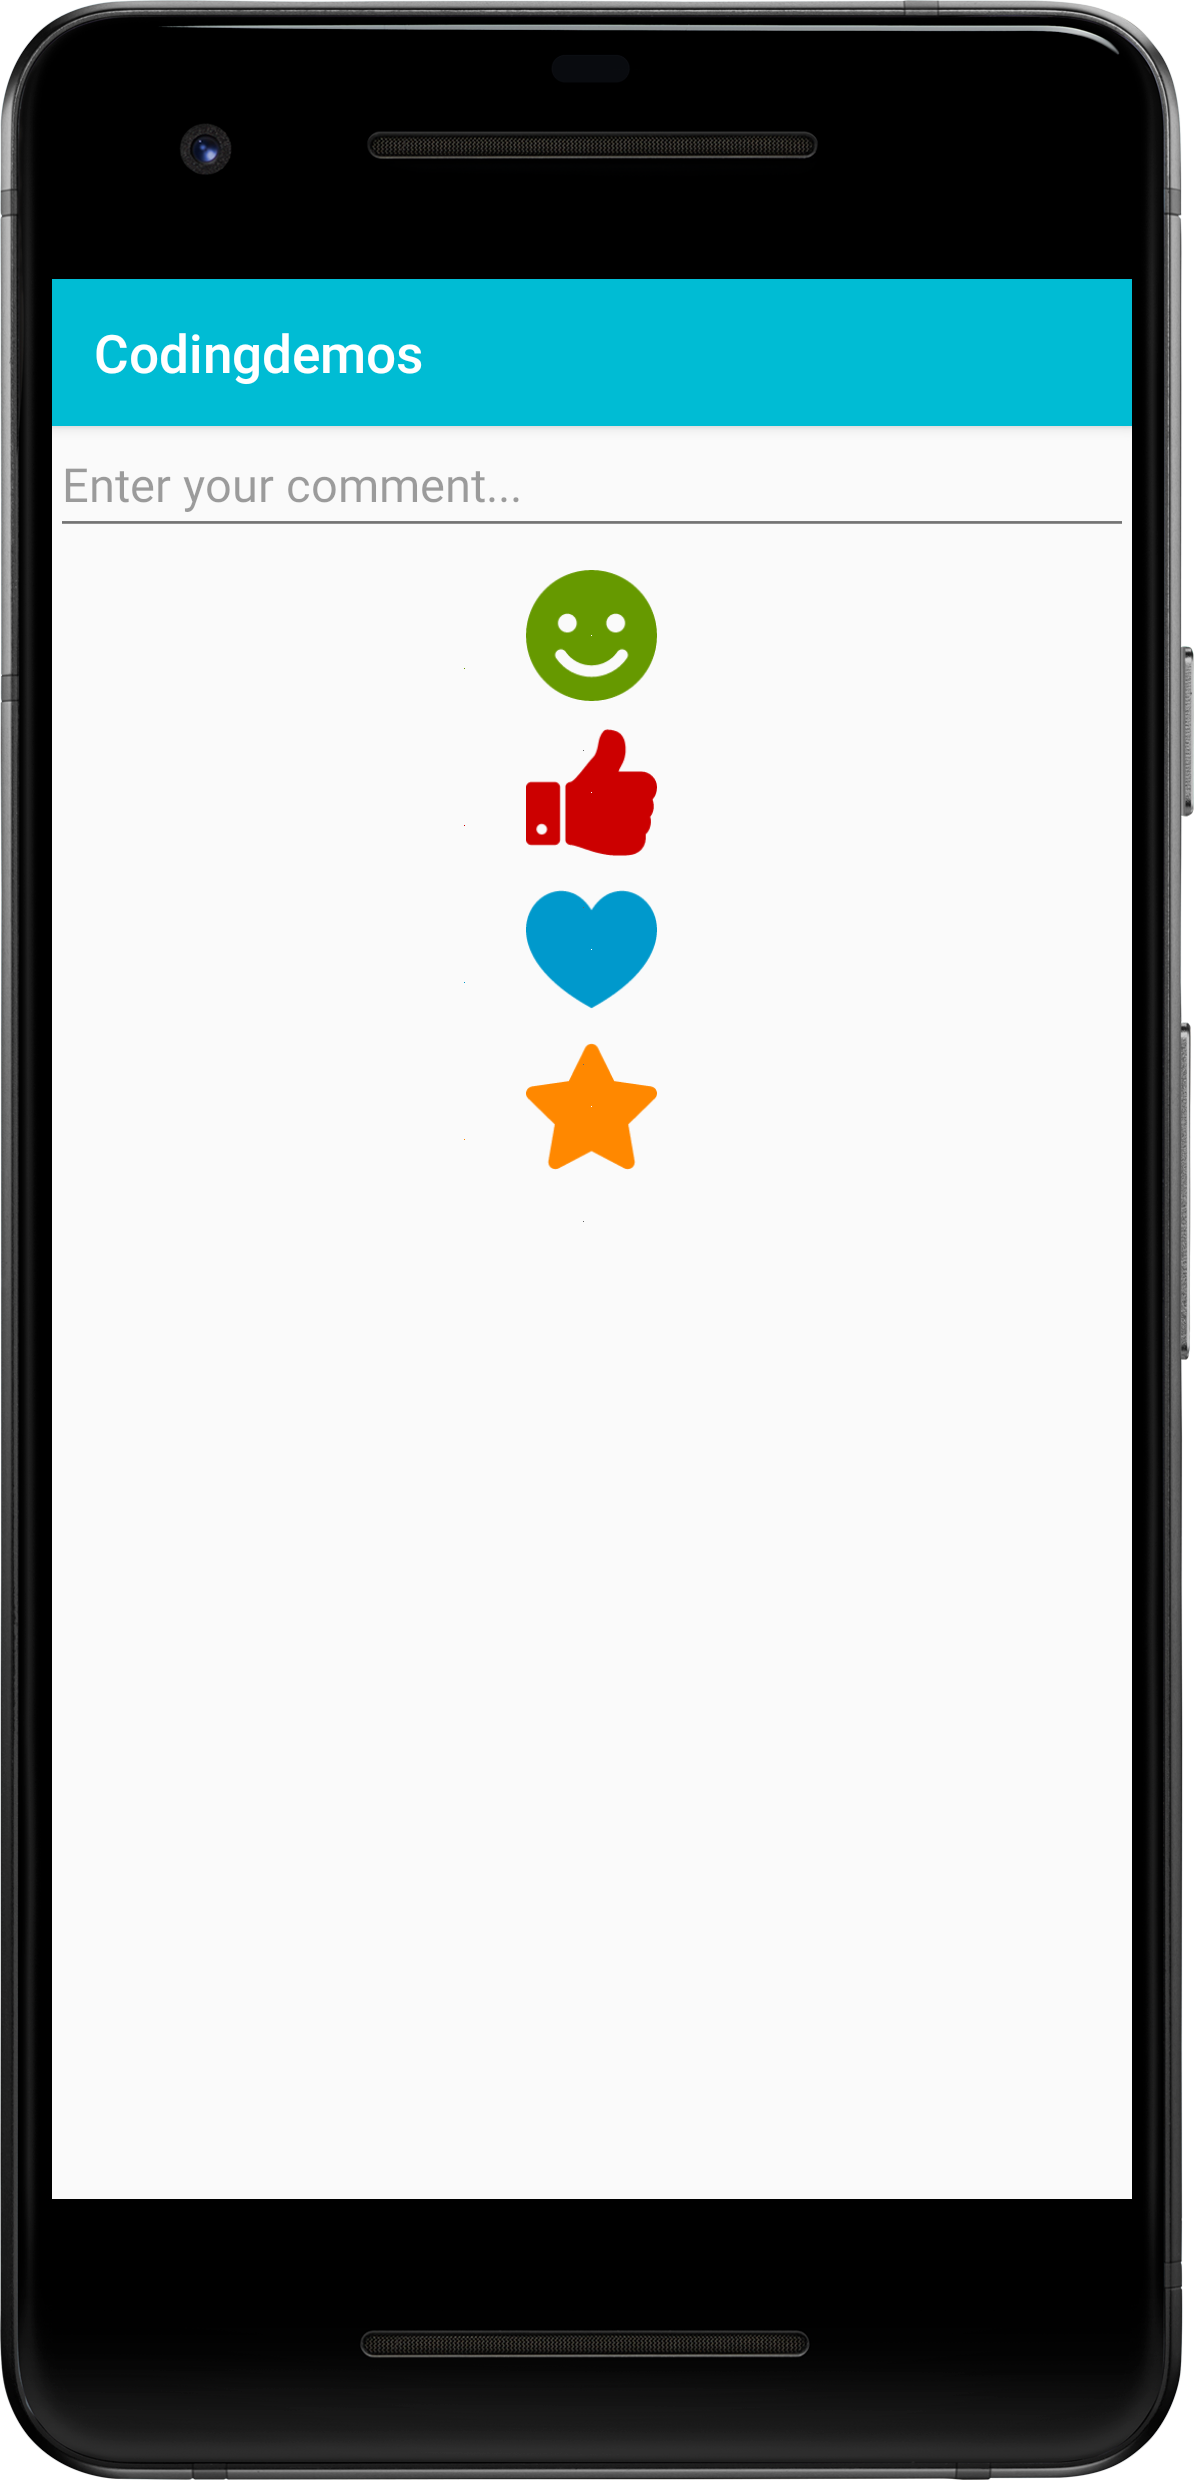
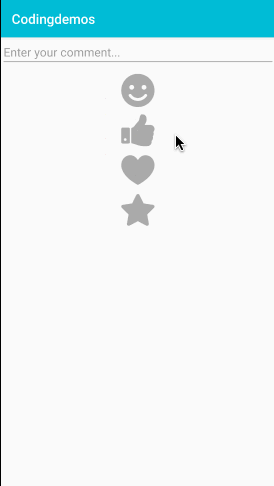
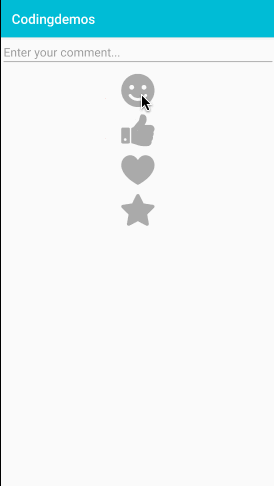
Android custom button with animation. (Large preview)
Android button with animation effect. (Large preview)
Customizing ShineButton View
In this section, you will learn how to apply certain types of customization to the ShineButton.
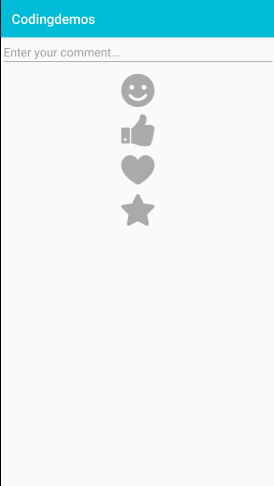
12- Let’s add a flash effect to the ShineButton view so that when the user taps on the button, it will show the flash effect. Add the following code inside the view.
app:enable_flashing="true"
13- Now build and run the app to see the result.
Android button flash animation effect. (Large preview)
14- You can add a random animation effect to the ShineButton view so that when the user taps on the button, it will show a random animation color effect. Add the following code inside the view.
app:allow_random_color="true"
15- Build and run the app.
Android button random animation effect. (Large preview)
16- You can customize the flash animation effect by setting a number of how many light effects that you want to see when the user taps on the button.
app:shine_count="20"
17- Let’s see the final output.
Increase the number of color animation effect. (Large preview)
There are many other types of customizations that you can apply to the ShineButton view.
18- Here is the full of code of activity_main.xml file.
< ?xml version="1.0" encoding="utf-8"? >
< LinearLayout xmlns:android="http://schemas.android.com/apk/res/android"
  xmlns:app="http://schemas.android.com/apk/res-auto"
  xmlns:tools="http://schemas.android.com/tools"
  android:layout_width="match_parent"
  android:layout_height="match_parent"
  android:orientation="vertical"
  tools:context=".MainActivity" >

  < EditText
    android:id="@+id/editText"
    android:layout_width="match_parent"
    android:layout_height="wrap_content"
    android:ems="10"
    android:hint="Enter your comment..."
    android:inputType="text" />

  < com.sackcentury.shinebuttonlib.ShineButton
    android:id="@+id/btnSmile"
    android:layout_width="50dp"
    android:layout_height="50dp"
    android:layout_gravity="center"
    android:layout_marginTop="10dp"
    android:src="@android:color/darker_gray"
    app:allow_random_color="false"
    app:btn_color="@android:color/darker_gray"
    app:btn_fill_color="@android:color/holo_green_dark"
    app:siShape="@raw/smile" />

  < com.sackcentury.shinebuttonlib.ShineButton
    android:id="@+id/btnLike"
    android:layout_width="50dp"
    android:layout_height="50dp"
    android:layout_gravity="center"
    android:layout_marginTop="10dp"
    android:src="@android:color/darker_gray"
    app:allow_random_color="false"
    app:btn_color="@android:color/darker_gray"
    app:btn_fill_color="@android:color/holo_red_dark"
    app:siShape="@raw/like" />

  < com.sackcentury.shinebuttonlib.ShineButton
    android:id="@+id/btnHeart"
    android:layout_width="50dp"
    android:layout_height="50dp"
    android:layout_gravity="center"
    android:layout_marginTop="10dp"
    android:src="@android:color/darker_gray"
    app:allow_random_color="false"
    app:btn_color="@android:color/darker_gray"
    app:btn_fill_color="@android:color/holo_blue_dark"
    app:siShape="@raw/heart" />

  < com.sackcentury.shinebuttonlib.ShineButton
    android:id="@+id/btnStar"
    android:layout_width="50dp"
    android:layout_height="50dp"
    android:layout_gravity="center"
    android:layout_marginTop="10dp"
    android:src="@android:color/darker_gray"
    app:allow_random_color="false"
    app:btn_color="@android:color/darker_gray"
    app:btn_fill_color="@android:color/holo_orange_dark"
    app:siShape="@raw/star" />
< /LinearLayout>
19- I hope you find this tutorial helpful and if you have any questions please post them in the comment below.