
Last Updated on February 6, 2018
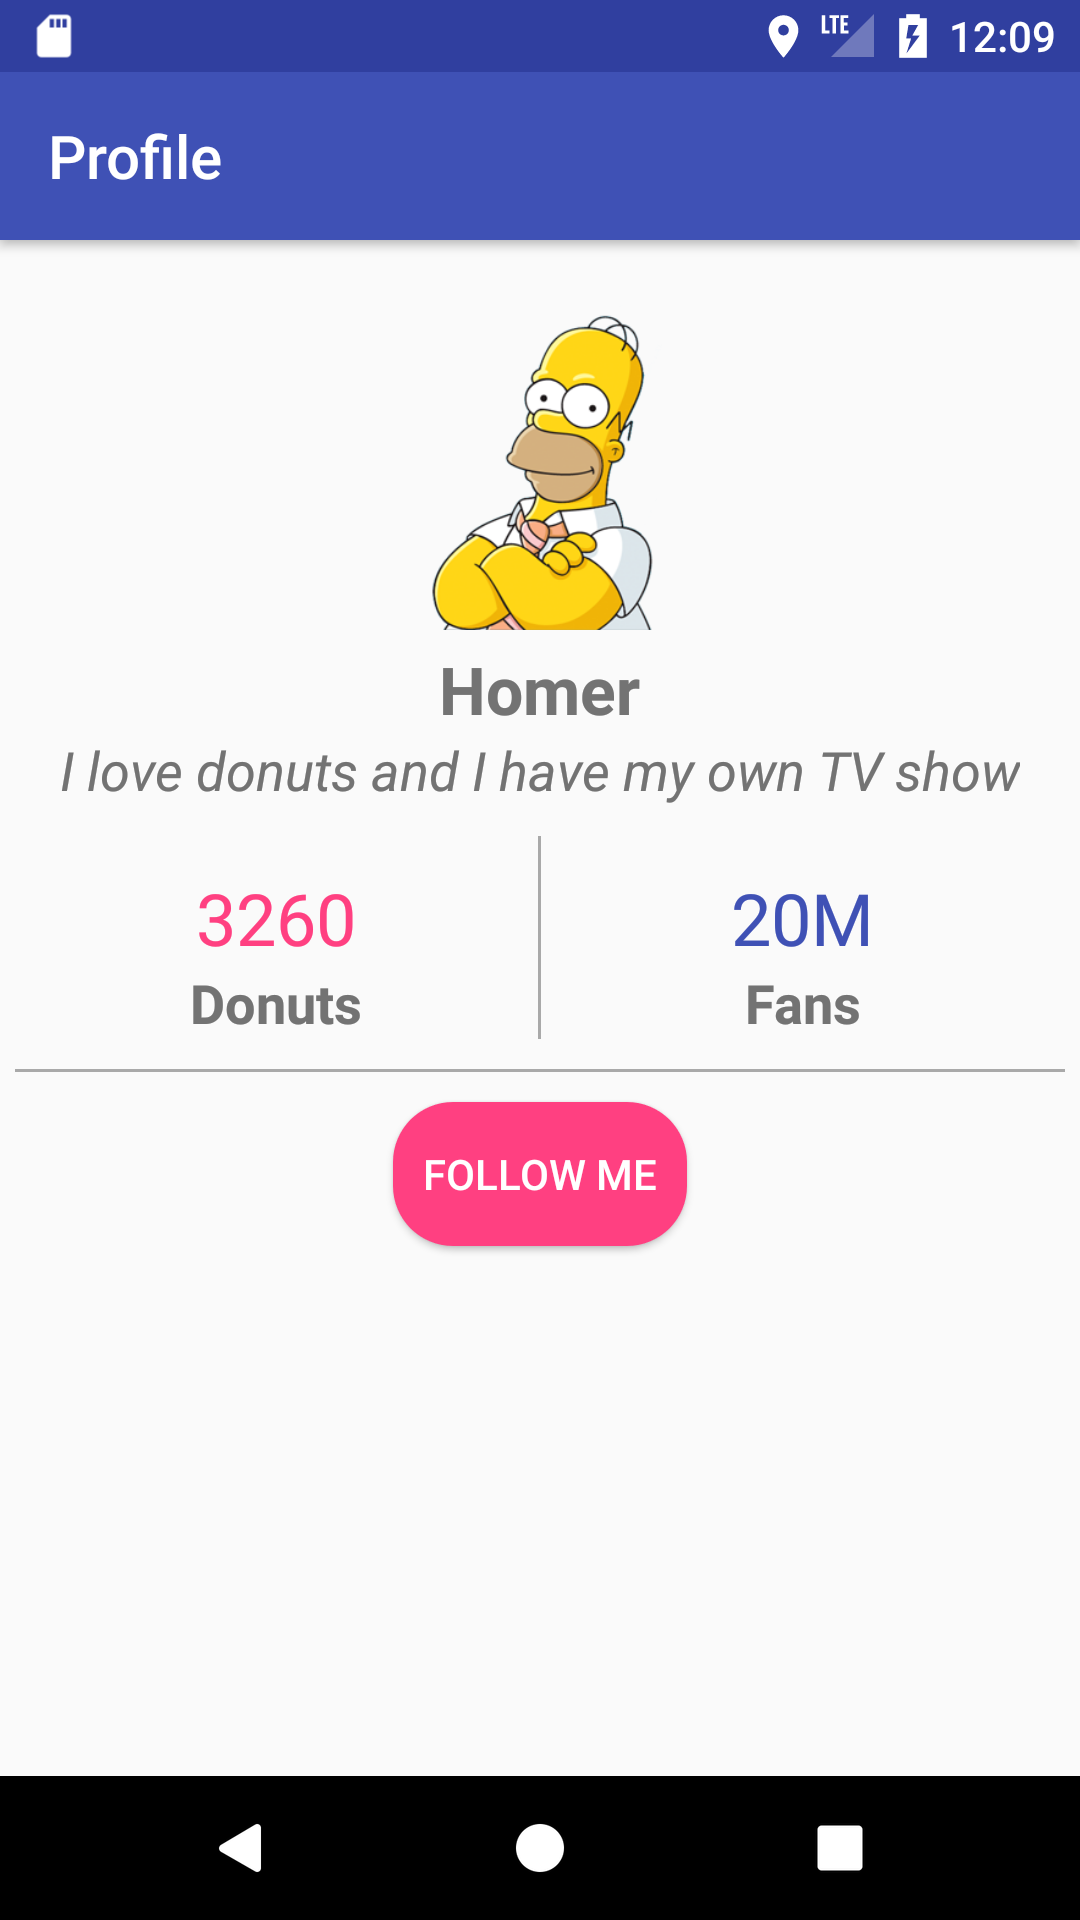
Hi and welcome to another tutorial from Codingdemos, in this tutorial you will learn about Android profile page design, how you can design profile page in XML using Android Studio. In the profile page we will have a profile picture, a description and some statistics about the user and finally a button where you can follow and unfollow the user.
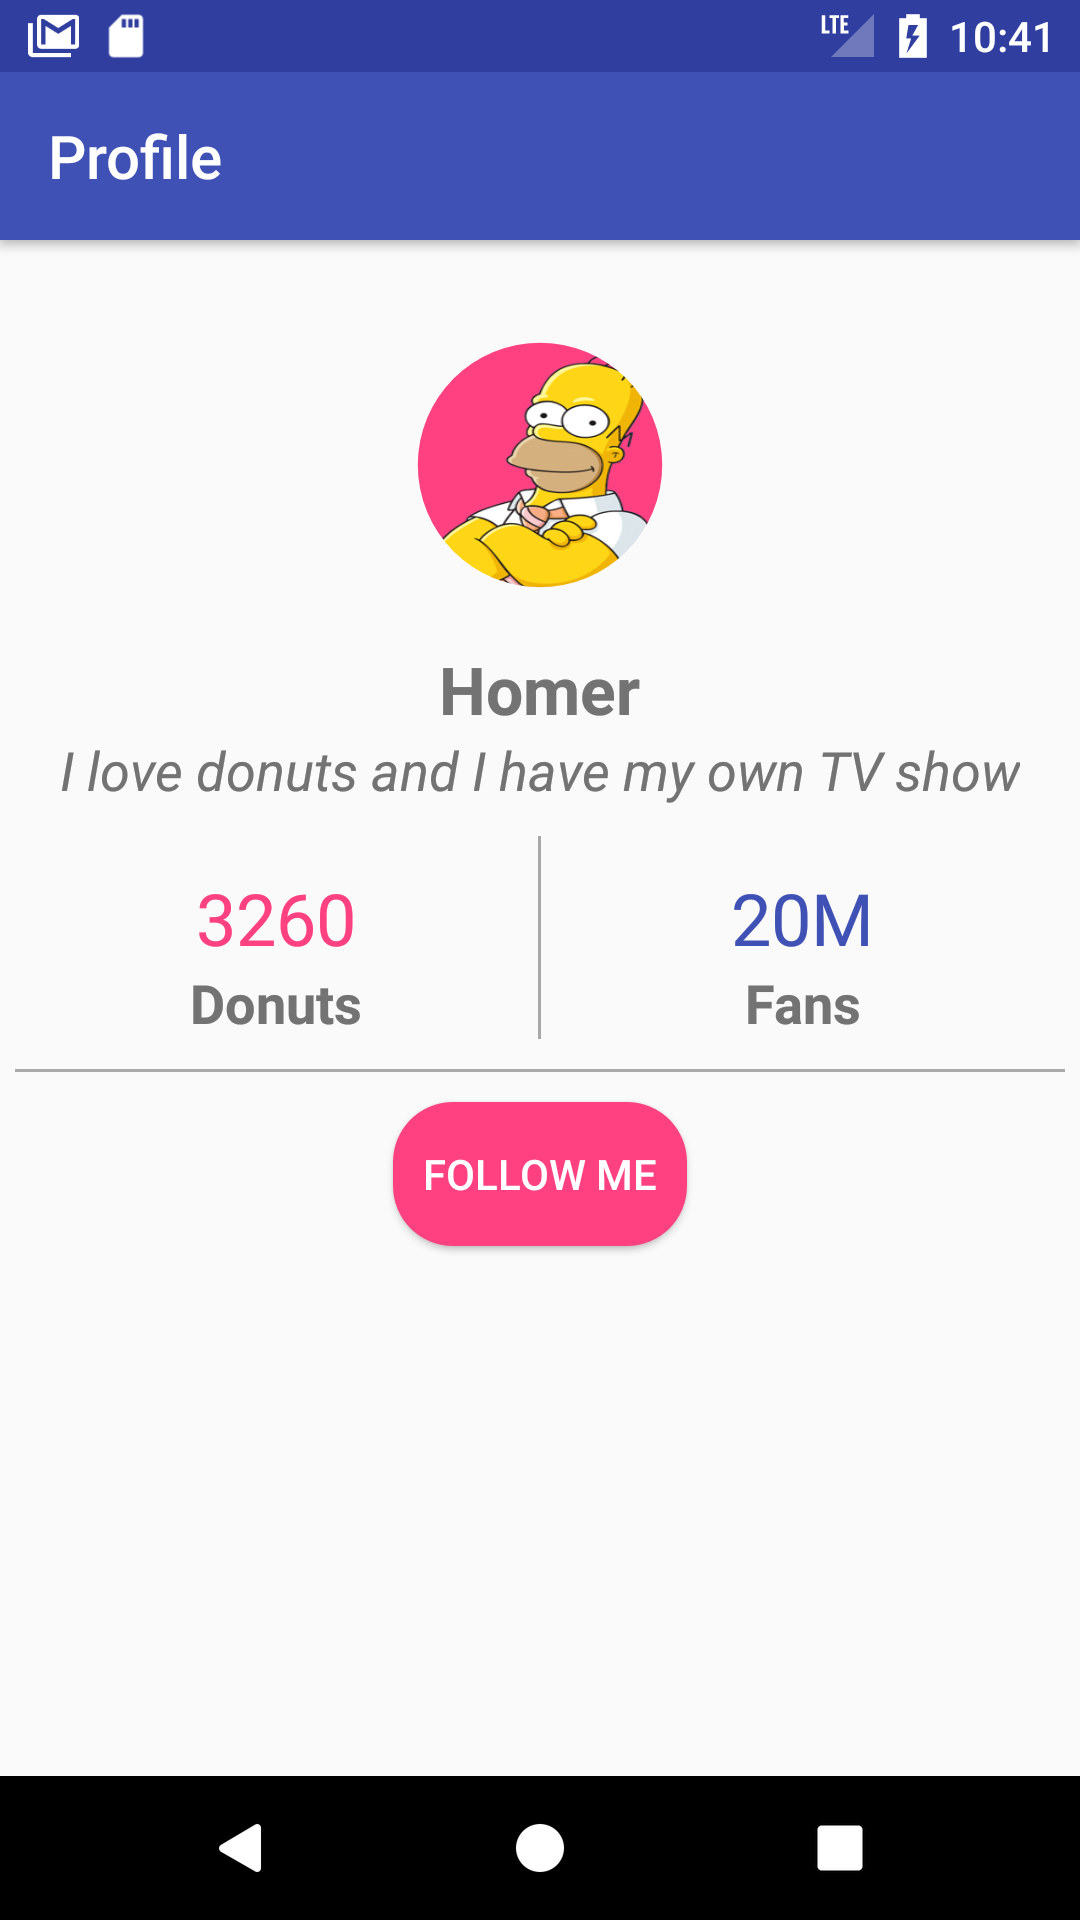
By the end of this article, we will have an app that looks like this. (Large preview)
In this tutorial we will be using the following:
-
– Android studio version 3.0
– Android emulator Nexus 5 with API 26
– Minimum SDK API 16
1- Open up Android Studio and create a new project and give it a name, in our case we’ve named it (Profile), choose API 16 as the minimum SDK, then choose a blank activity, click “Finish” and wait for Android Studio to build your project.
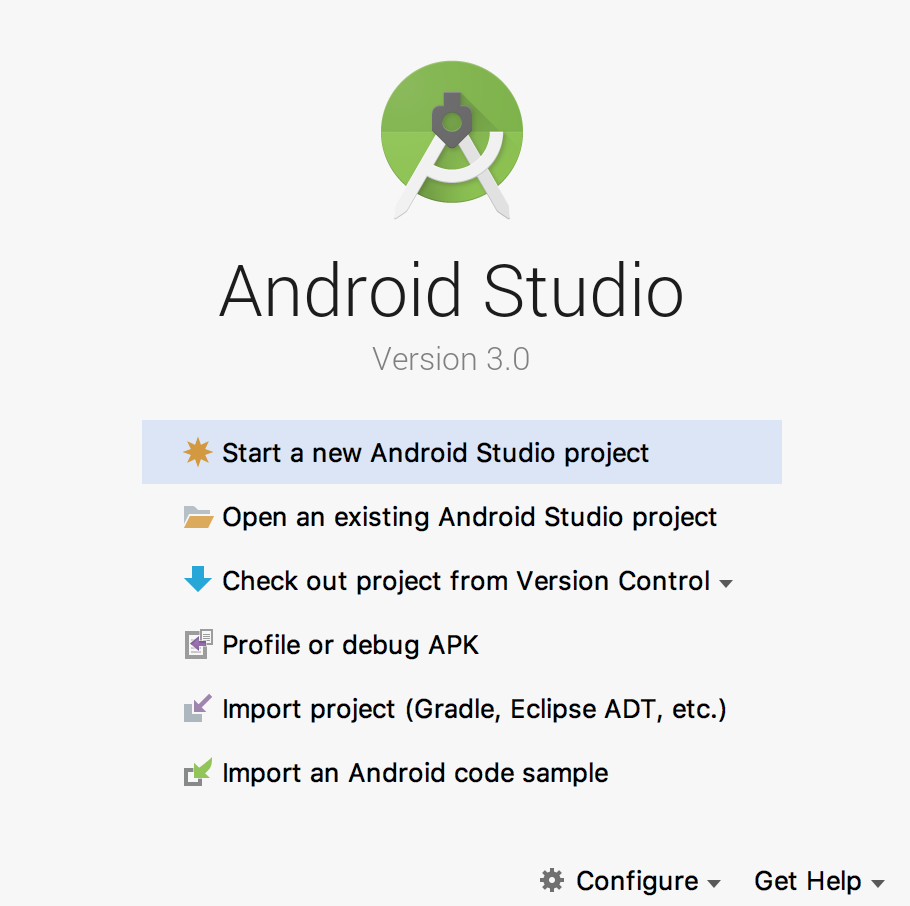
Create new Android Studio project. (Large preview)
2- Open up activity_main.xml file, first add an ImageView that will show the user picture and give it an ID (ivProfile).
< ImageView
        android:id="@+id/ivProfile"
        android:layout_width="wrap_content"
        android:layout_height="wrap_content" />
3- Next add the image that you want it to show in the ImageView. You drag the image that you want to the drawable folder.
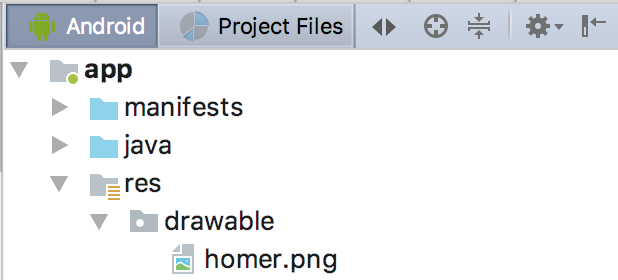
Add image to drawable folder in Android Studio. (Large preview)
4- You can then use that image from the drawable folder and set it inside the ImageView.
< ImageView
        android:id="@+id/imageView"
        android:layout_width="wrap_content"
        android:layout_height="wrap_content"
        android:src="@drawable/homer"/>
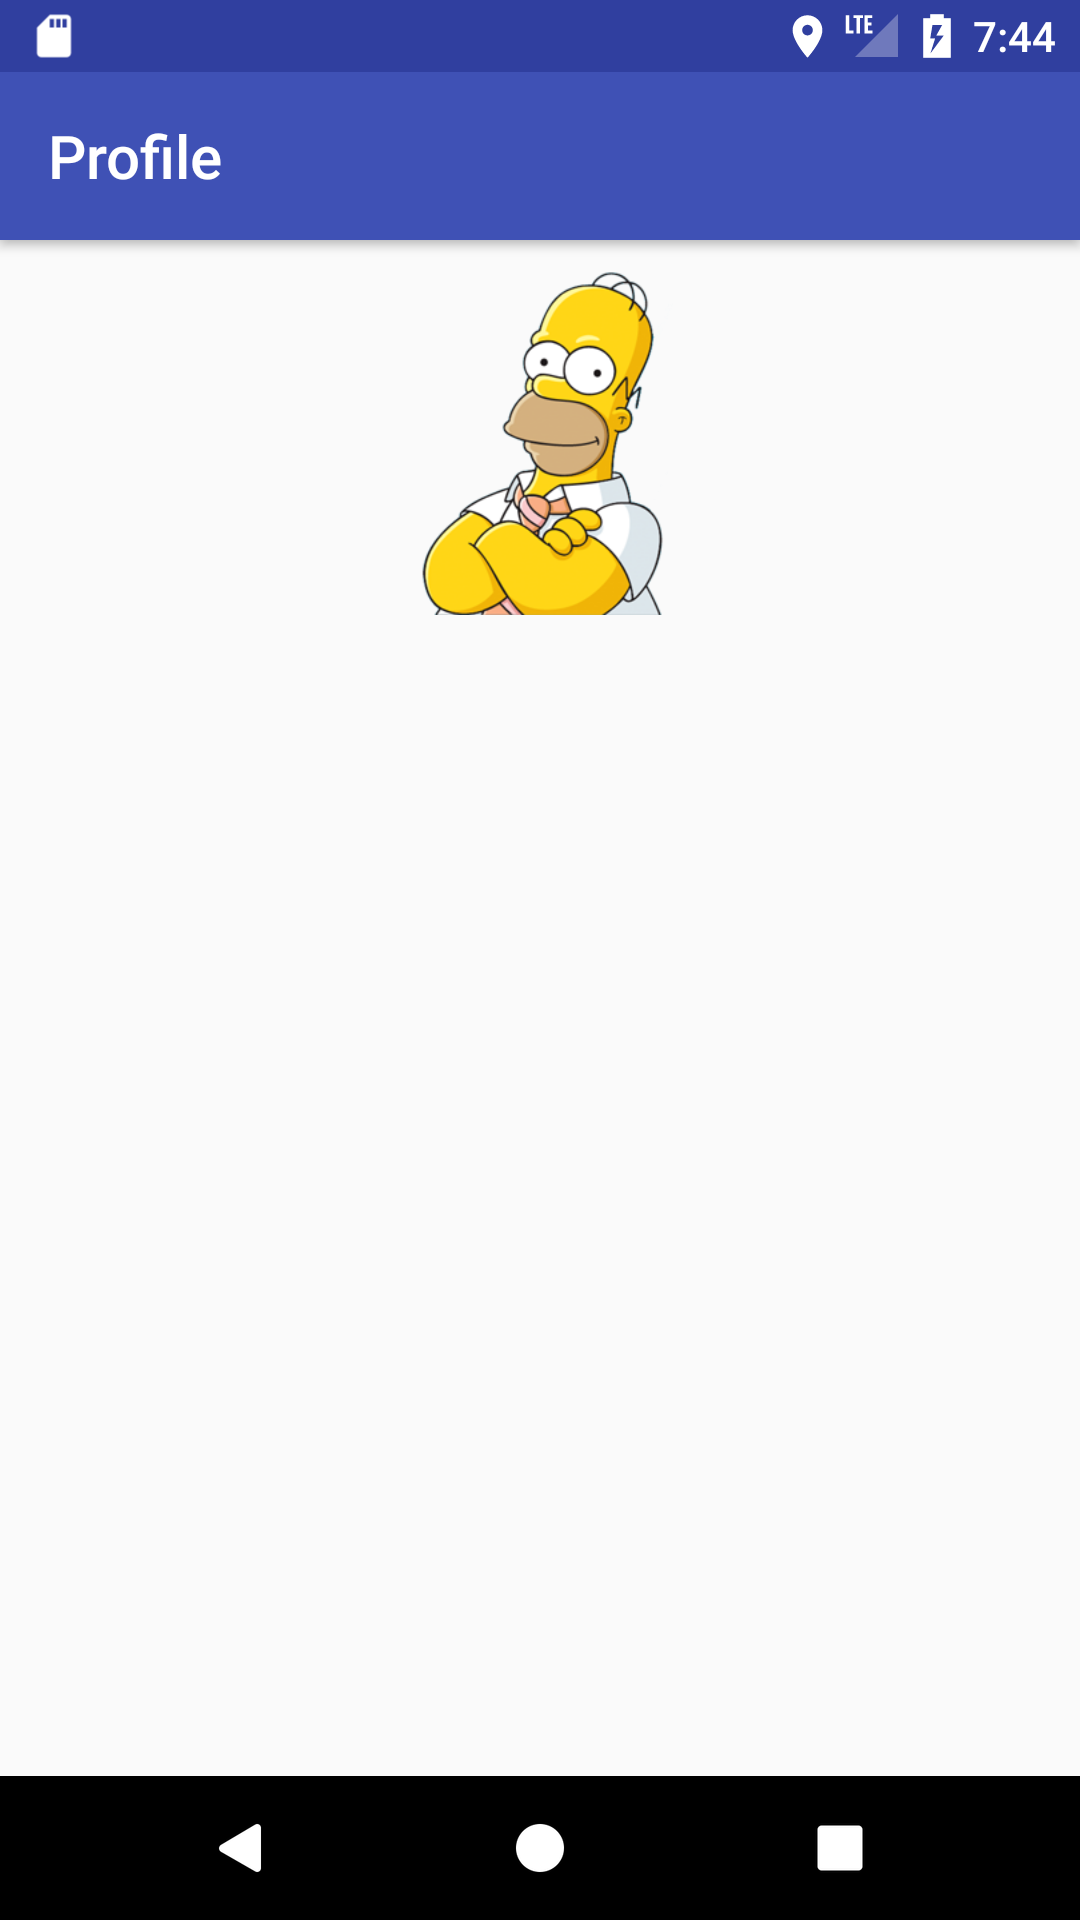
5- Run the app and see how the ImageView appear in the emulator.
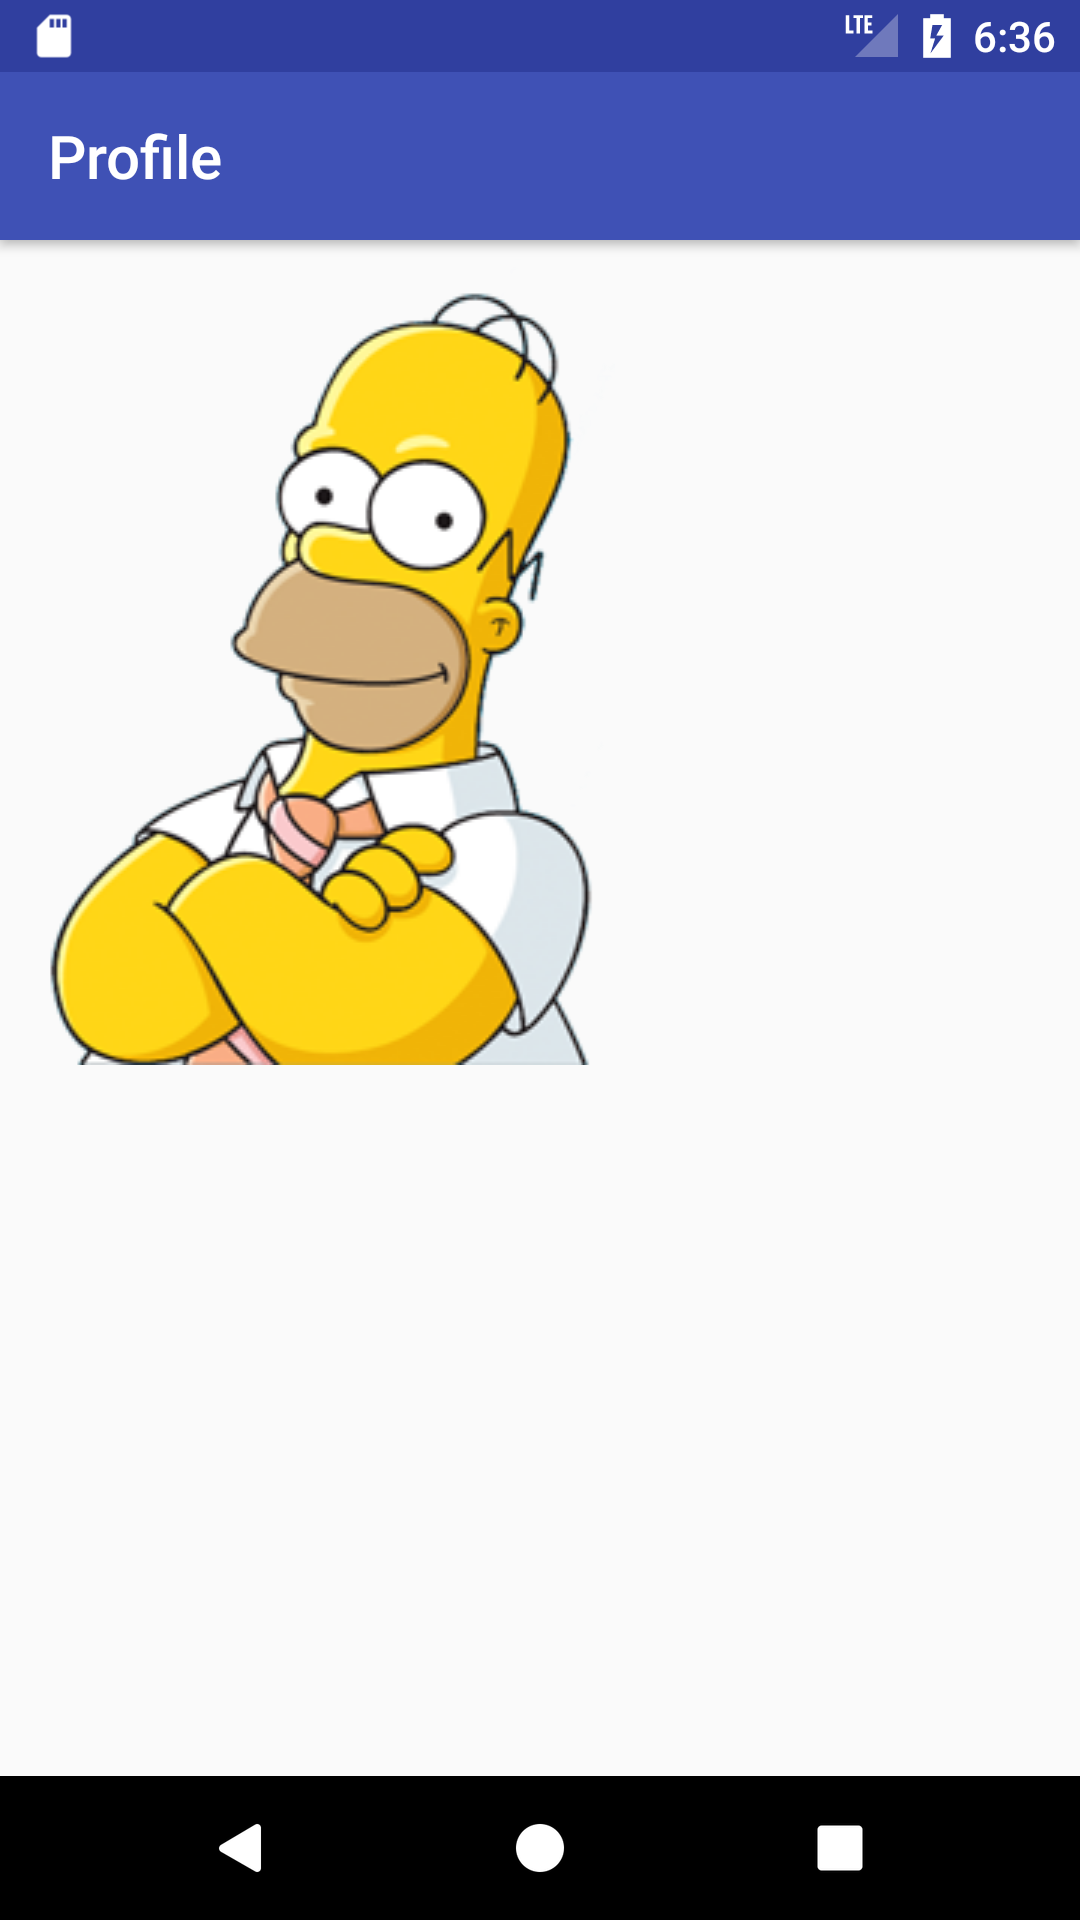
Show the image inside ImageView. (Large preview)
6- Great now you can see the image, next you need to set the image size (Width & height), the position and some padding and margin so that it looks exactly as in the expected result.
< ImageView
        android:id="@+id/ivProfile"
        android:layout_width="120dp"
        android:layout_height="120dp"
        android:layout_alignParentTop="true"
        android:layout_centerHorizontal="true"
        android:layout_marginTop="10dp"
        android:padding="5dp"
        app:srcCompat="@drawable/homer" />
7- Now build and run the app.
Android ImageView in the center. (Large preview)
8- Add 2 TextViews (username & description) and make sure they are positioned in the center.
< TextView
        android:id="@+id/tvName"
        android:layout_width="wrap_content"
        android:layout_height="wrap_content"
        android:layout_below="@id/ivProfile"
        android:layout_centerHorizontal="true"
        android:gravity="center"
        android:text="Homer" />

< TextView
        android:id="@+id/tvDescription"
        android:layout_width="wrap_content"
        android:layout_height="wrap_content"
        android:layout_below="@+id/tvName"
        android:layout_centerHorizontal="true"
        android:gravity="center"
        android:text="I love donuts and I have my own TV show"/>
9- You need to increase the text size and change text style for the username and description label.
< TextView
        android:id="@+id/tvName"
        android:layout_width="wrap_content"
        android:layout_height="wrap_content"
        android:layout_below="@id/ivProfile"
        android:layout_centerHorizontal="true"
        android:gravity="center"
        android:text="Homer"
        android:textSize="22sp"
        android:textStyle="bold" />

    < TextView
        android:id="@+id/tvDescription"
        android:layout_width="wrap_content"
        android:layout_height="wrap_content"
        android:layout_below="@+id/tvName"
        android:layout_centerHorizontal="true"
        android:gravity="center"
        android:text="I love donuts and I have my own TV show"
        android:textSize="18sp"
        android:textStyle="italic" />
10- Build and run the app to see the progress.
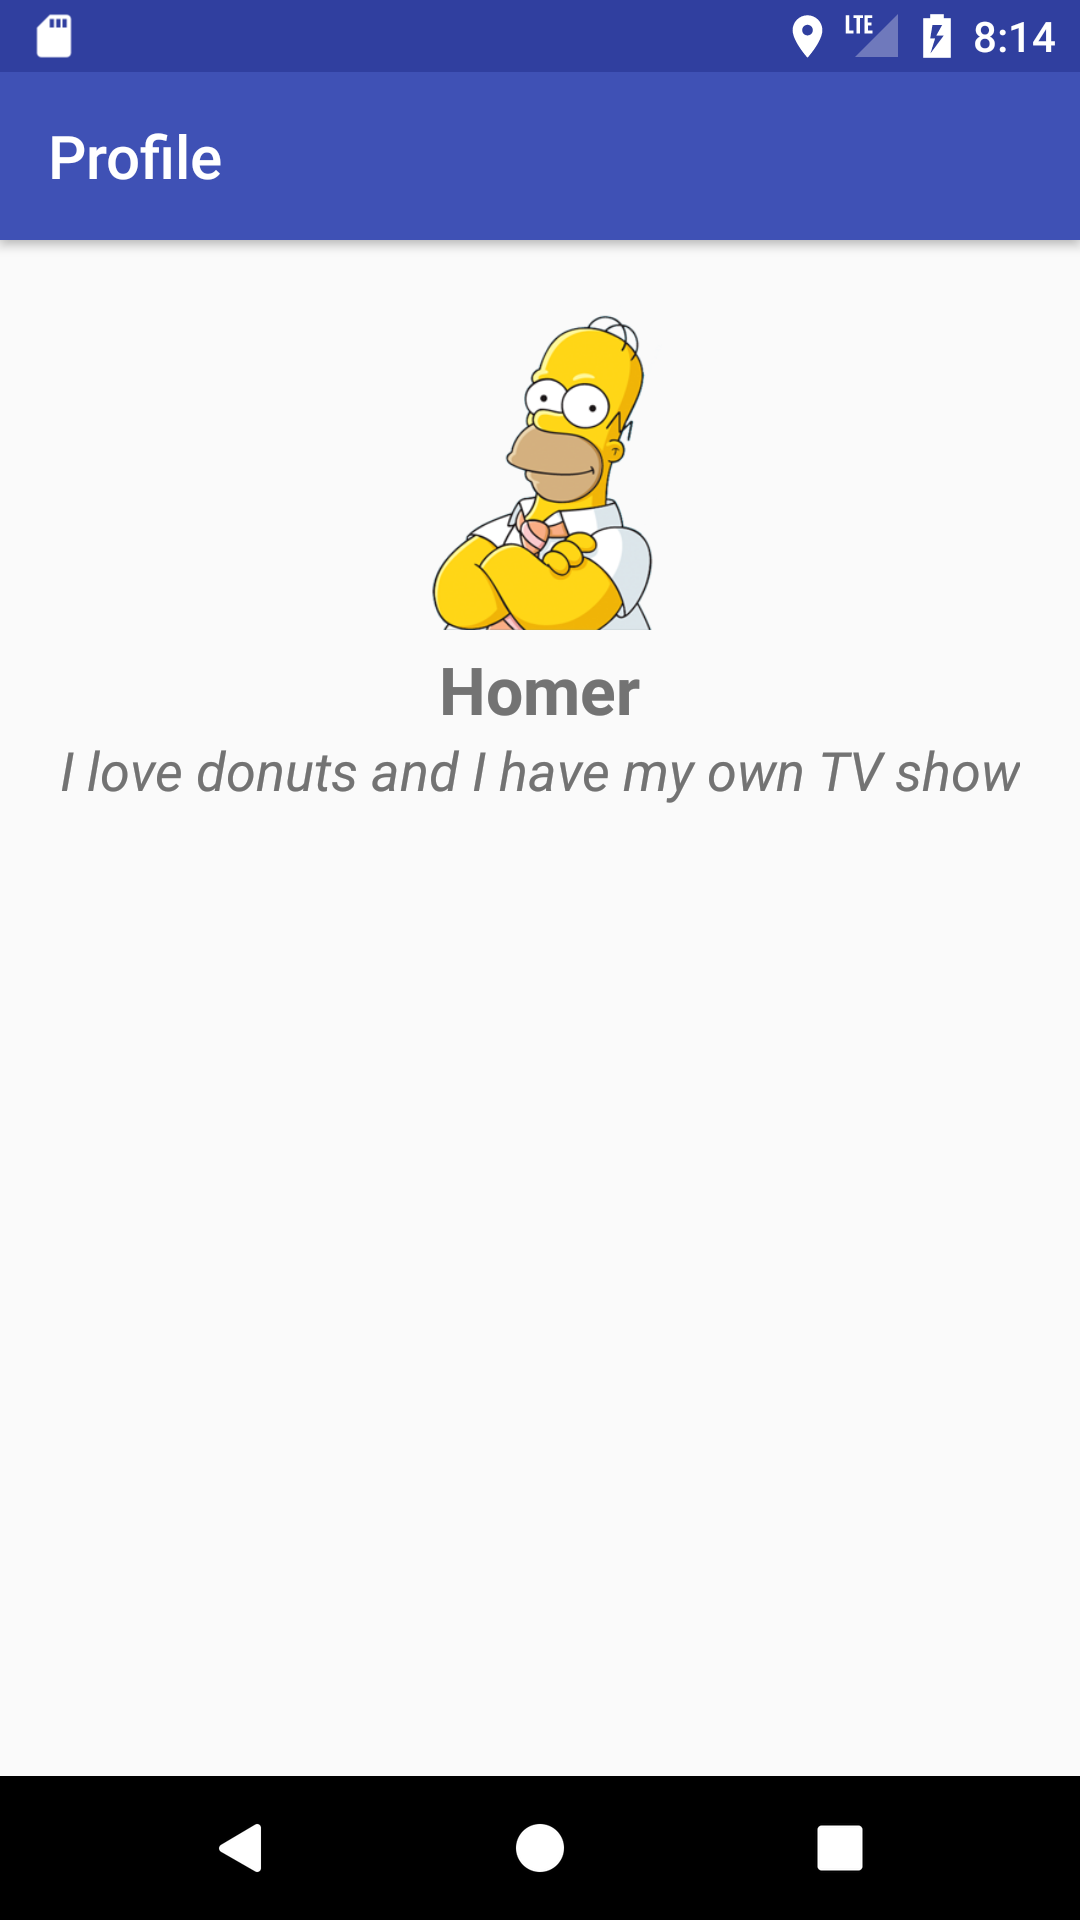
Android ImageView & TextView in the center. (Large preview)
11- Now you need to add the profile statistics layout, this layout show you the number of donuts this user ate and the number of followers he have. You will use a LinearLayout with horizontal orientation to be able to show these data in one line.
< LinearLayout
        android:id="@+id/linearLayout"
        android:layout_width="match_parent"
        android:layout_height="wrap_content"
        android:layout_below="@id/tvDescription"
        android:layout_centerHorizontal="true"
        android:layout_marginTop="10dp"
        android:orientation="horizontal">

< /LinearLayout>
12- Inside the LinearLayout there will be another 2 more LinearLayout, one will hold the donuts data while the other one holds the followers data.
13- To have these 2 LinearLayout appear on the same line you will need to use android:layout_weight Using this attribute you tell Android how much space that you need for this layout and make sure you set the width of the layout to (0dp)
< LinearLayout
            android:layout_width="0dp"
            android:layout_height="wrap_content"
            android:layout_marginTop="11dp"
            android:layout_weight="1"
            android:gravity="center"
            android:orientation="vertical">


        < /LinearLayout>

< LinearLayout
            android:layout_width="0dp"
            android:layout_height="wrap_content"
            android:layout_marginTop="11dp"
            android:layout_weight="1"
            android:gravity="center"
            android:orientation="vertical">


        < /LinearLayout>
14- First you work on the LinearLayout that holds the donuts data, in this LinearLayout there will be 2 TextView which you need to create: First TextView represent the number of donuts while the second TextView represent the (Donut) label.
< LinearLayout
            android:layout_width="0dp"
            android:layout_height="wrap_content"
            android:layout_marginTop="11dp"
            android:layout_weight="1"
            android:gravity="center"
            android:orientation="vertical">

            < TextView
                android:id="@+id/tv1"
                android:layout_width="wrap_content"
                android:layout_height="wrap_content"
                android:gravity="center"
                android:text="3260"
                android:textColor="@color/colorAccent"
                android:textSize="24sp" />

            < TextView
                android:layout_width="wrap_content"
                android:layout_height="wrap_content"
                android:text="Donuts"
                android:textSize="18sp"
                android:textStyle="bold" />

        < /LinearLayout>
15- The second LinearLayout that holds the followers data which will also have 2 TextView: First TextView represent the number of fans, while the second TextView represent the (Fans) label.
< LinearLayout
            android:layout_width="0dp"
            android:layout_height="wrap_content"
            android:layout_marginTop="11dp"
            android:layout_weight="1"
            android:gravity="center"
            android:orientation="vertical">

            < TextView
                android:id="@+id/tv2"
                android:layout_width="wrap_content"
                android:layout_height="wrap_content"
                android:gravity="center"
                android:text="20M"
                android:textColor="@color/colorPrimary"
                android:textSize="24sp" />

            < TextView
                android:layout_width="wrap_content"
                android:layout_height="wrap_content"
                android:text="Fans"
                android:textSize="18sp"
                android:textStyle="bold" />

        < /LinearLayout>
16- Build and run the app to see the progress.
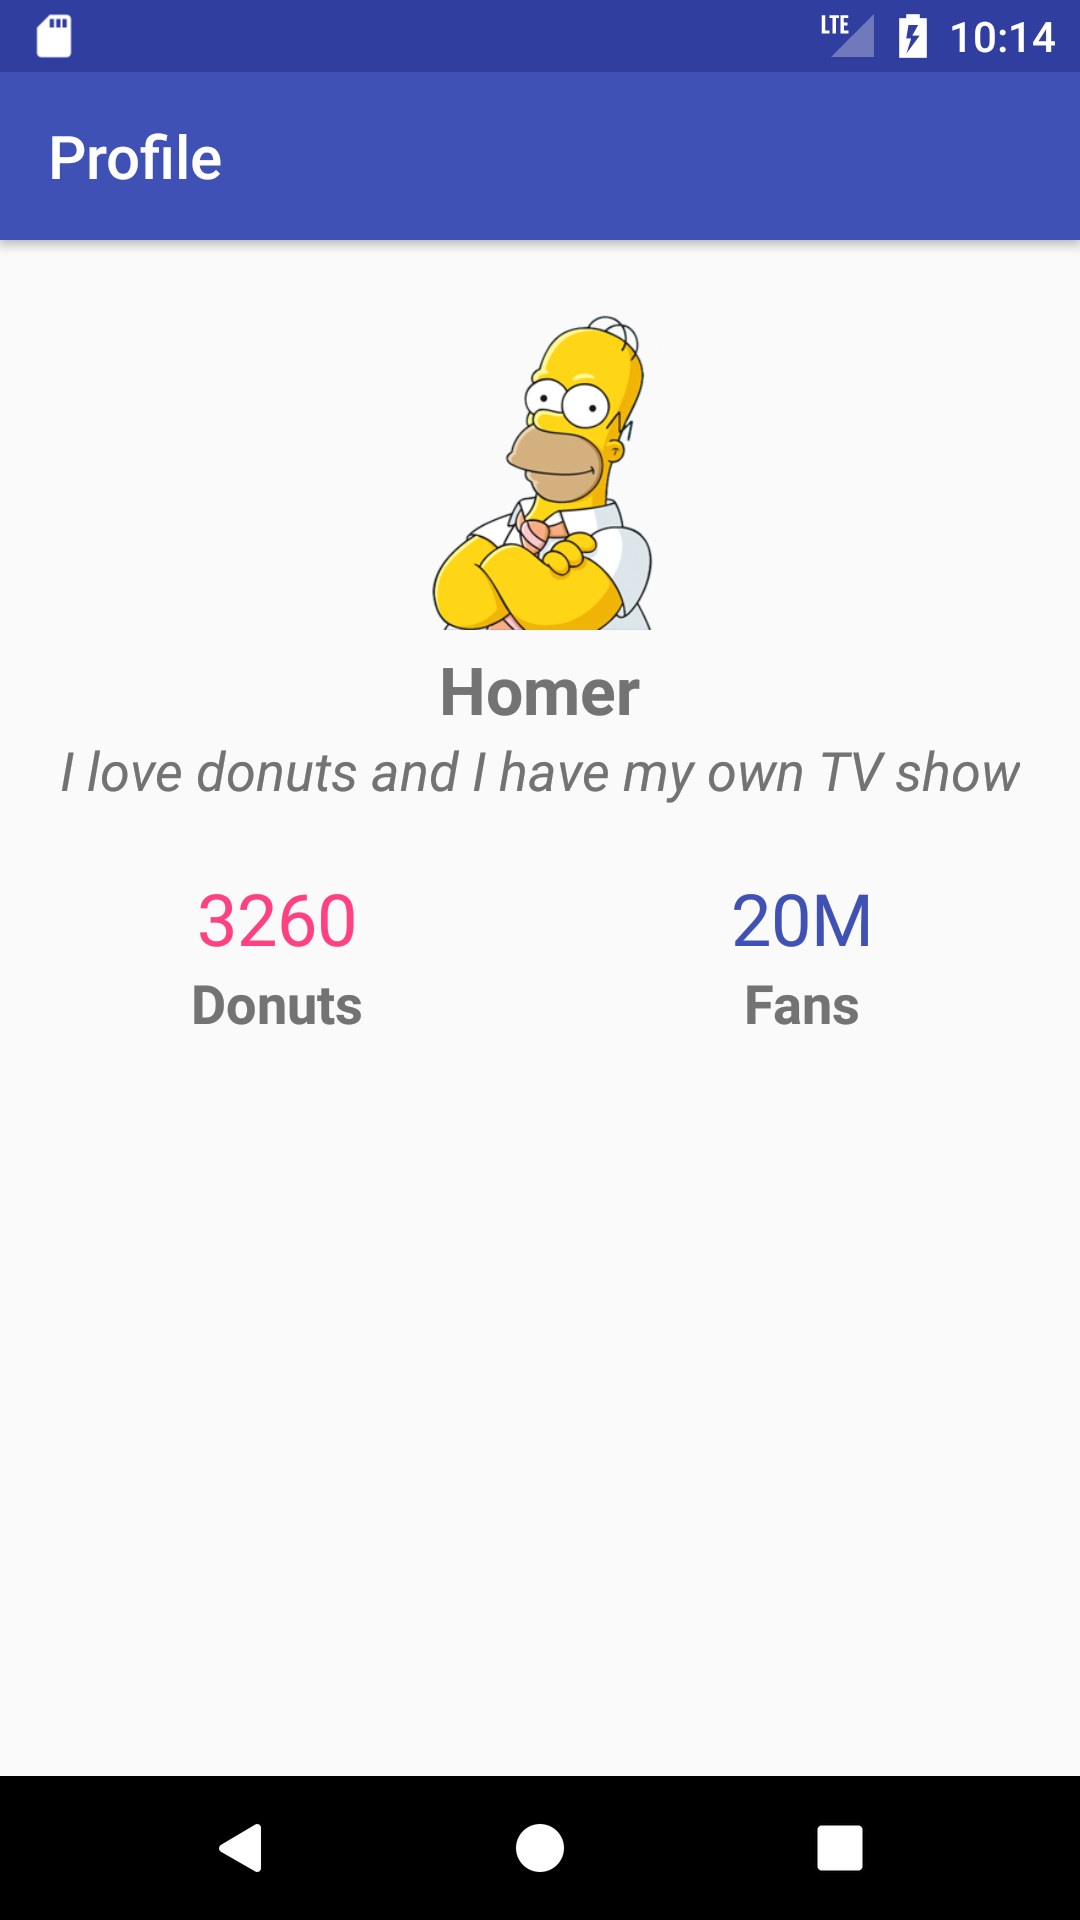
Horizontal LinearLayout that shows the user data. (Large preview)
17- Now you need to add a vertical line between the (Donuts) and the (Fans) LinearLayout using Android View. Using Android View, you can set android:layout_width to a value which represent the thickness of the line that you want to draw, while the layout height should be set as (match_parent) so that the line will be drawn vertically and finally set the color of the line using android:background="#A9A9A9".
< View
            android:layout_width="1dp"
            android:layout_height="match_parent"
            android:background="#A9A9A9" />
18- Build and run the app to see the vertical line.
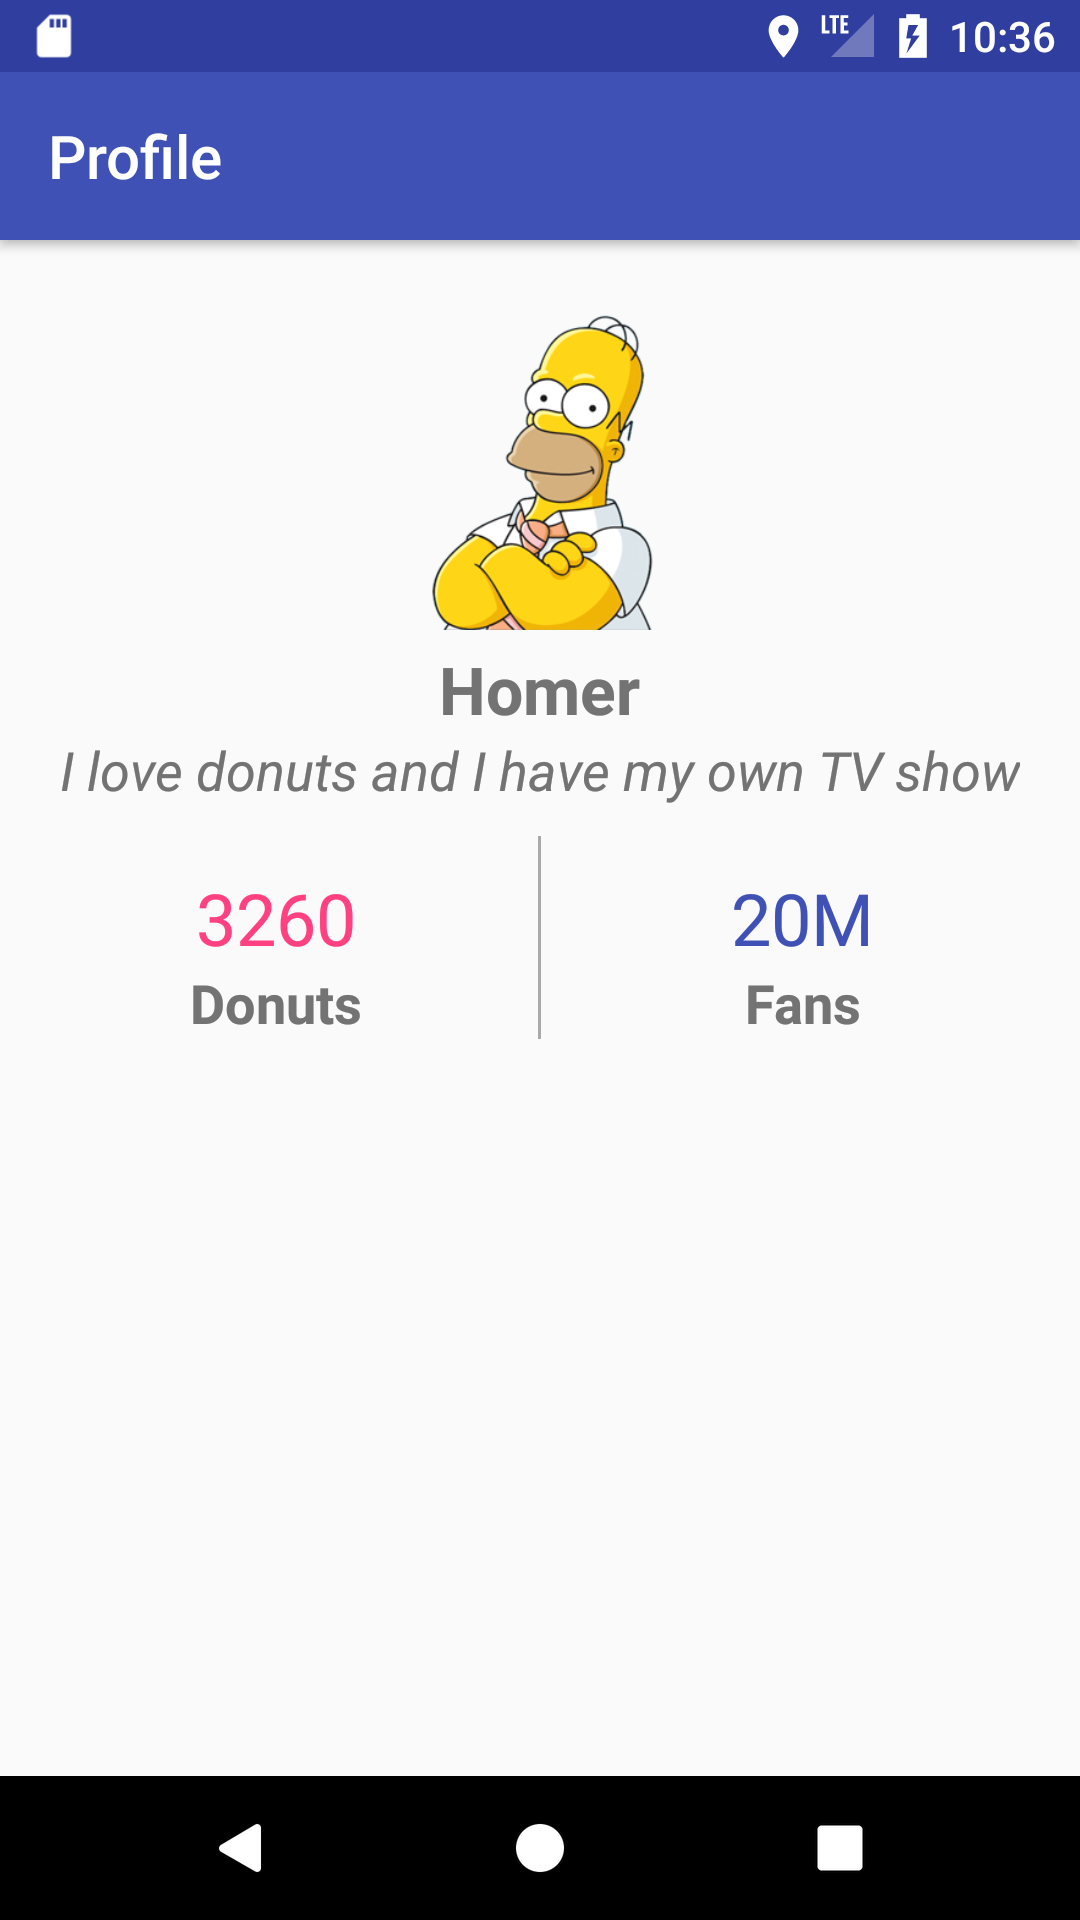
Use Android View to draw vertical line. (Large preview)
19- Next you need to use Android View to draw the horizontal line, this line will be placed under the main LinearLayout. Drawing a horizontal line is almost similar to vertical line, the only difference is you need to set the layout width as (match_parent) while you set the height to the value that you want which represent the thickness of the line.
< View
        android:id="@+id/line"
        android:layout_width="match_parent"
        android:layout_height="1dp"
        android:background="#A9A9A9" />
20- Build and run the app to see the horizontal line.

Use Android View to draw horizontal line. (Large preview)
21- The only thing remaining for you do is to add Android Button, you will need to create a custom button that have curve edges as shown in the expected output. You will use the standard Android Button with a bit of customization.
22- Create a new file under the drawable folder and name it (round_button), this file will be used as a background for the Button.

How to create a drawable file in Android Studio. (Large preview)
23- Inside round_button.xml file you will need to set few attributes: the shape type, color, radius and the paddings.
< ?xml version="1.0" encoding="utf-8"?>
< shape xmlns:android="http://schemas.android.com/apk/res/android"
    android:shape="rectangle">

    < corners android:radius="20dp"/>
    < solid android:color="@color/colorAccent"/>
    < padding
        android:bottom="5dp"
        android:left="10dp"
        android:right="10dp"
        android:top="5dp"/>

< /shape>
24- Open up activity_main.xml and add the (Follow me) Button. The Button will be positioned below the horizontal line and in the center, set the Button background as the (round_button) and change the text color of the Button to white.
< Button
        android:id="@+id/btnFollow"
        android:layout_width="wrap_content"
        android:layout_height="wrap_content"
        android:layout_below="@+id/line"
        android:layout_centerHorizontal="true"
        android:layout_marginTop="10dp"
        android:background="@drawable/round_button"
        android:text="Follow me"
        android:textColor="#ffff" />
25- Build and run the app to see the (Follow me) Button.
Follow me custom Android Button. (Large preview)
26- Open up MainActivity.java file, here you need to initialize the ImageView, Button and configure the ImageView to have a circle shape.
27- Initialize the ImageView and Button in MainActivity.java file.
ImageView mIcon = findViewById(R.id.ivProfile);
Button mFollow = findViewById(R.id.btnFollow);
28- Next you need to use <a href="https://developer.android.com/reference/android/support/v4/graphics/drawable/RoundedBitmapDrawable.html">RoundedBitmapDrawable</a> to change the shape of the image to circle, this method takes a Bitmap and makes it circle. You might be wondering how you can get a Bitmap from an ImageView? And the answer is you use one of the Bitmap methods called BitmapFactory.
Bitmap bitmap = BitmapFactory.decodeResource(getResources(), R.drawable.homer);
29- Once you get the Bitmap, you can then use RoundedBitmapDrawable.
RoundedBitmapDrawable mDrawable = RoundedBitmapDrawableFactory.create(getResources(), bitmap);
mDrawable.setCircular(true);
30- You can change the background color of the image using Android setColorFilter.
mDrawable.setColorFilter(ContextCompat.getColor(MainActivity.this, R.color.colorAccent), PorterDuff.Mode.DST_OVER);
31- Lastly you can set the image with the circle shape to the ImageView.
mIcon.setImageDrawable(mDrawable);
32- Build and run the app to see the ImageView with circle shape.
Android ImageView with circle shape. (Large preview)
33- Tapping on (Follow me) button doesn’t do anything at the moment, you can change that by making it respond to your action. For example when you tap on the Button, the text will change from (Follow me) to (Following) and vice versa.
34- You can use Android Button setOnClickListener and inside the onClick you check whether you’ve previously tapped or not on the Button.
if (mFollow.getText().toString().equalsIgnoreCase("Follow me")) {
                    mFollow.setText("Following");
                } else {
                    mFollow.setText("Follow me");
                }
35- Build and run the app, tap on (Follow me) Button and you will see the text changes from (Follow me) to (Following) and vice versa. The source code for this tutorial is available on GitHub, I hope you find this tutorial helpful and if you have any question please post them in the comment below.
It is so nice
how can we crop the picture center crop or fit x,y?
is there more properties with roundedImageView?
Hi, thank you 🙂
Inside the ImageView tag in the xml file you can add this attribute (android:scaleType), from there you can choose the scale type that you like.