
Last Updated on May 20, 2018
Hi and welcome to another tutorial from Codingdemos, in this tutorial you will learn how to draw Android border around a TextView.
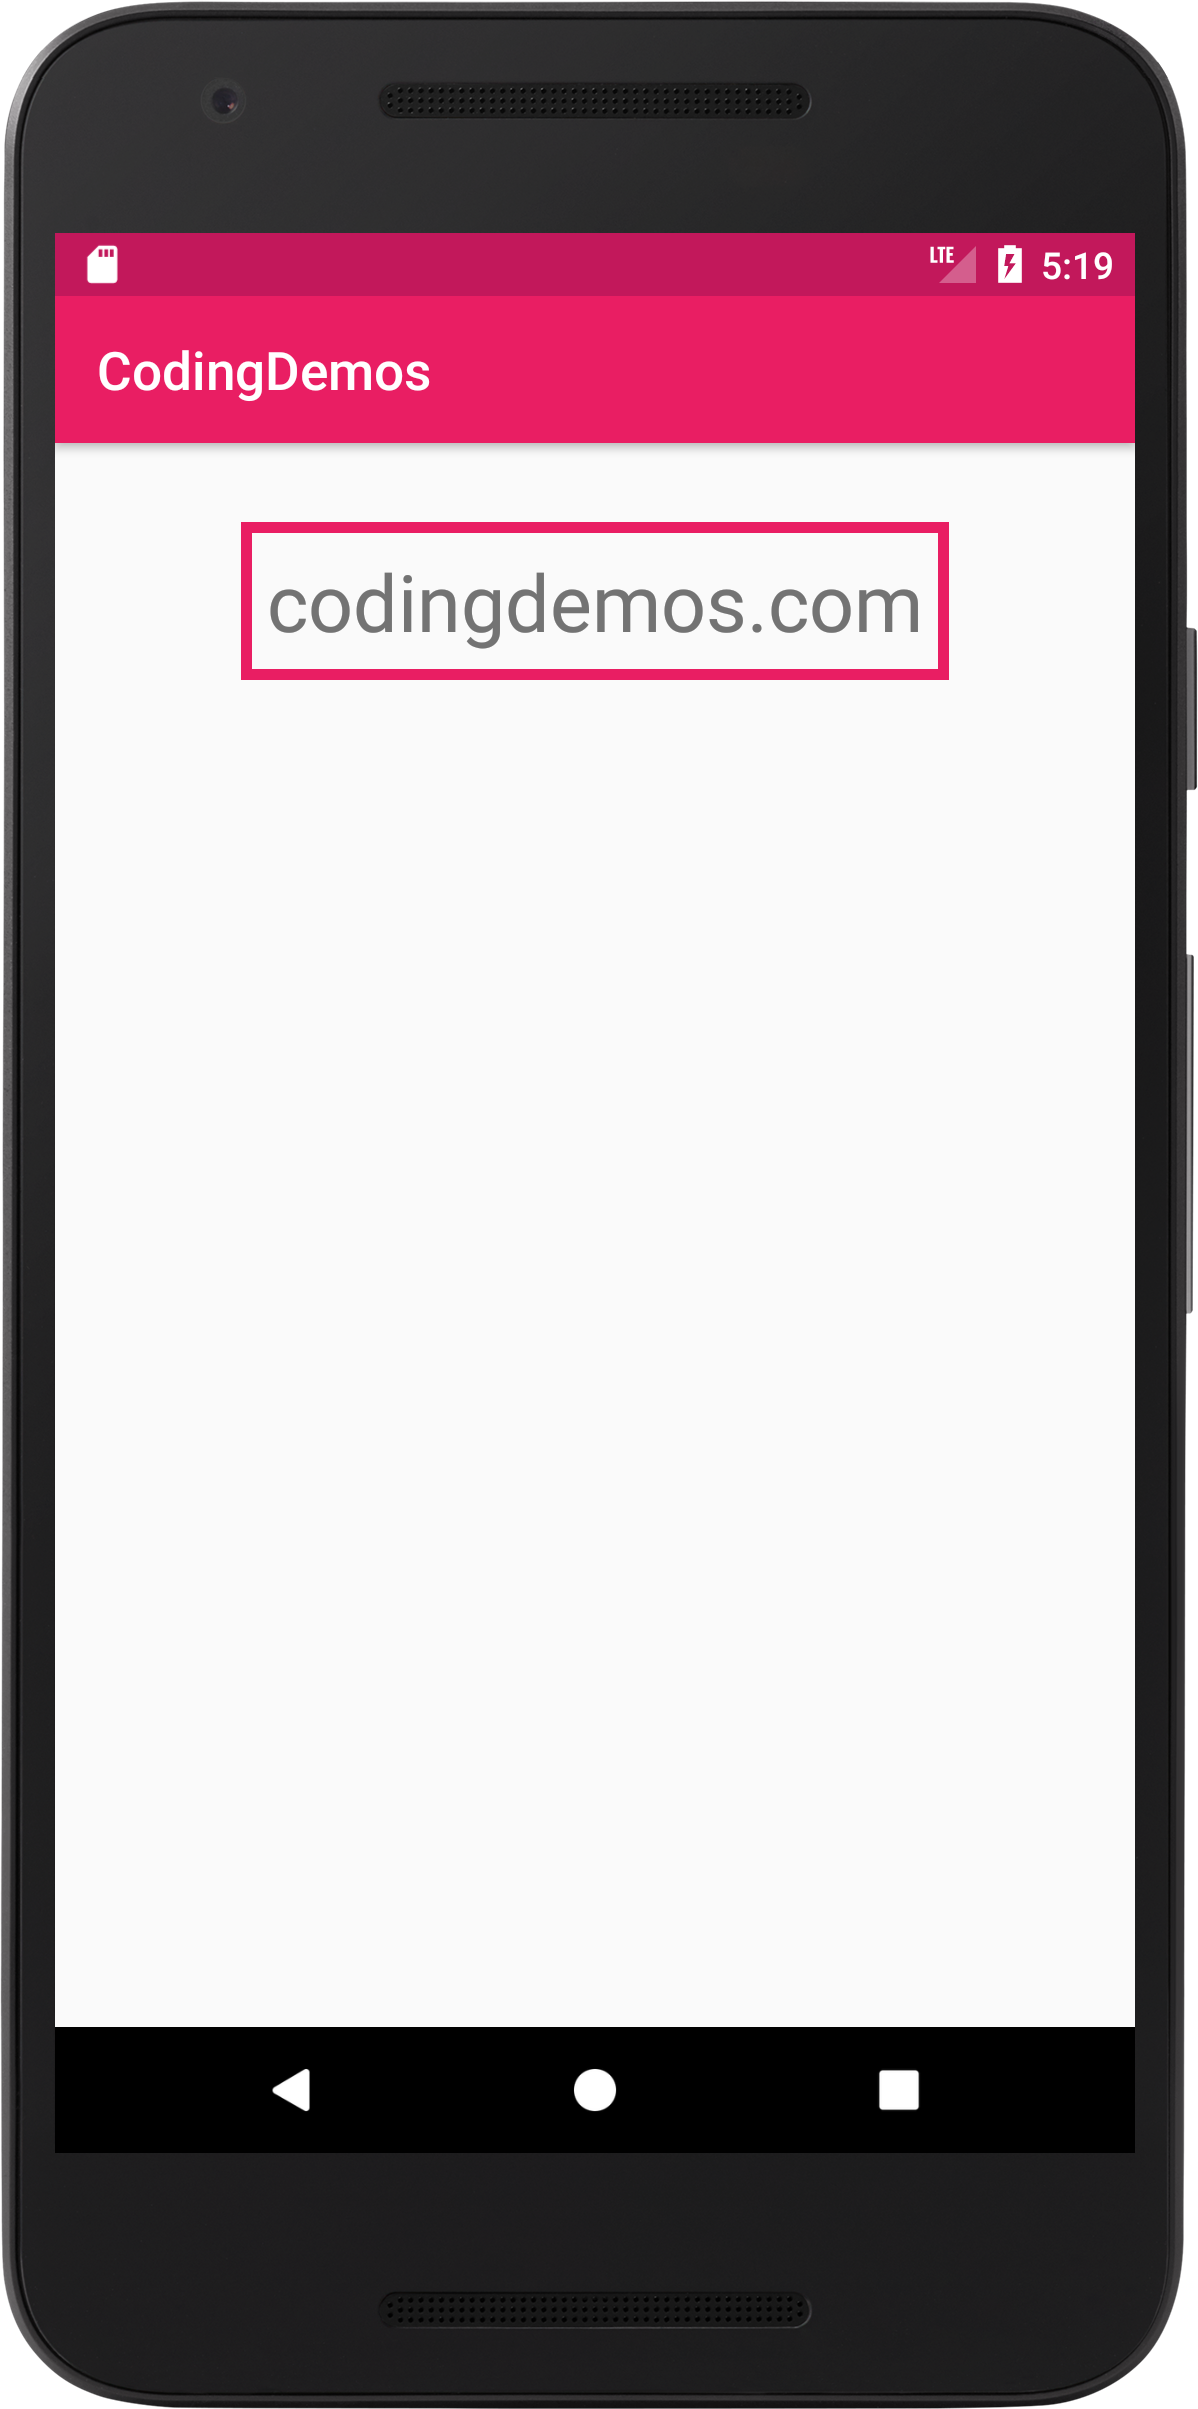
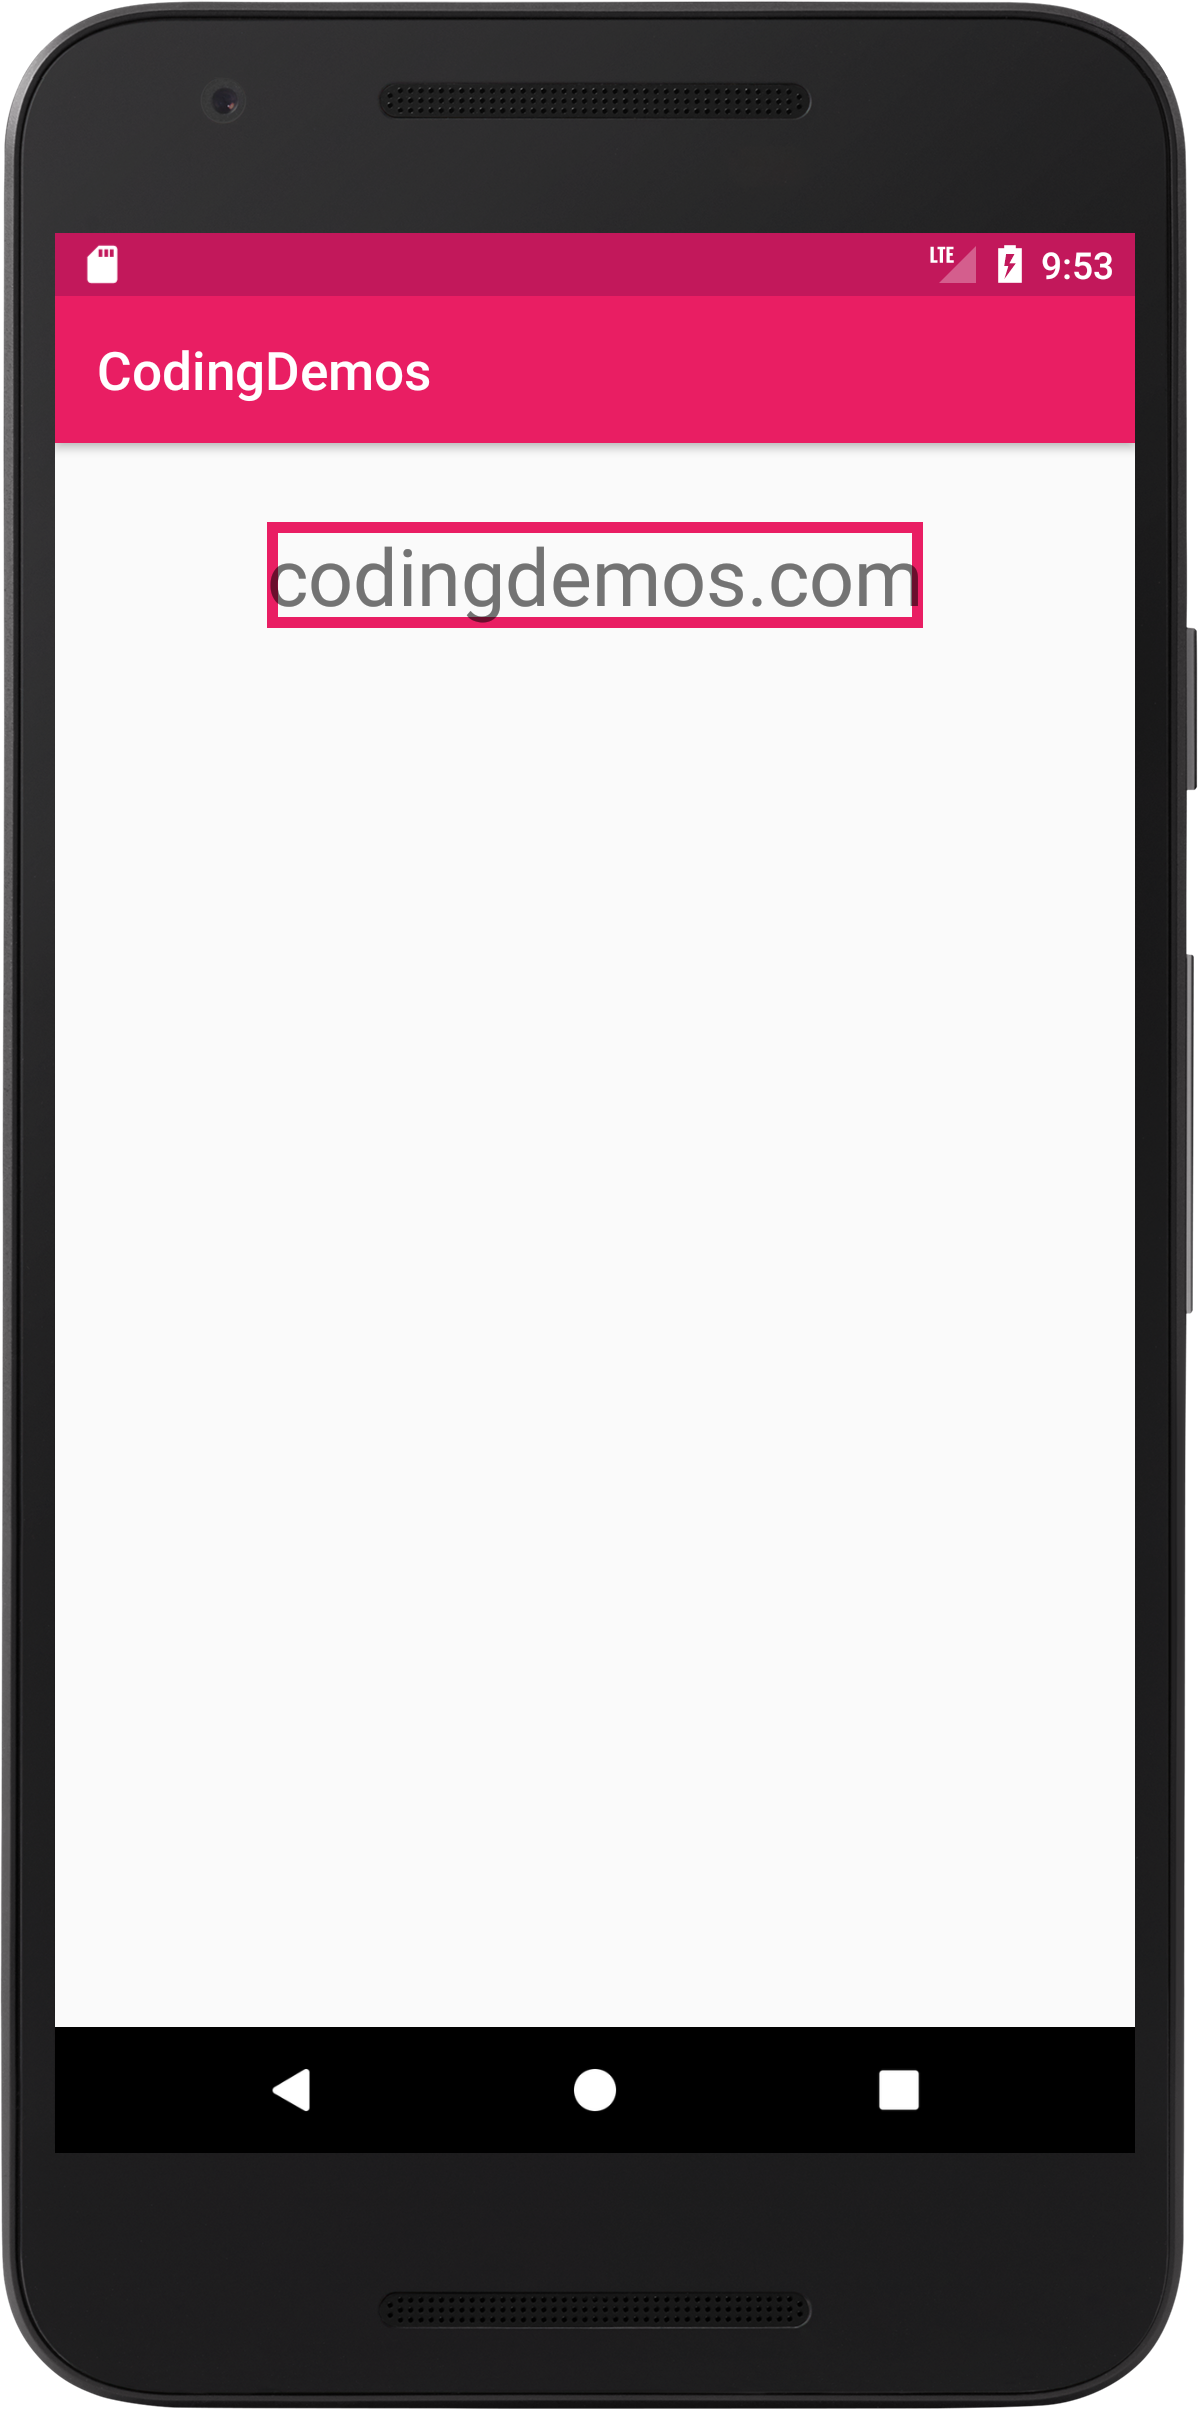
By the end of this tutorial, you will have an app that looks like this. (Large preview)
In this tutorial we will be using the following:
– Android studio version 3.0.1
– Android emulator Nexus 5X with API 26
– Minimum SDK API 16
1- Open up Android Studio and open any project that you have in your computer.
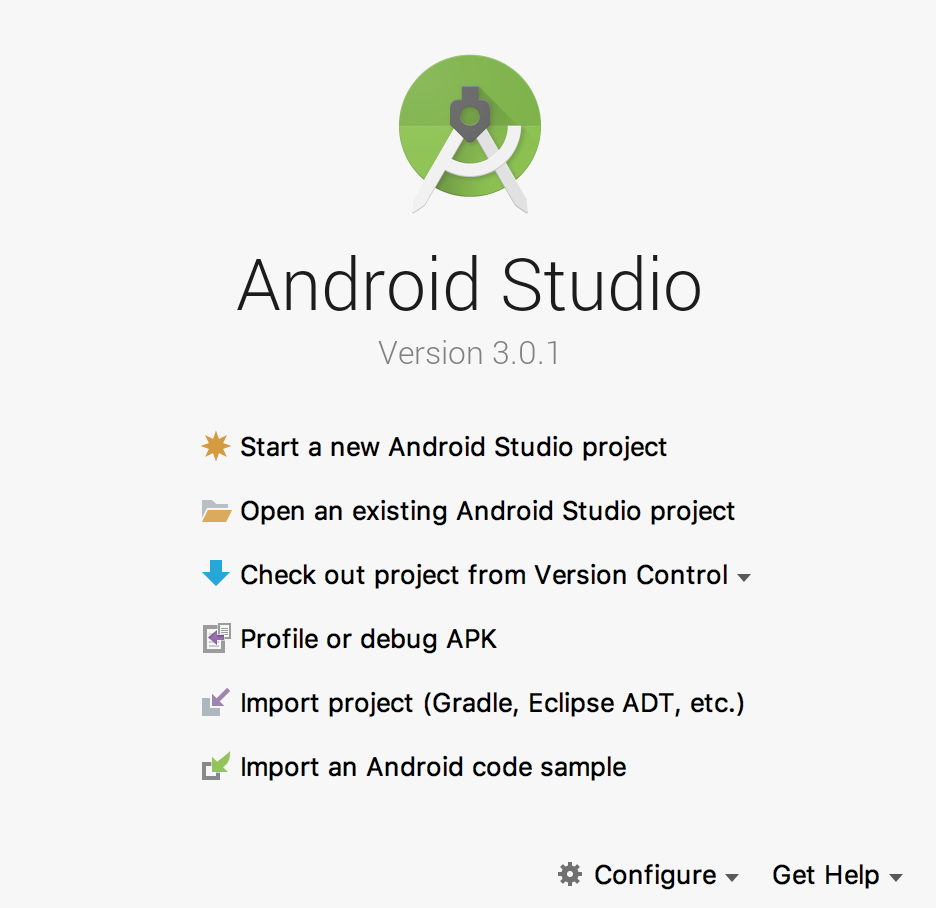
Create new Android Studio project or open existing project. (Large preview)
2- Next open up colors.xml file to change the main colors of the app.
< color name="colorPrimary">#E91E63< /color>
< color name="colorPrimaryDark">#C2185B< /color>
< color name="colorAccent">#536DFE< /color>
3- Now you can build and run the app to see the new colors.

New colors for the app. (Large preview)
4- Create a new Drawable resource file under drawable folder and name it textview_border.
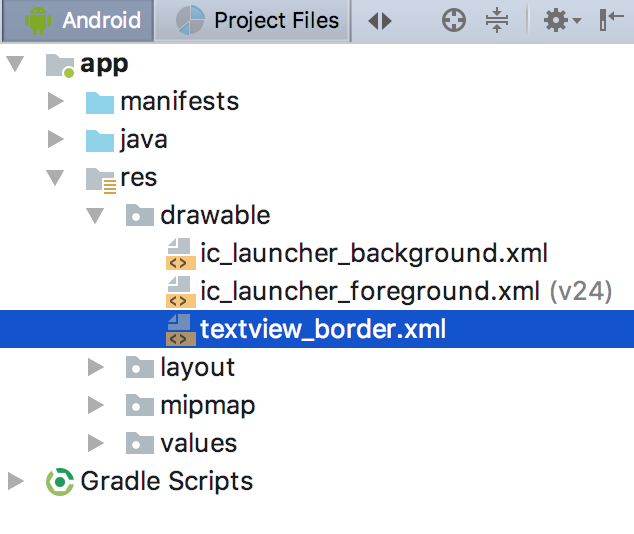
textview_border.xml file created under drawable folder. (Large preview)
5- Open up textview_border.xml file and add the following code.
< ?xml version="1.0" encoding="utf-8"?>
< shape xmlns:android="http://schemas.android.com/apk/res/android"
  android:shape="rectangle">
  < stroke
    android:width="4dp"
    android:color="@color/colorPrimary" />
< /shape>
This is the file that you will use it later to draw Android Textview border. Here you specify the shape you want to draw as Rectangle, then you specify the thickness of Android border and color by using Stroke.
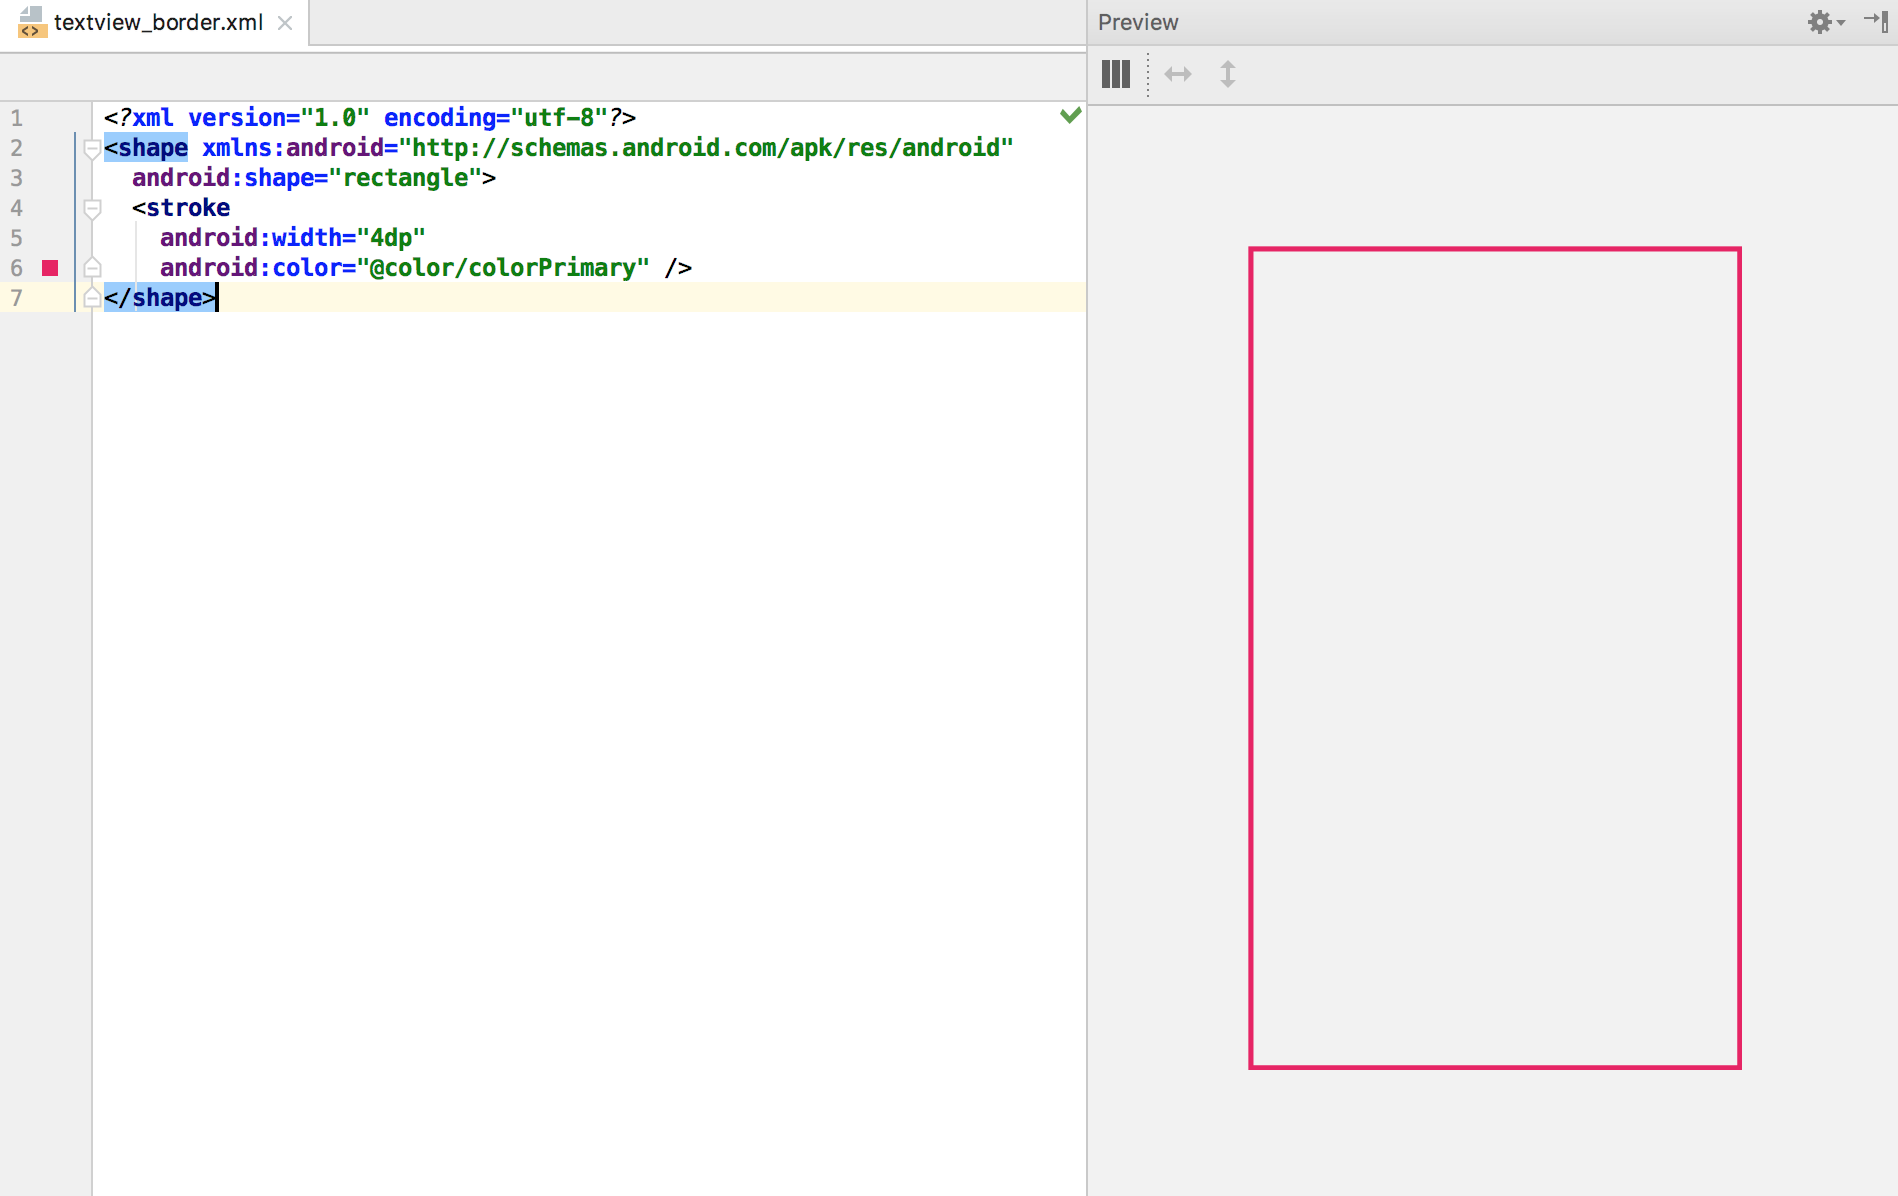
Preview of Android Textview border. (Large preview)
6- Now open up activity_main.xml file and add Android TextView.
< TextView
    android:id="@+id/textView"
    android:layout_width="wrap_content"
    android:layout_height="wrap_content"
    android:layout_gravity="center"
    android:layout_marginTop="30dp"
    android:text="codingdemos.com"
    android:textSize="30sp" />
This Android TextView is positioned in the top-center of the screen with margin from the top (30dp), increased text size to (30sp) and set the label of the text to (codingdemos.com).
7- Next you can apply the rectangle shape on this TextView by referencing textview_border.xml and using it as a background.
< TextView
    android:id="@+id/textView"
    android:layout_width="wrap_content"
    android:layout_height="wrap_content"
    android:layout_gravity="center"
    android:layout_marginTop="30dp"
    android:background="@drawable/textview_border"
    android:text="codingdemos.com"
    android:textSize="30sp" />
8- Now build and run the app to see the result.
Android Textview border. (Large preview)
9- You can see from the output above that the text is very close to the sides of the rectangle shape, you can fix that by adding some padding around Android TextView.
< TextView
    android:id="@+id/textView"
    android:layout_width="wrap_content"
    android:layout_height="wrap_content"
    android:layout_gravity="center"
    android:layout_marginTop="30dp"
    android:background="@drawable/textview_border"
    android:padding="10dp"
    android:text="codingdemos.com"
    android:textSize="30sp" />
10- Now build and run the app to see the progress.
Android border around TextView. (Large preview)
11- I hope you find this tutorial helpful and if you have any question please post them in the comment below.
excelente, gracias