
Last Updated on May 9, 2018
Hi and welcome to another tutorial from Codingdemos, today you will learn how to make Android vibrate when you tap on Android Button programmatically.
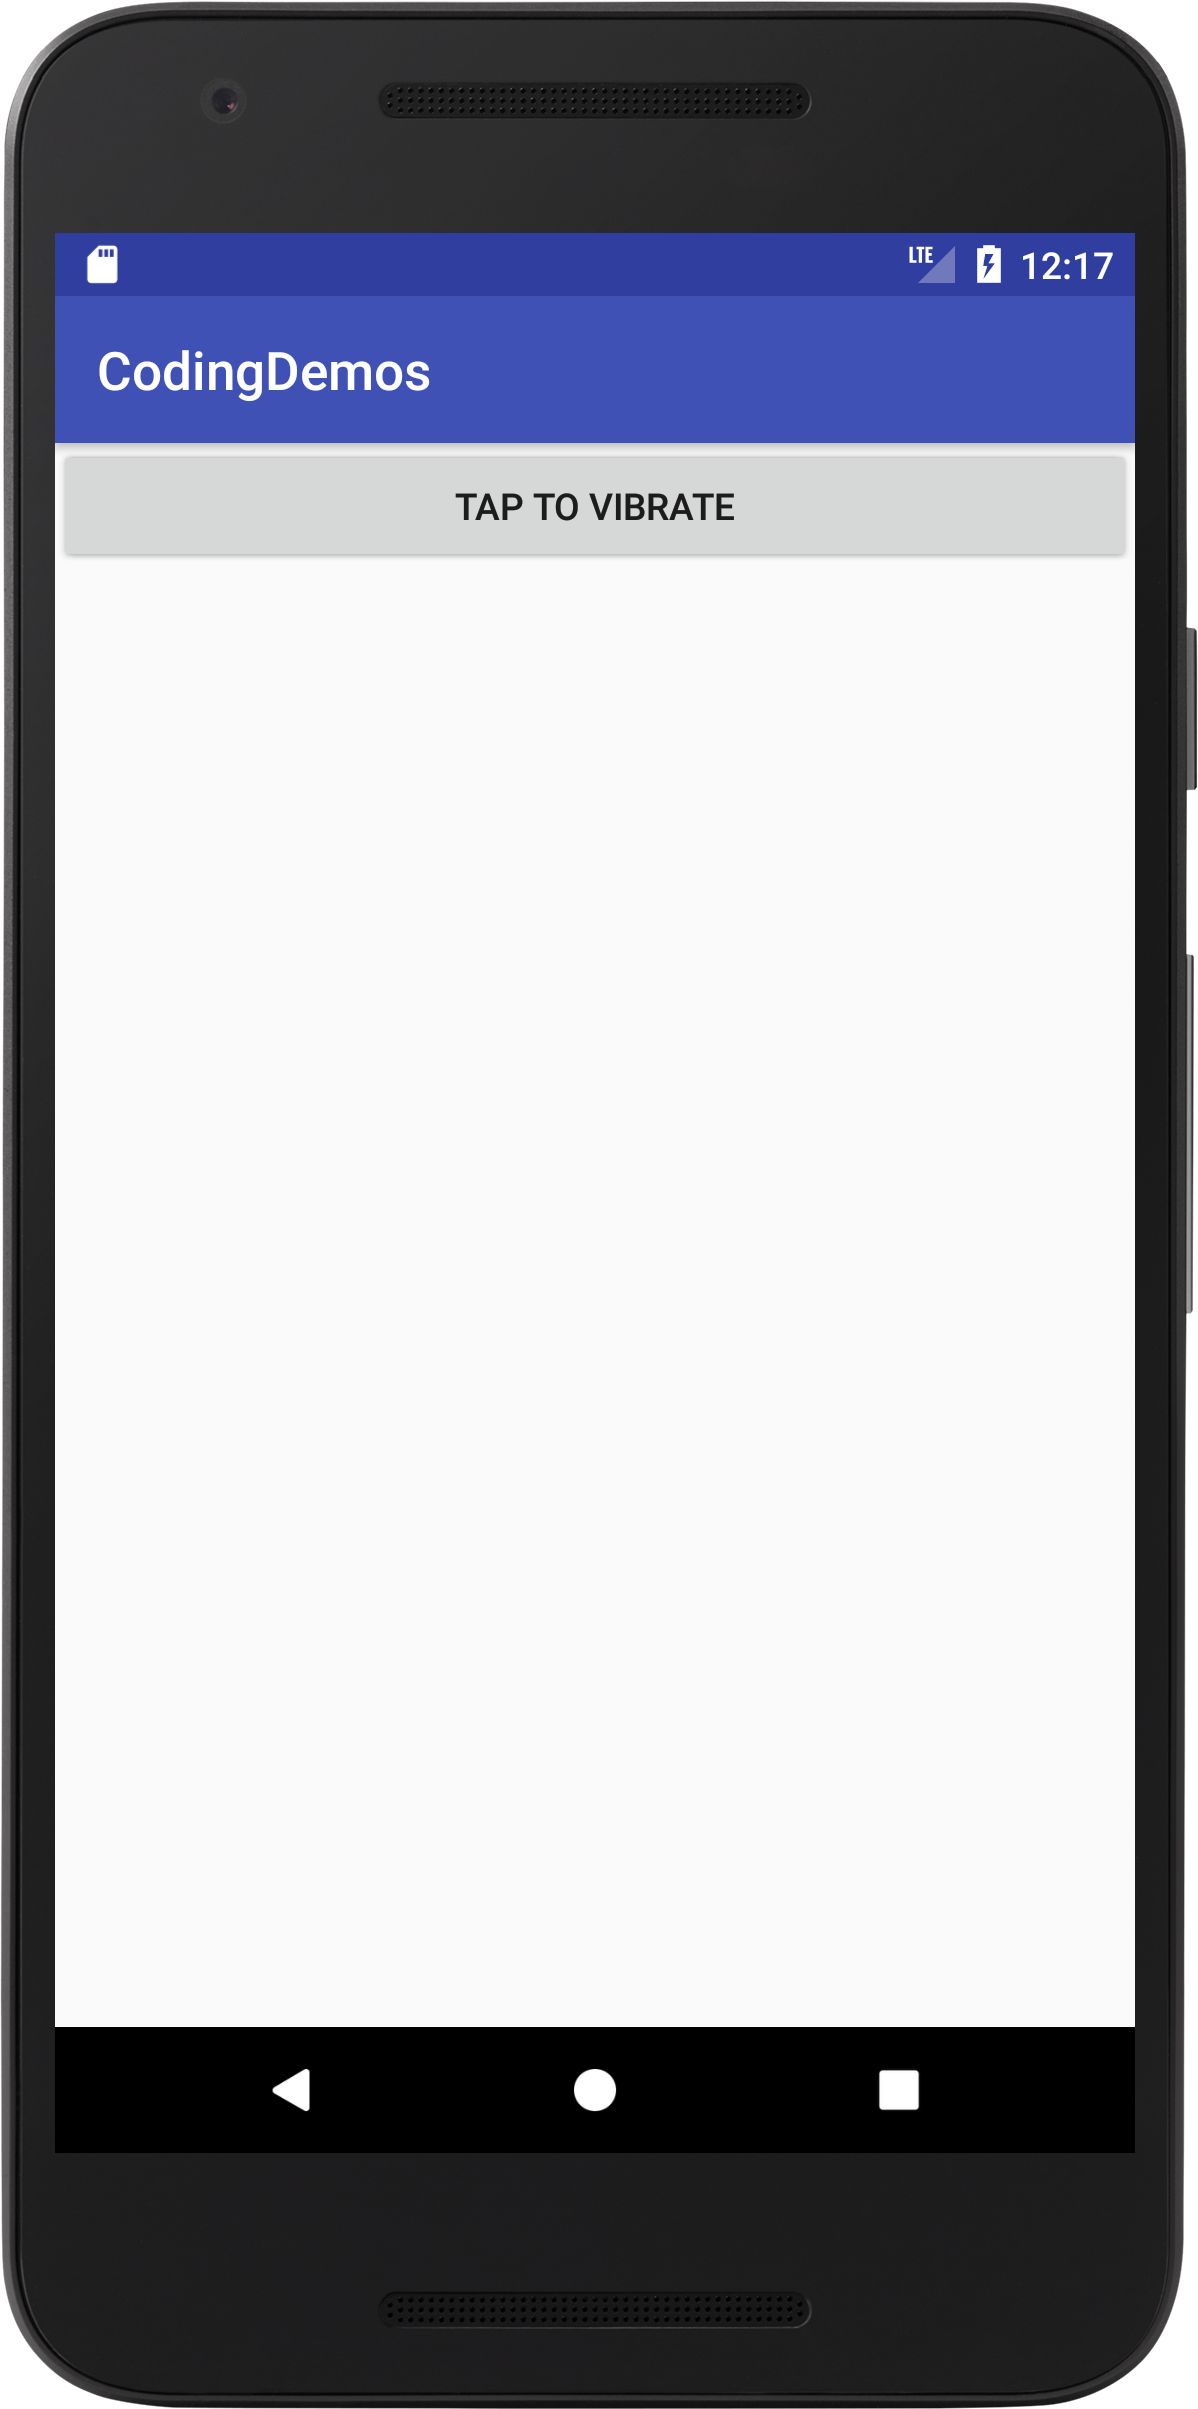
By the end of this tutorial, you will have an app that looks like this. (Large preview)
In this tutorial we will be using the following:
– Android studio version 3.0.1
– Android emulator Nexus 5X with API 26
– Minimum SDK API 16
1- Open up Android Studio and open any project that you have in your computer.
Create new Android Studio project or open existing project. (Large preview)
2- Open up activity_main.xml file, add an Android Button and give it a label Tap to vibrate.
< Button
    android:id="@+id/button"
    android:layout_width="match_parent"
    android:layout_height="wrap_content"
    android:text="Tap to vibrate" />
3- Open up AndroidManifest.xml file and add this permission.
< uses-permission android:name="android.permission.VIBRATE" />
You need to add this permission when working with Android Vibrator API.
4- Now open up MainActivity.java file, here you need to reference Android Button.
Button button = findViewById(R.id.button);
5- Next you need to declare a variable for Android Vibrator API.
Vibrator vibrator = (Vibrator) getSystemService(VIBRATOR_SERVICE);
6- Now you need to make the button clickable by using setOnClickListener.
button.setOnClickListener(new View.OnClickListener() {
            @Override
            public void onClick(View view) {

            }
        });
7- Inside onClick method is where you will start Android vibrate effect.
vibrator.vibrate(VibrationEffect.createOneShot(200, VibrationEffect.DEFAULT_AMPLITUDE));
Here you use VibrationEffect.createOneShot to create a single vibration effect, then you pass the value (200) as the duration of the vibration and finally you pass VibrationEffect.DEFAULT_AMPLITUDE which uses the default vibration strength of the device.
8- Here you will notice that Android Studio shows a warning message below VibrationEffect.createOneShot.

Android VibrationEffect warning message. (Large preview)
9- Add the following code to fix the warning message.
if (Build.VERSION.SDK_INT >= 26) {
    vibrator.vibrate(VibrationEffect.createOneShot(200, VibrationEffect.DEFAULT_AMPLITUDE));
}
10- Now that the warning message is gone, one thing else that you need to be aware of is this solution will only work with devices running API26 and above and will not work with other devices which run below that.
11- To be able to have Android vibrate effect work on older devices as well, you will need to make some adjustment to the code above.
else {
     vibrator.vibrate(200);
}
You don’t have much customization for devices running below API26, so you will just pass the value (200) as the duration of Android vibrate effect.
12- The full code for MainActivity.java file will look something like this.
public class MainActivity extends AppCompatActivity {

    Button button;
    Vibrator vibrator;

    @Override
    protected void onCreate(Bundle savedInstanceState) {
        super.onCreate(savedInstanceState);
        setContentView(R.layout.activity_main);

        button = findViewById(R.id.button);
        vibrator = (Vibrator) getSystemService(VIBRATOR_SERVICE);
        button.setOnClickListener(new View.OnClickListener() {
            @Override
            public void onClick(View view) {
                if (Build.VERSION.SDK_INT >= 26) {
                    vibrator.vibrate(VibrationEffect.createOneShot(200, VibrationEffect.DEFAULT_AMPLITUDE));
                } else {
                    vibrator.vibrate(200);
                }
            }
        });

    }
}
13- I hope you find this tutorial helpful and if you have any question please post them in the comment below.