
Last Updated on June 27, 2018
Hi and welcome to another tutorial from Codingdemos, in this tutorial you will learn how to use Android Datepicker to select a date from Android Datepickerdialog and show it inside Android TextView.
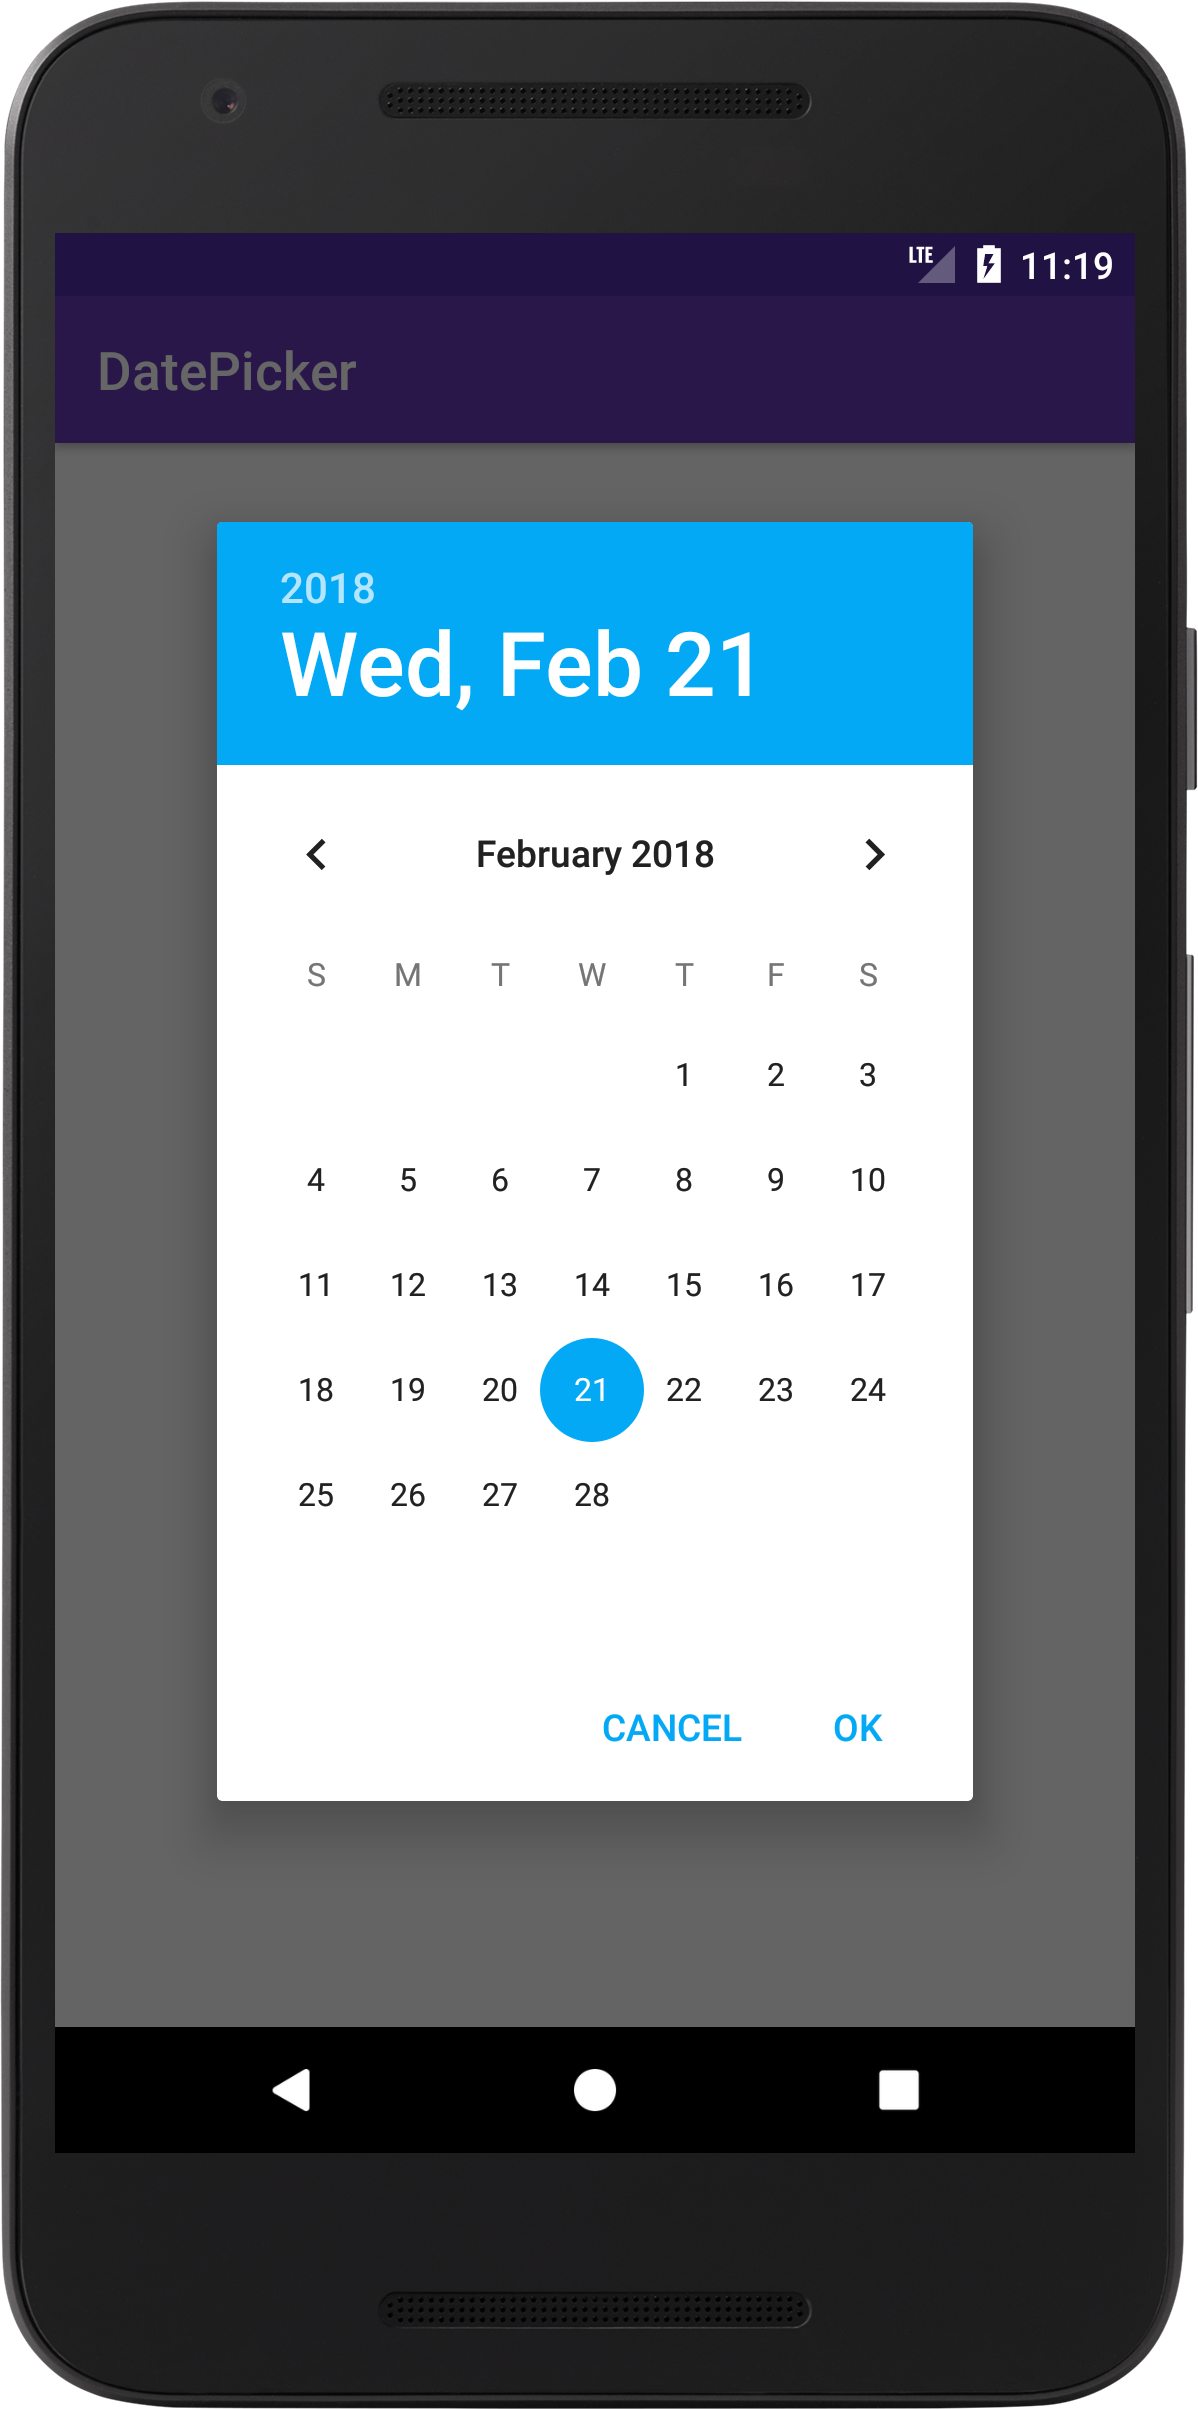
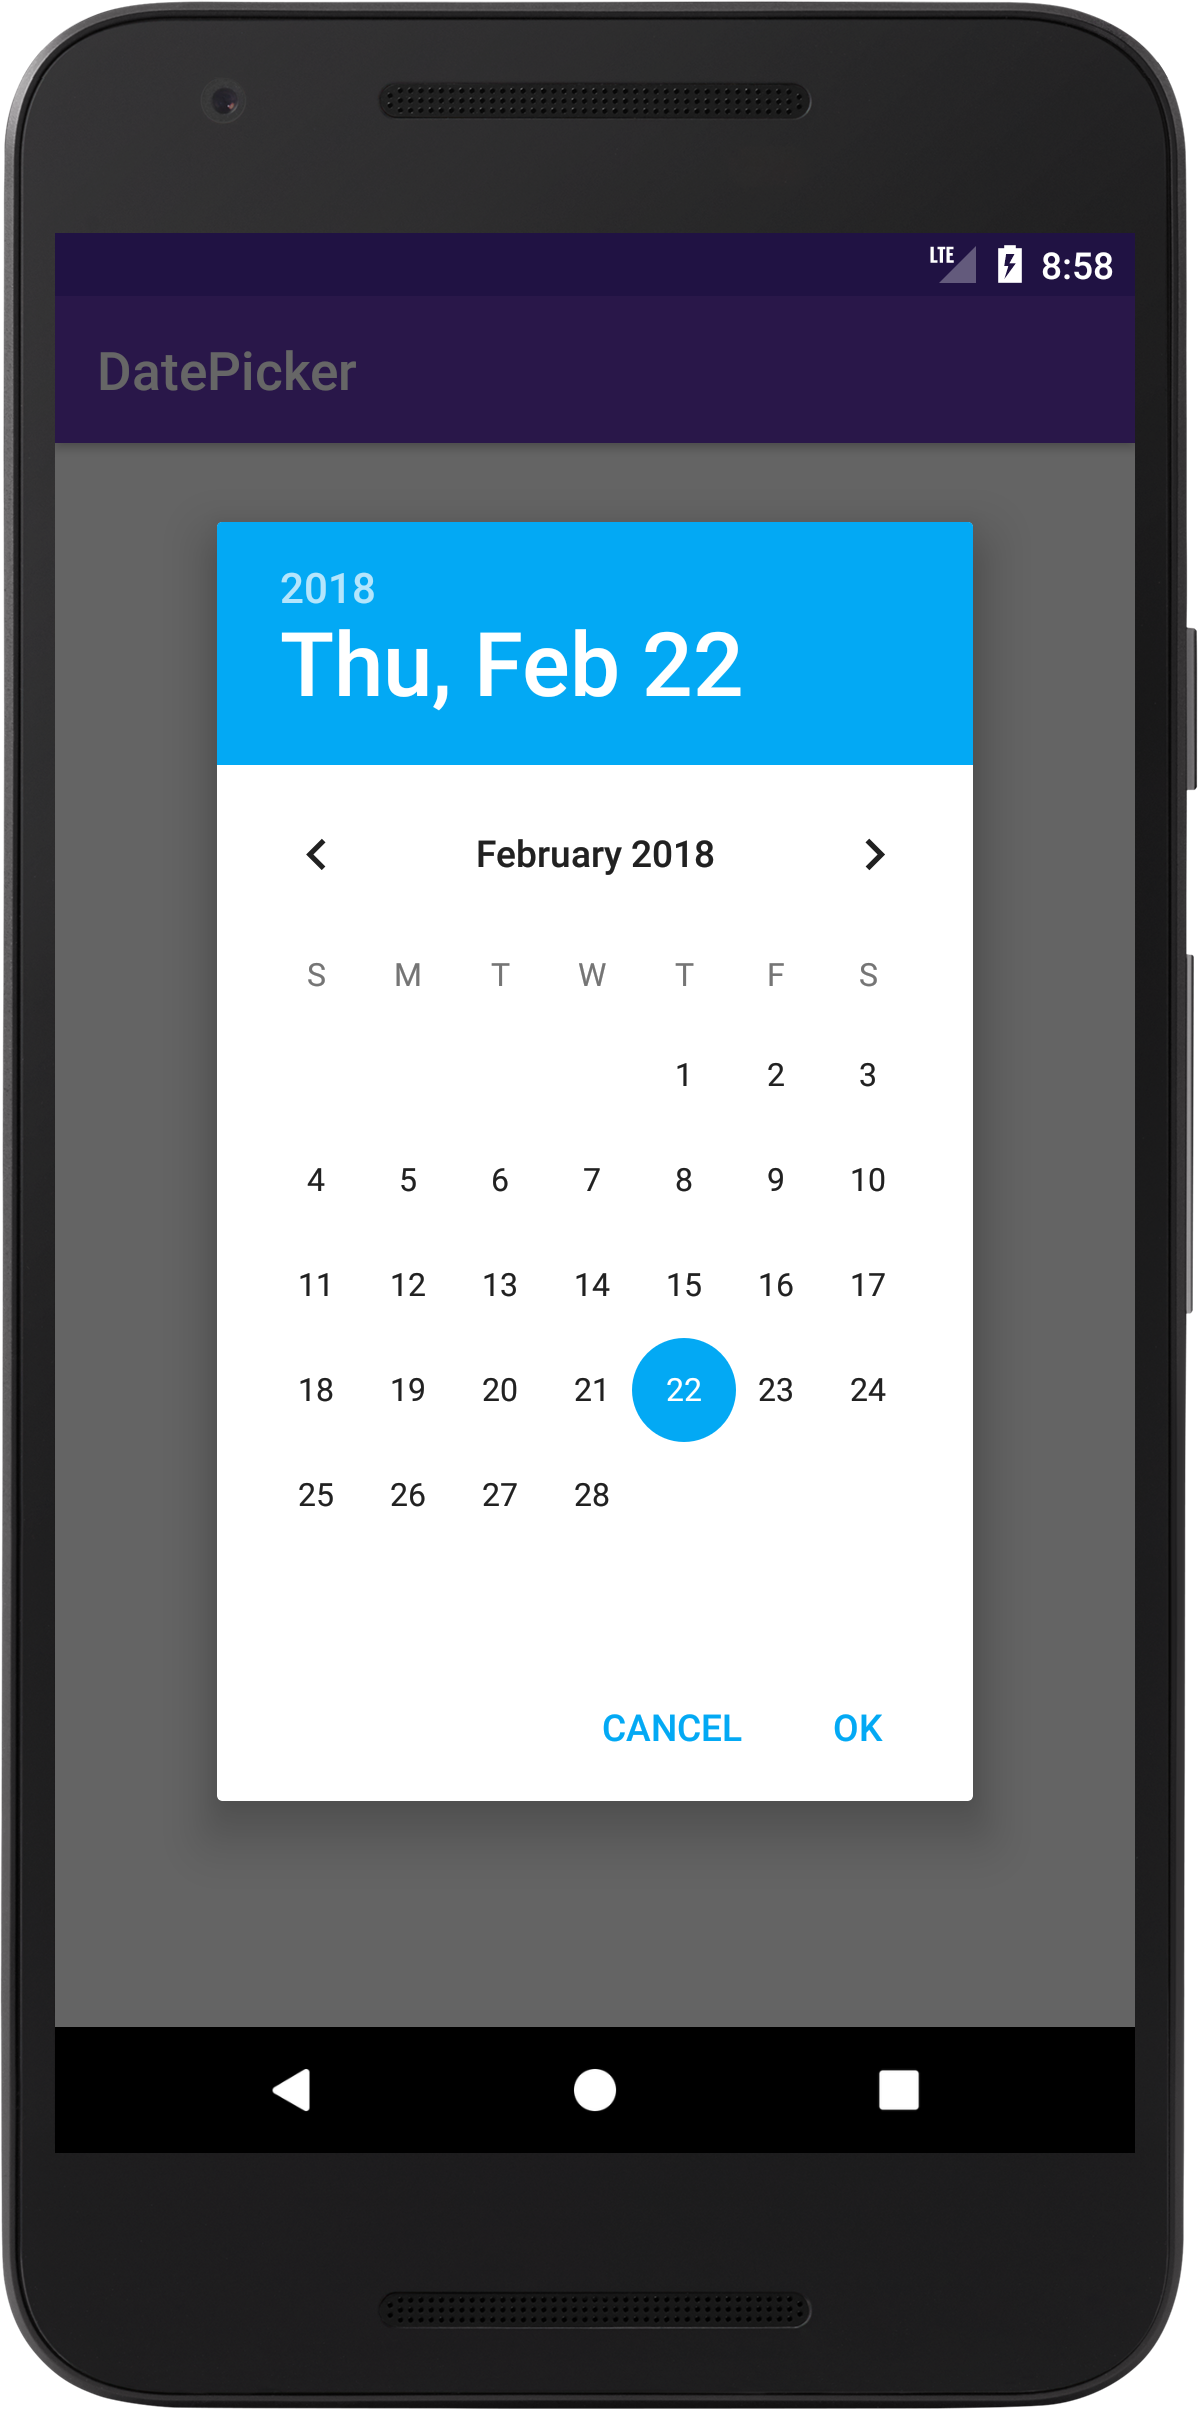
By the end of this tutorial, you will have an app that looks like this. (Large preview)
In this tutorial we will be using the following:
– Android studio version 3.0.1
– Android emulator Nexus 5X with API 26
– Minimum SDK API 16
1- Open up Android Studio and create a new project and give it a name, in our case we’ve named it (DatePicker), choose API 16 as the minimum SDK, then choose a blank activity, click “Finish” and wait for Android Studio to build your project.
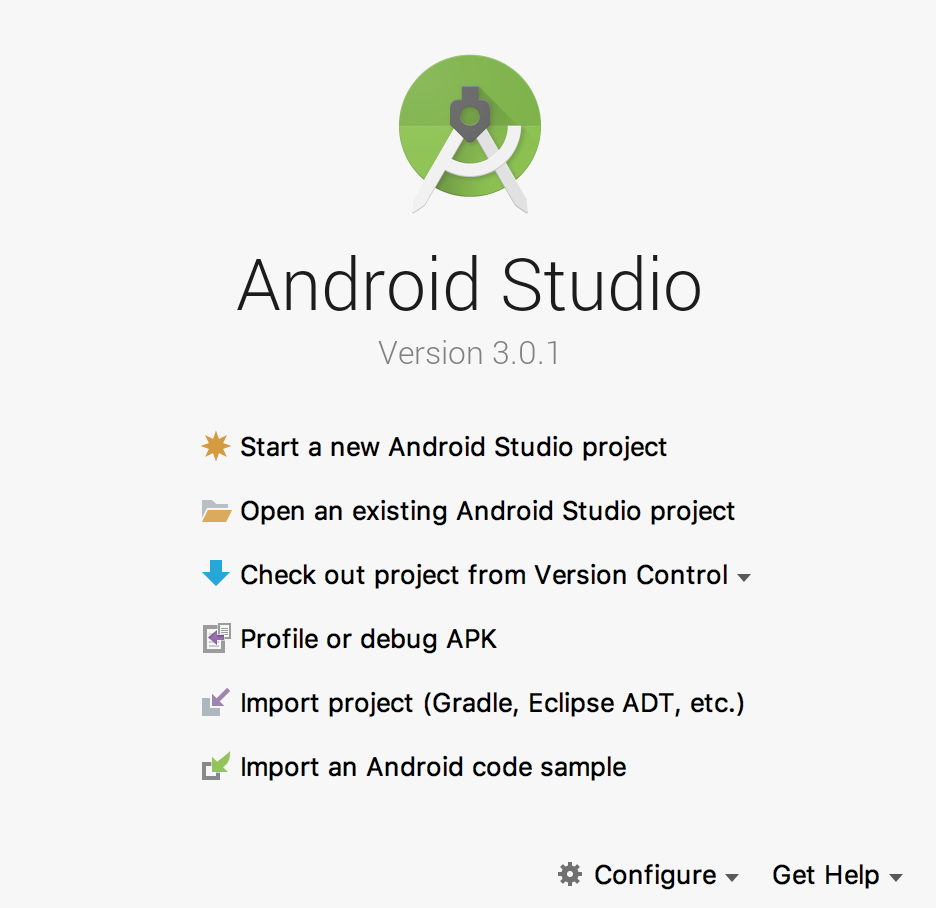
Create new Android Studio project. (Large preview)
2- Open up colors.xml file, add the following code to change the colors of the app.
< color name="colorPrimary">#673AB7< /color>
< color name="colorPrimaryDark">#512DA8< /color>
< color name="colorAccent">#03A9F4< /color>
3- Build and run the app to see the changes.
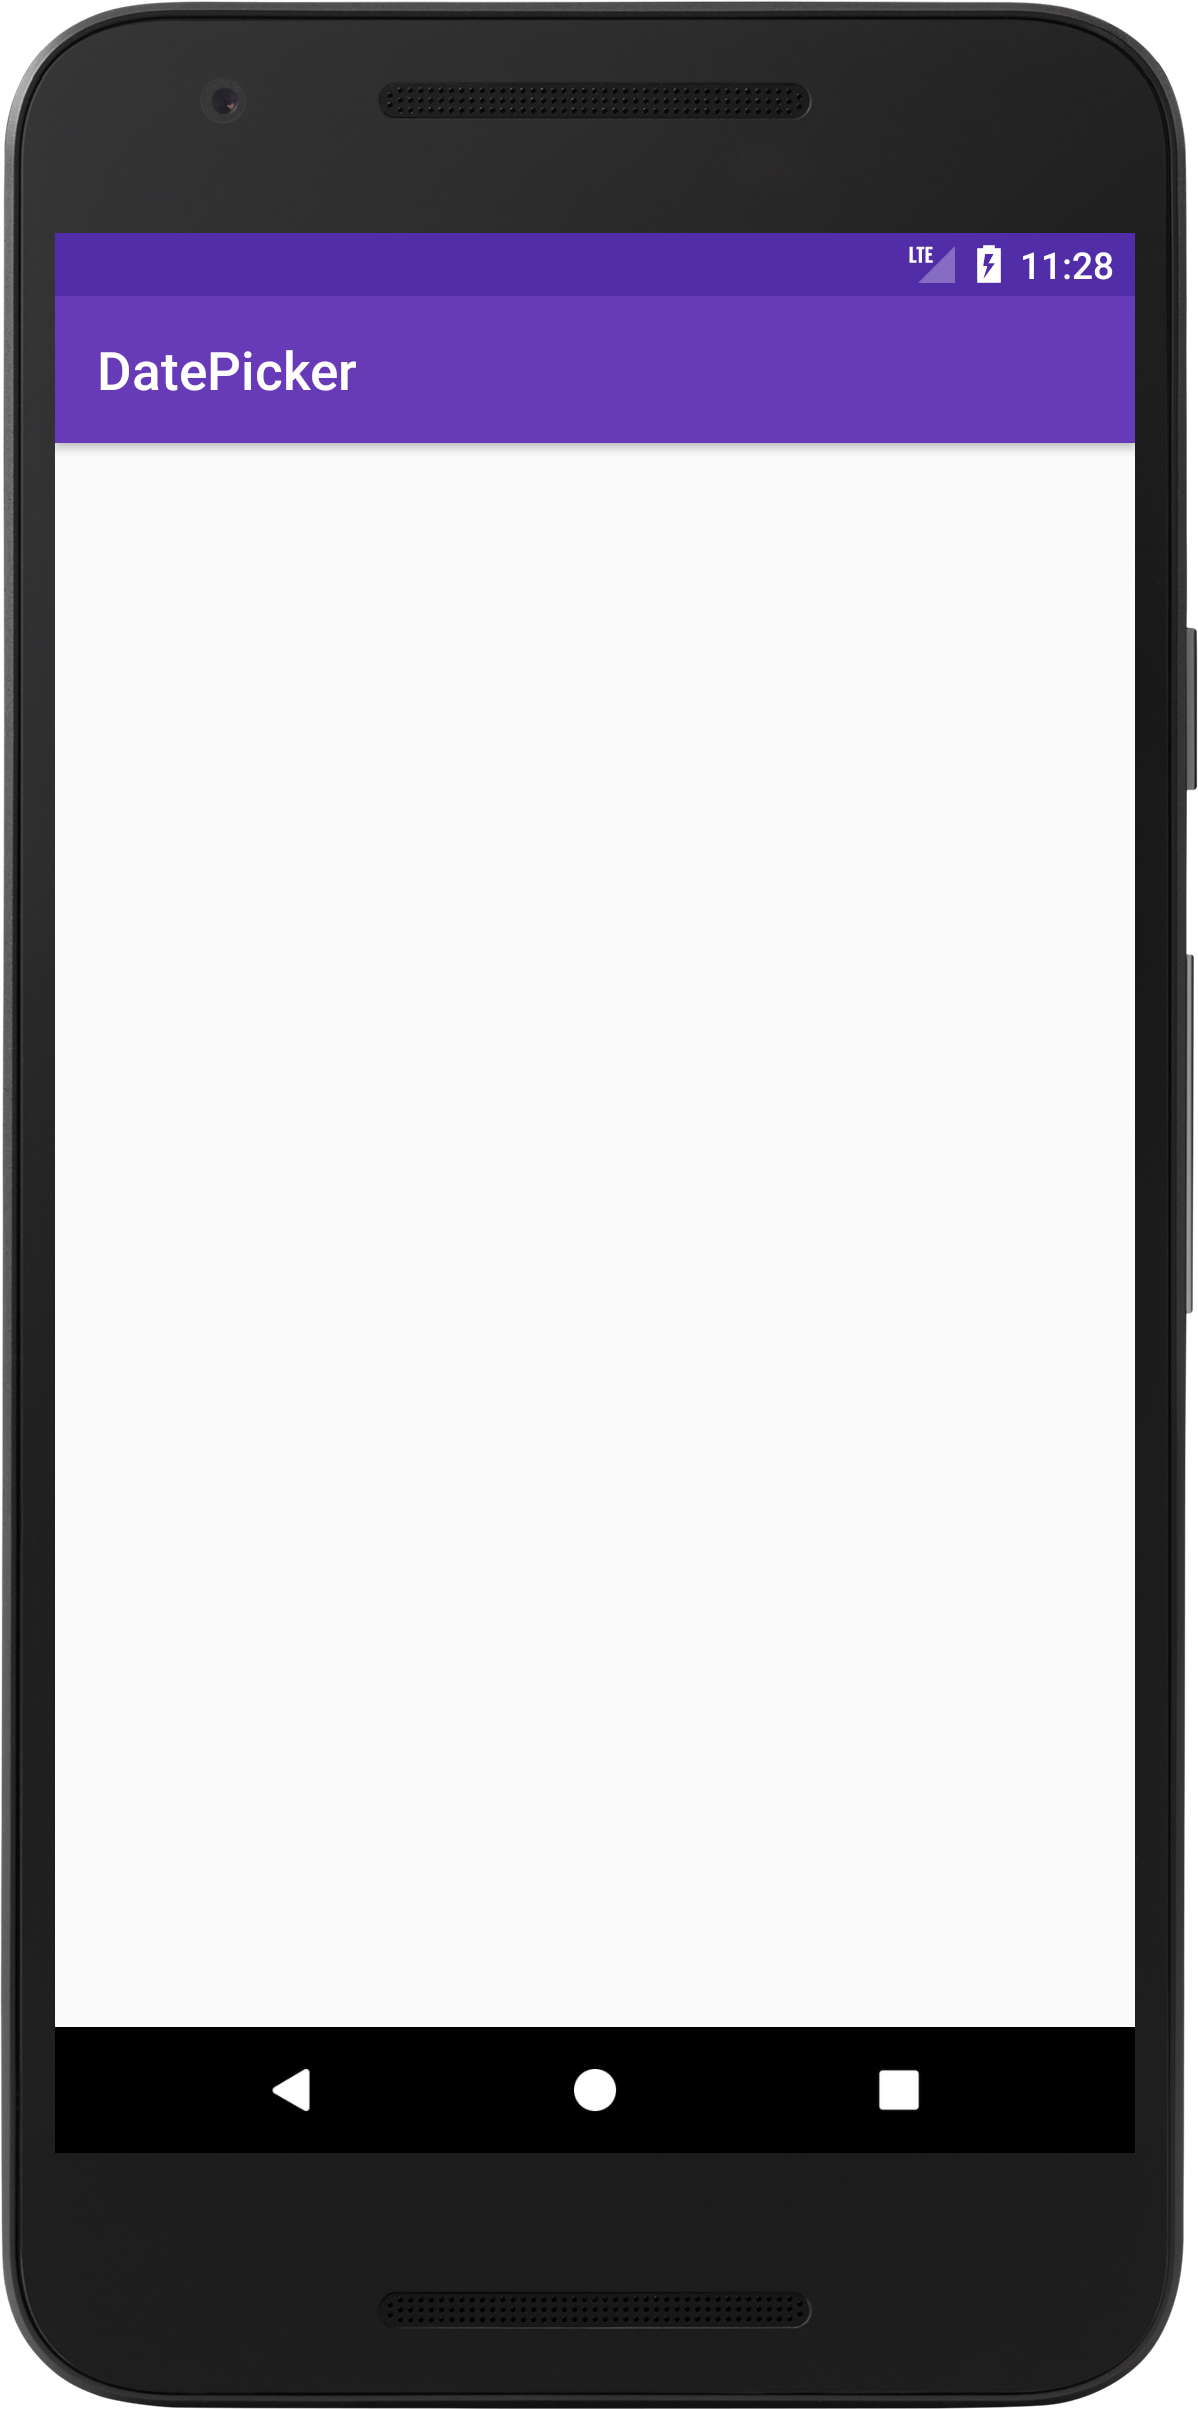
New colors for Android datepicker app. (Large preview)
4- Open up activity_main.xml file, here you want to add an Android Button and TextView.
< Button
    android:id="@+id/btnDate"
    android:layout_width="wrap_content"
    android:layout_height="wrap_content"
    android:layout_centerHorizontal="true"
    android:layout_centerVertical="true"
    android:background="@color/colorAccent"
    android:padding="10dp"
    android:text="Select a date"
    android:textColor="@android:color/white" />

  < TextView
    android:id="@+id/tvSelectedDate"
    android:layout_width="wrap_content"
    android:layout_height="wrap_content"
    android:layout_below="@+id/btnDate"
    android:layout_centerHorizontal="true"
    android:layout_centerVertical="true"
    android:layout_marginTop="10dp"
    android:textColor="@color/colorPrimary"
    android:textSize="30sp"
    android:textStyle="italic|bold" />
- btnDate: This is an Android Button that is placed in the center of the screen, it has a background color and a text color, it has some padding that surround the button and a text label that says (Select a date).
- tvSelectedDate: This is an Android TextView that is placed below btnDate in the center of the screen, it has a margin from the top so that this TextView won’t be closed to the Button, it has a text color with some style and a text size of 30.
5- Now build and run the app to see the result.
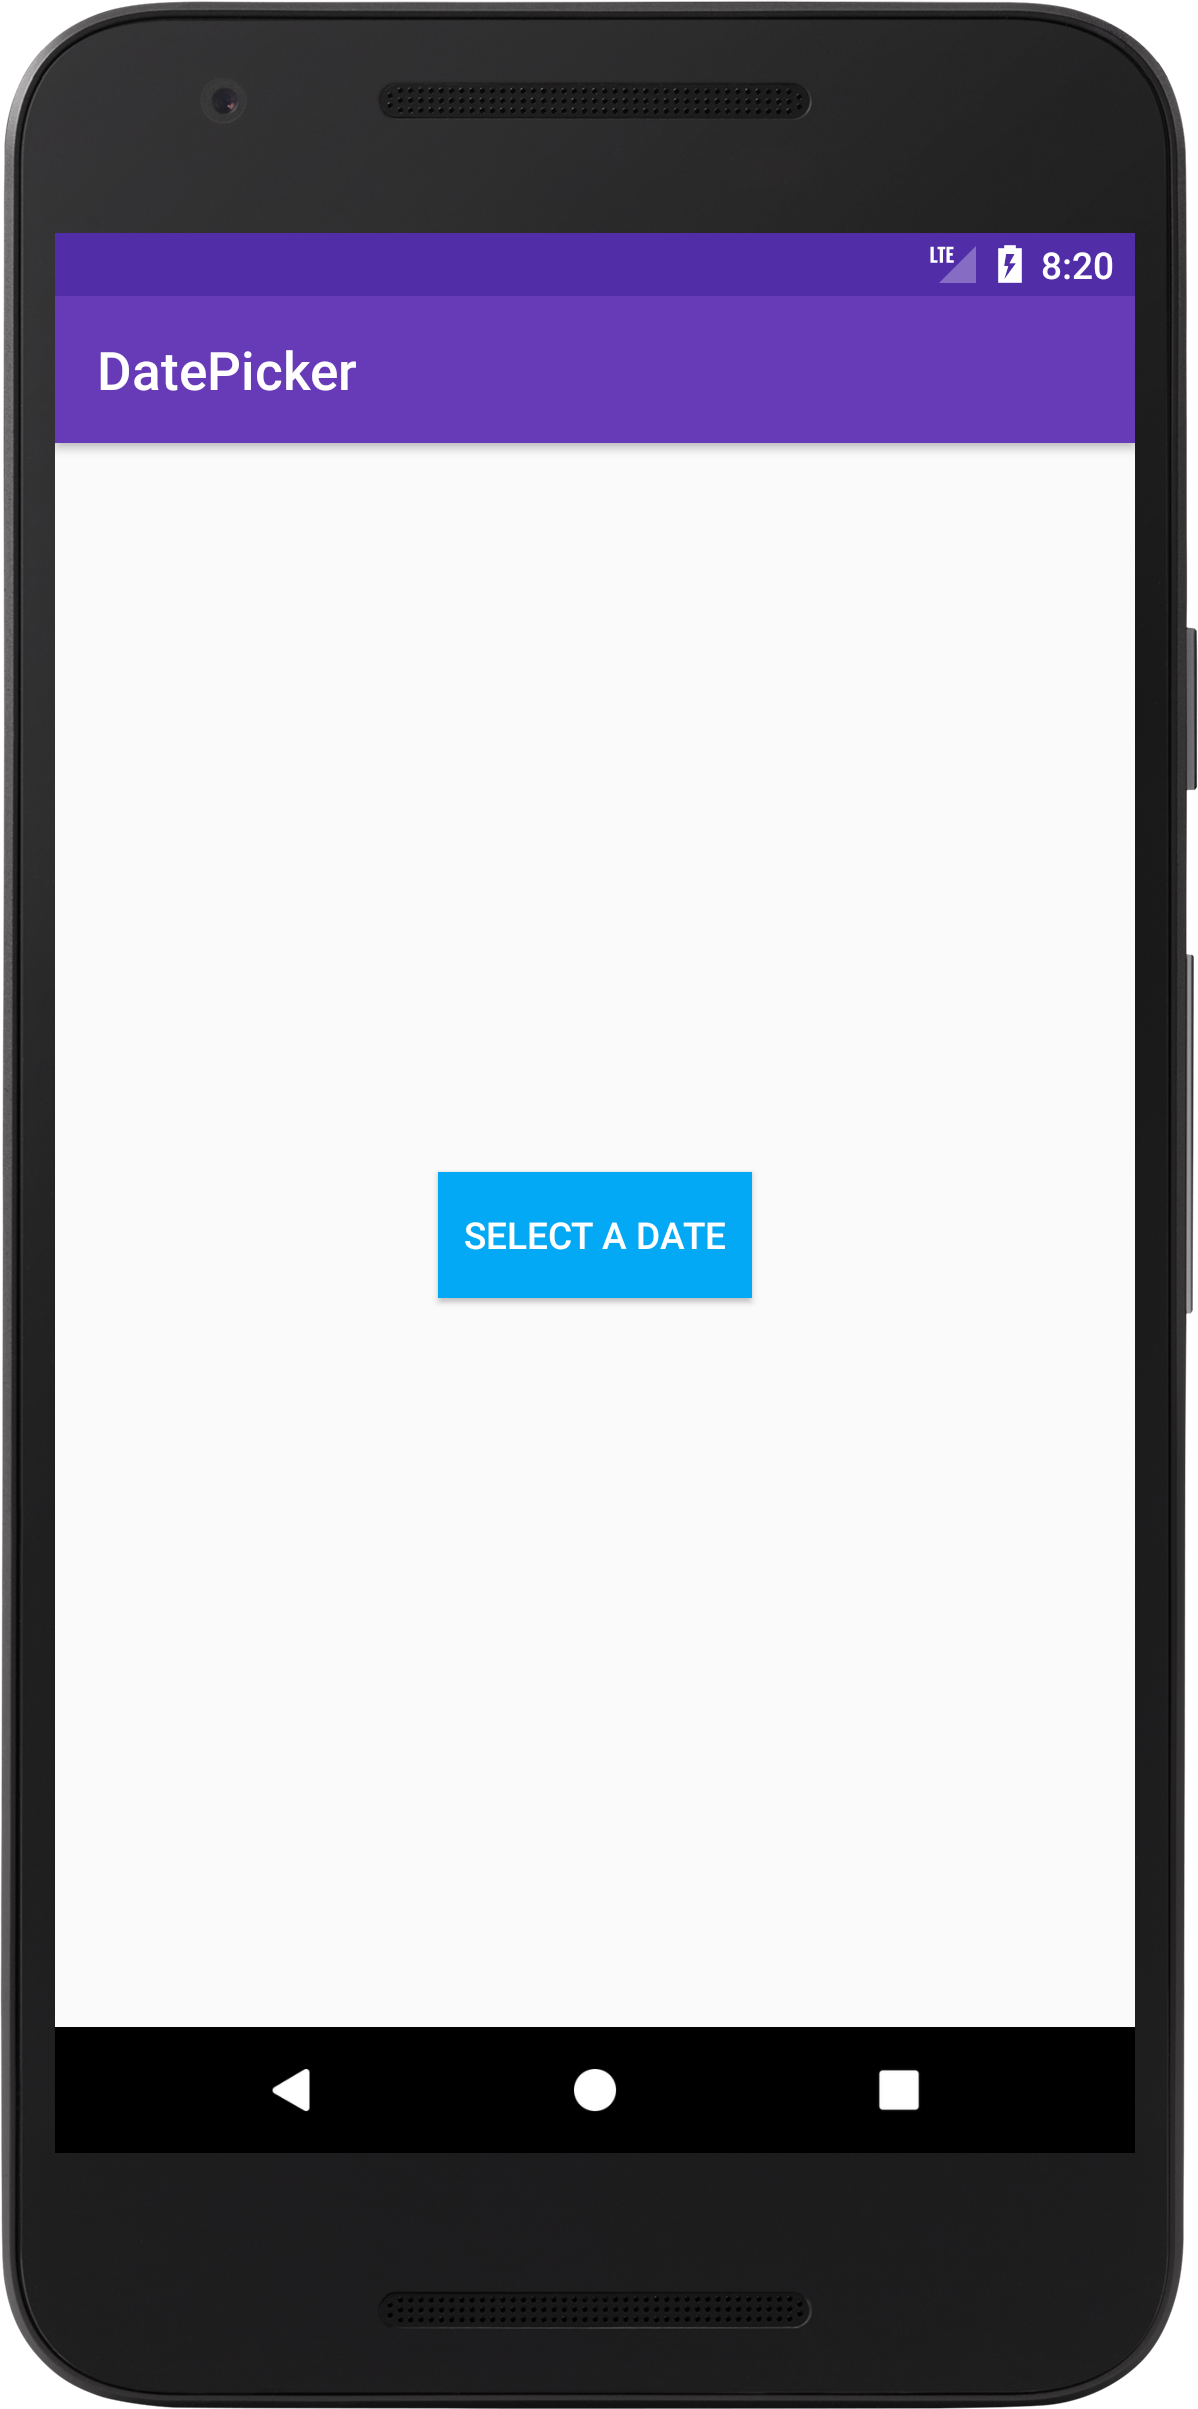
Android Button for Date picker. (Large preview)
6- Next open up MainActivity.java file, here you need to define Android Button, TextView and DatePickerDialog.
Button selectDate = findViewById(R.id.btnDate);
TextView date = findViewById(R.id.tvSelectedDate);
7- You need to make selectDate Button clickable, so define Android SetOnClickListener.
selectDate.setOnClickListener(new View.OnClickListener() {
            @Override
            public void onClick(View view) {

    }
});
8- Inside Android OnClick method is where you will define Android datepicker.
DatePickerDialog datePickerDialog = new DatePickerDialog(MainActivity.this,
                        new DatePickerDialog.OnDateSetListener() {
                            @Override
                            public void onDateSet(DatePicker datePicker, int year, int month, int day) {

                            }
                        }, 0, 0, 0);
9- One thing left before you can see Android DatePickerDialog is to call the following method.
datePickerDialog.show();
10- Now you can build and run the app to see the progress.

Android datepicker wrong date. (Large preview)
How to fix Android datepicker wrong date
In this section, you will learn how you can fix the issue about Android Date Picker showing the wrong date.
11- Open up MainActivity.java file, inside the Button OnClick method add the following code.
Calendar calendar = Calendar.getInstance();
int year = calendar.get(Calendar.YEAR);
int month = calendar.get(Calendar.MONTH);
int dayOfMonth = calendar.get(Calendar.DAY_OF_MONTH);
Here you need to define Android Calendar, using this Calendar you will be able to get current year, month and day values.
12- Now you need to change Android DatePickerDialog to be able to use the current date values.
datePickerDialog = new DatePickerDialog(MainActivity.this,
                        new DatePickerDialog.OnDateSetListener() {
                            @Override
                            public void onDateSet(DatePicker datePicker, int year, int month, int day) {

                            }
                        }, year, month, dayOfMonth);
13- Build and run the app to see the output.
Android datepicker current date. (Large preview)
14- Now you need to work on getting the selected date appears inside Android TextView, add the following code inside DatePickerDialog onDateSet method.
date.setText(day + "/" + month + "/" + year);
Here you want to show the date values separated by (/) inside Android TextView.
15- Now build and run the app.
Android datepicker wrong month. (Large preview)
How to fix Android Date Picker wrong month issue
In this section, you will learn how you can fix issue that is causing Android Date Picker to show the wrong month.
16- The reason why it’s giving you the wrong month, because in Android Date API the month index value is (0-11). So if you choose the month February you will get the month value as January, if you choose the month December you will get the month value as November.
17- Add the following code inside Android DatePickerDialog onDateSet method.
date.setText(day + "/" + (month + 1) + "/" + year);
18- Now build and run the app to see the result.
Android datepicker showing correct month. (Large preview)
How to disable past dates in Android datepicker
19- It feels great to see datepicker dialog working 🙂 Now you might be thinking on how you can prevent the user from choosing past dates! Well all you have to do is add the following code before calling datePickerDialog.show();.
datePickerDialog.getDatePicker().setMinDate(System.currentTimeMillis());
DatePickerDialog has a method called setMinDate which you need to pass the current time by calling System.currentTimeMillis(). This will disable previous dates based on the current time.
20- Build and run the app to see it in action.
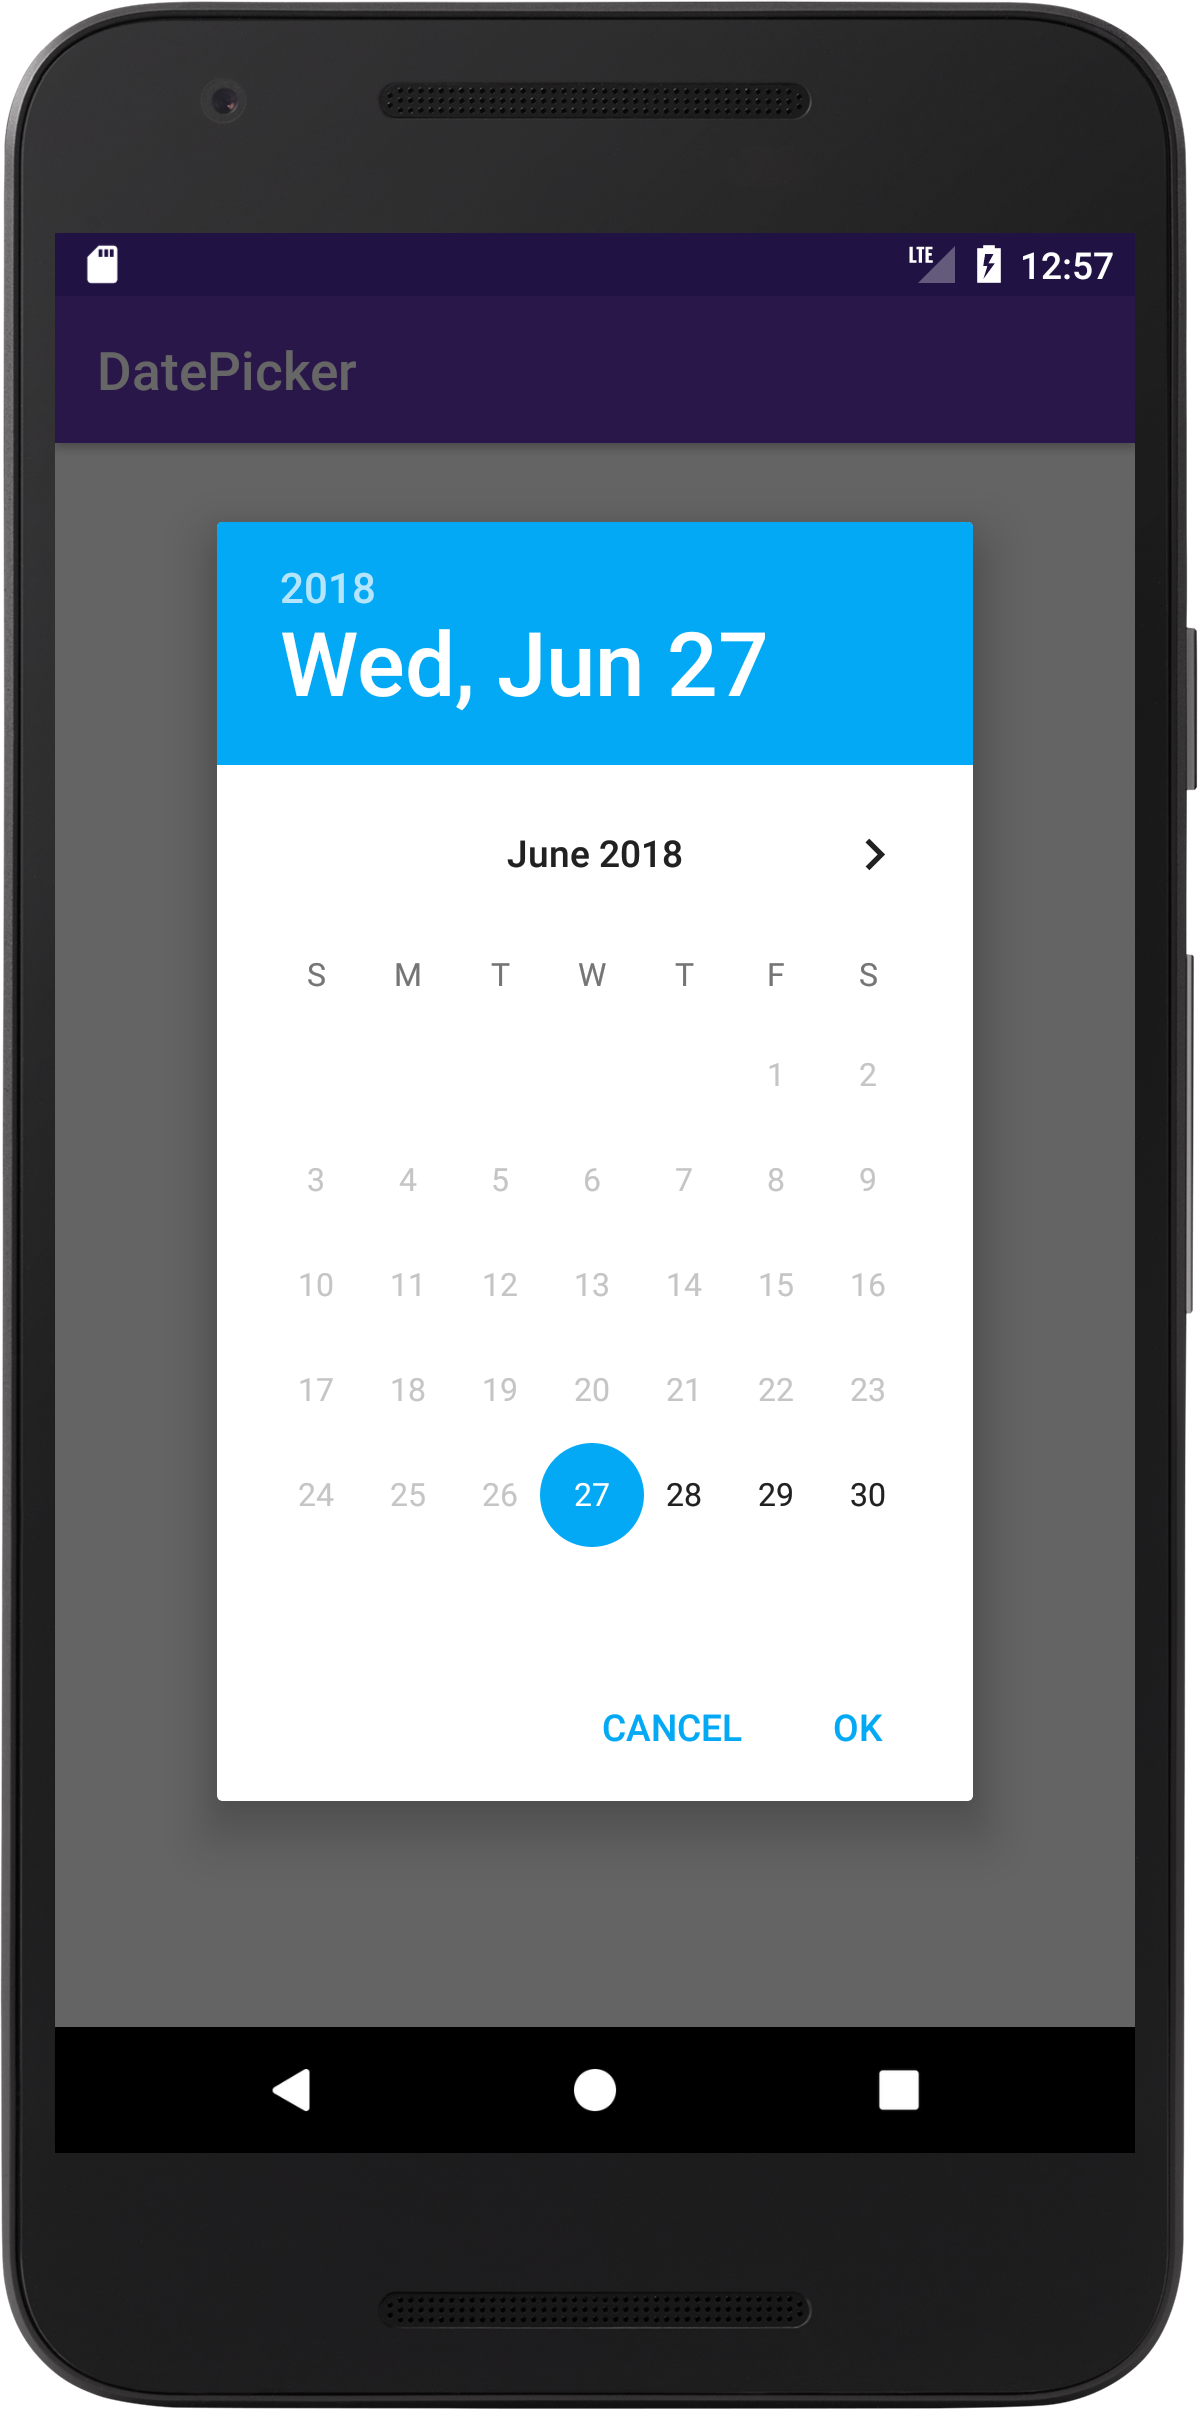
Android datepicker past dates. (Large preview)
21- Here is the full code for MainActivity.java file.
public class MainActivity extends AppCompatActivity {

    Button selectDate;
    TextView date;
    DatePickerDialog datePickerDialog;
    int year;
    int month;
    int dayOfMonth;
    Calendar calendar;

    @Override
    protected void onCreate(Bundle savedInstanceState) {
        super.onCreate(savedInstanceState);
        setContentView(R.layout.activity_main);

        selectDate = findViewById(R.id.btnDate);
        date = findViewById(R.id.tvSelectedDate);

        selectDate.setOnClickListener(new View.OnClickListener() {
            @Override
            public void onClick(View view) {
                calendar = Calendar.getInstance();
                year = calendar.get(Calendar.YEAR);
                month = calendar.get(Calendar.MONTH);
                dayOfMonth = calendar.get(Calendar.DAY_OF_MONTH);
                datePickerDialog = new DatePickerDialog(MainActivity.this,
                        new DatePickerDialog.OnDateSetListener() {
                            @Override
                            public void onDateSet(DatePicker datePicker, int year, int month, int day) {
                                date.setText(day + "/" + (month + 1) + "/" + year);
                            }
                        }, year, month, dayOfMonth);
                datePickerDialog.getDatePicker().setMinDate(System.currentTimeMillis());
                datePickerDialog.show();
            }
        });
    }
}
20- The source code for Android Date Picker example is available on GitHub, I hope you find this tutorial helpful and if you have any question please post them in the comment below.
Thank you for the Time Picker and Date Picker tutorials. Both were very helpful.
Great, I’m happy to hear that 🙂
Thanks for this, it’s extremely clear. How easy would it be to modify the code, so that past dates cannot be selected?
Hi Sam, I’ve just updated the tutorial to include a way on how you can prevent the user from selecting past dates 🙂
Best tutorials ever.. Thanks a lot.
best datepicker demo for android java, thanks 🙂
Thank you, I’m glad that you liked the tutorial 🙂
Thank you
Your welcome 🙂
Great tutorial. I love it…infact give me your youtube channel name and let me subscribe and like your videos
Hi, I’m glad that you liked the tutorial 🙂
Here is the link to the YouTube channel: https://www.youtube.com/c/codingdemos
We Cannot choose previous date …….here so please imrove the code again for that
Hi, you can choose the previous date by removing this line: datePickerDialog.getDatePicker().setMinDate(System.currentTimeMillis());
Is there a way you can view the previously selected date. Instead always viewing the current date in the datePickerDialog?
Hi, you can view the previous date by removing this line: datePickerDialog.getDatePicker().setMinDate(System.currentTimeMillis());
Hi, your tutorials are very helpful and clear, help me a lot.
Is there any way if i want to add a line crossing some certain dates.
Like add a line crossing 4th of Oct if there’s no room available on that day.
Your reply would be appreciated. : )
Hi, I’m glad to hear that 🙂
As for your question, I guess the default datepicker doesn’t support it
Hi, Very good explation. But I want to do one more thing, when user clicks first time it shows current dat which is ok but when he next time lclicks on the button it shows current data, I want to show the last date he selected in the dialoge. How Can I do that?
Hi, let’s say that you are storing the selected date in a database, now when the user taps on the button to select a date, you need to check in your database if there is date that was previously selected by the user. If there was a date, you will then use that date inside DatePicker, otherwise you will show the current date.
The code will look something like this:
int year;
int month;
int dayOfMonth;
//Make sure to get the values for the variables above from the database, then you will use these variables inside DatePicker as shown below.
datePickerDialog = new DatePickerDialog(MainActivity.this,
new DatePickerDialog.OnDateSetListener() {
@Override
public void onDateSet(DatePicker datePicker, int year, int month, int day) {
}
}, year, month, dayOfMonth);
I hope that helps 🙂
Thank you very much for the tutorial ! you simply describe it step by step. please do more tutorials like this 🙂
How to add 30 days to the date that has been entered by datePickerDialog
The output appears in textview
THANK YOU , YOU THE BEST. BLESS YOU
i am getting year first and day at last.. how can i modify
Hi, you want to modify the output inside the date textview?
Great Job!
What would be the easiest code modification to get the format to look like
Fri 11/1/2019 12:27pm
Thanks!
how to set null in textbox when user clicks on cancel button on datepicker dialog , that is how to handle cancel button click