
Last Updated on February 27, 2018
Hi and welcome to another tutorial from Codingdemos, today you will learn how to use Android TimePicker to select the time from Android TimePickerDialog and show it inside Android EditText.
You will build an Android app that contain an EditText, once you tap on it you will see an Android TimePickerDialog which allows you to choose the time and the selected time will appear later inside Android EditText.
By the end of this tutorial, you will have an app that looks like this. (Large preview)
In this tutorial we will be using the following:
– Android studio version 3.0.1
– Android emulator Nexus 5X with API 26
– Minimum SDK API 16
1- Open up Android Studio and create a new project and give it a name, in our case we’ve named it (TimePicker), choose API 16 as the minimum SDK, then choose a blank activity, click “Finish” and wait for Android Studio to build your project.
Create new Android Studio project. (Large preview)
2- Open up colors.xml file, add the following code to change the colors of the app.
< color name="colorPrimary">#00BCD4< /color>
< color name="colorPrimaryDark">#0097A7< /color>
< color name="colorAccent">#CDDC39< /color>
3- Build and run the app to see the changes.
New colors for TimePicker app. (Large preview)
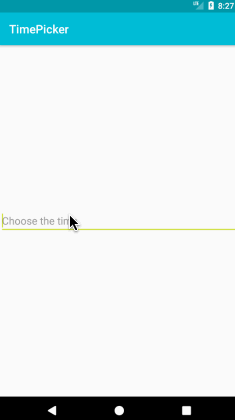
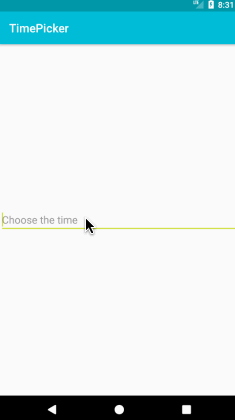
4- Open up activity_main.xml file and add Android EditText.
< EditText
    android:id="@+id/etChooseTime"
    android:layout_width="match_parent"
    android:layout_height="wrap_content"
    android:layout_centerHorizontal="true"
    android:layout_centerVertical="true"
    android:hint="Choose the time" />
5- Build and run the app to see the output.
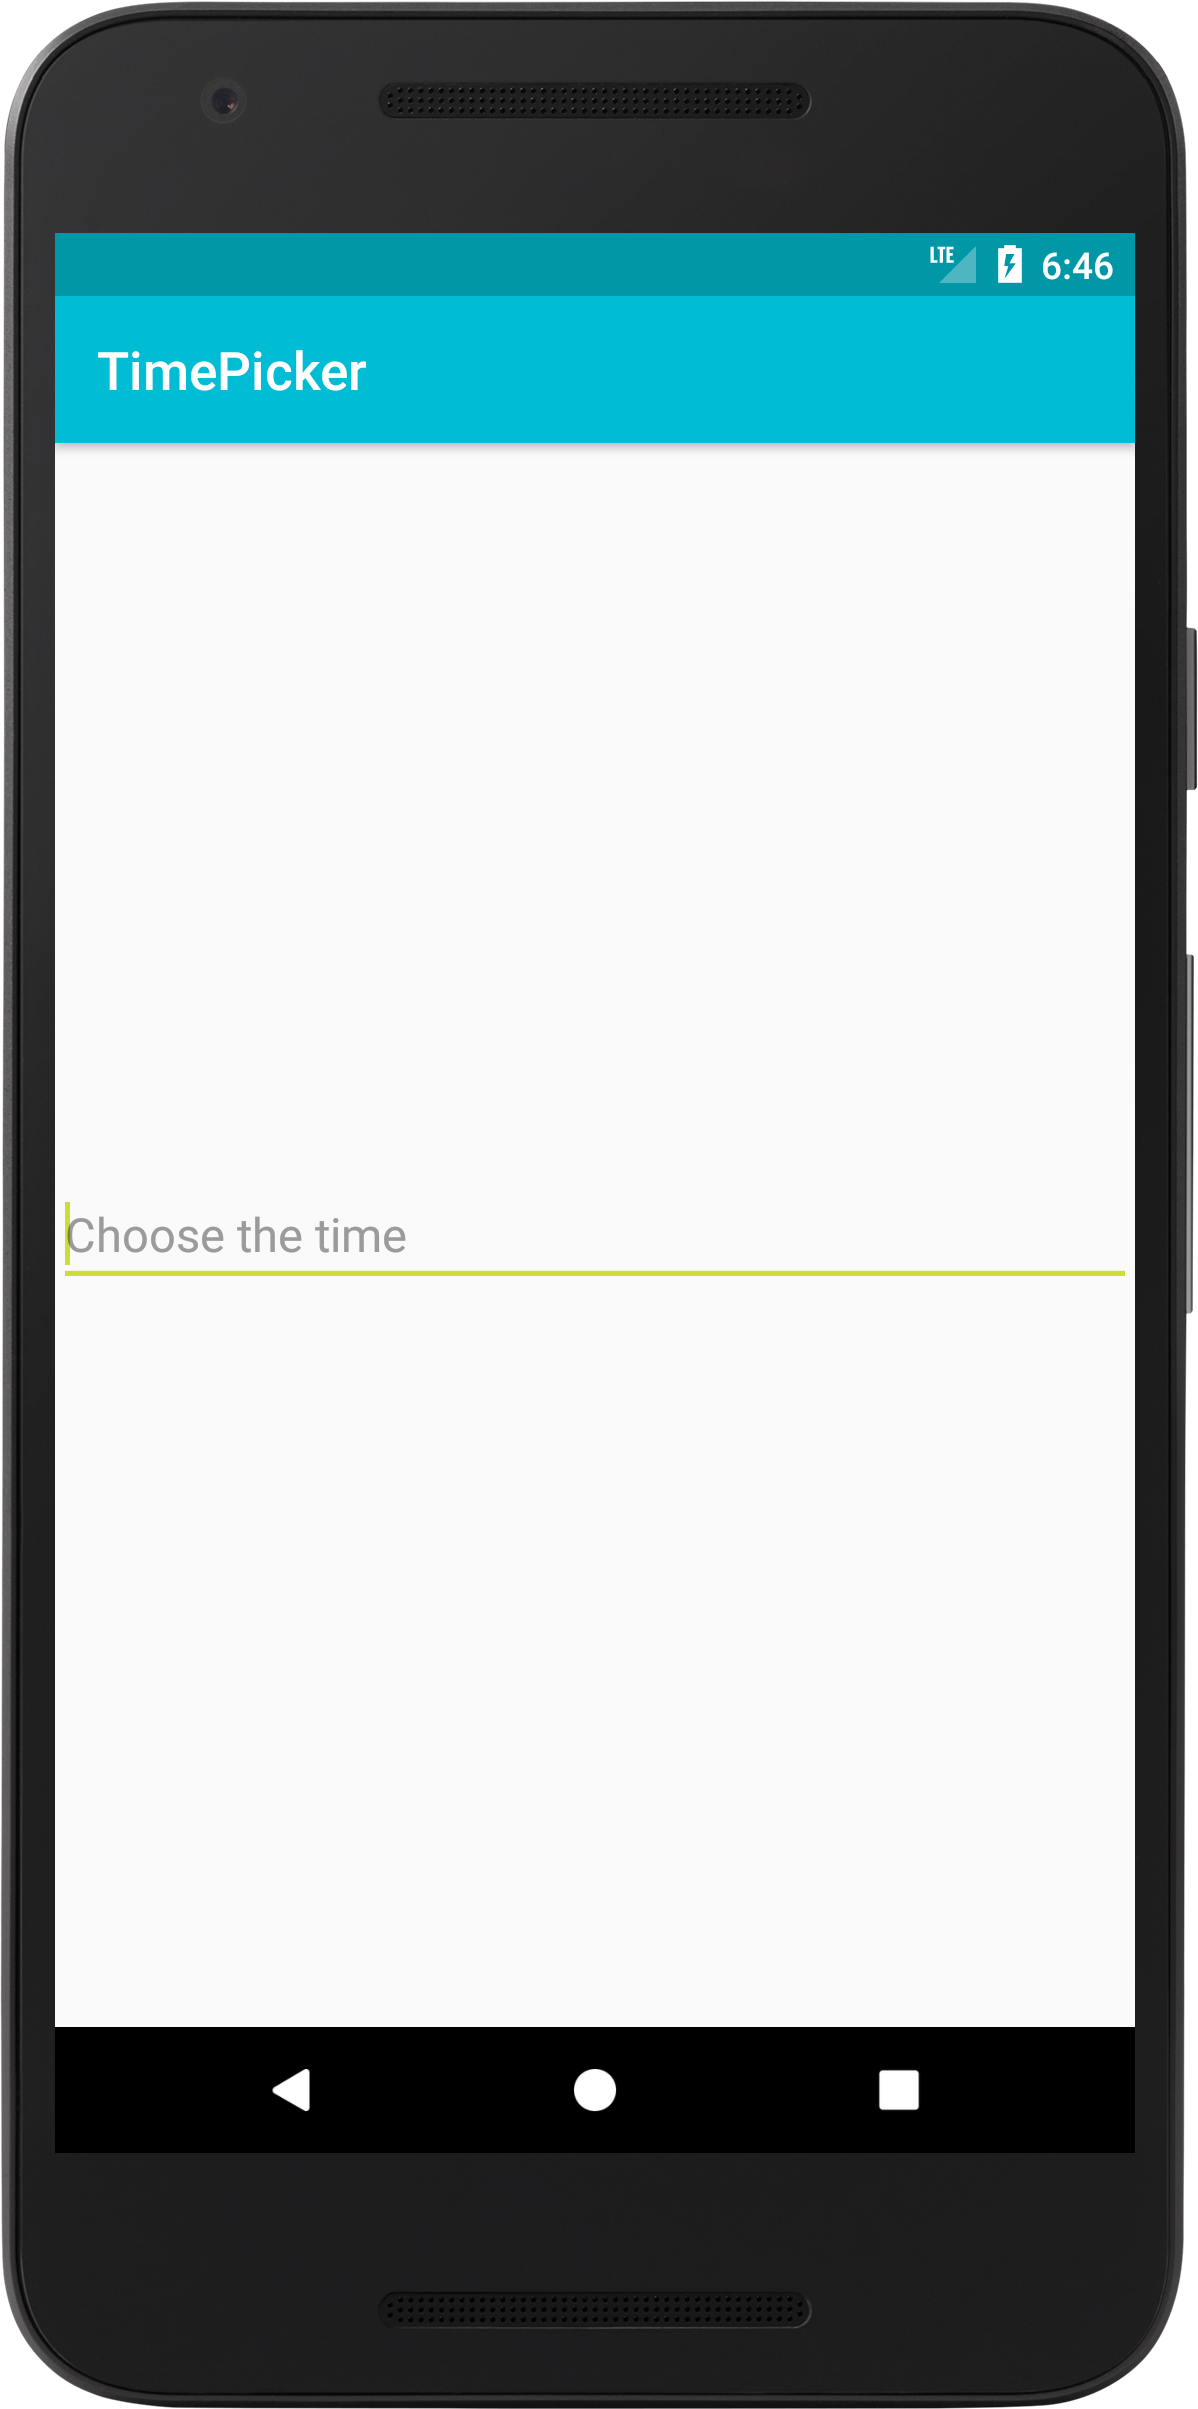
Android EditText for TimePicker. (Large preview)
6- Next open up MainActivity.java file, here you will define Android EditText and TimePickerDialog.
EditText chooseTime = findViewById(R.id.etChooseTime);
7- In order for Android EditText react to user taps you need to use Android SetOnClickListener.
chooseTime.setOnClickListener(new View.OnClickListener() {
            @Override
            public void onClick(View view) {

    }
});
8- Inside Android OnClick method is where you will define Android Time Picker.
TimePickerDialog timePickerDialog = new TimePickerDialog(MainActivity.this, new TimePickerDialog.OnTimeSetListener() {
                    @Override
                    public void onTimeSet(TimePicker timePicker, int hourOfDay, int minutes) {

        }
}, 0, 0, false);
9- Finally add the following code to be able to see TimePickerDialog appear in the screen.
timePickerDialog.show();
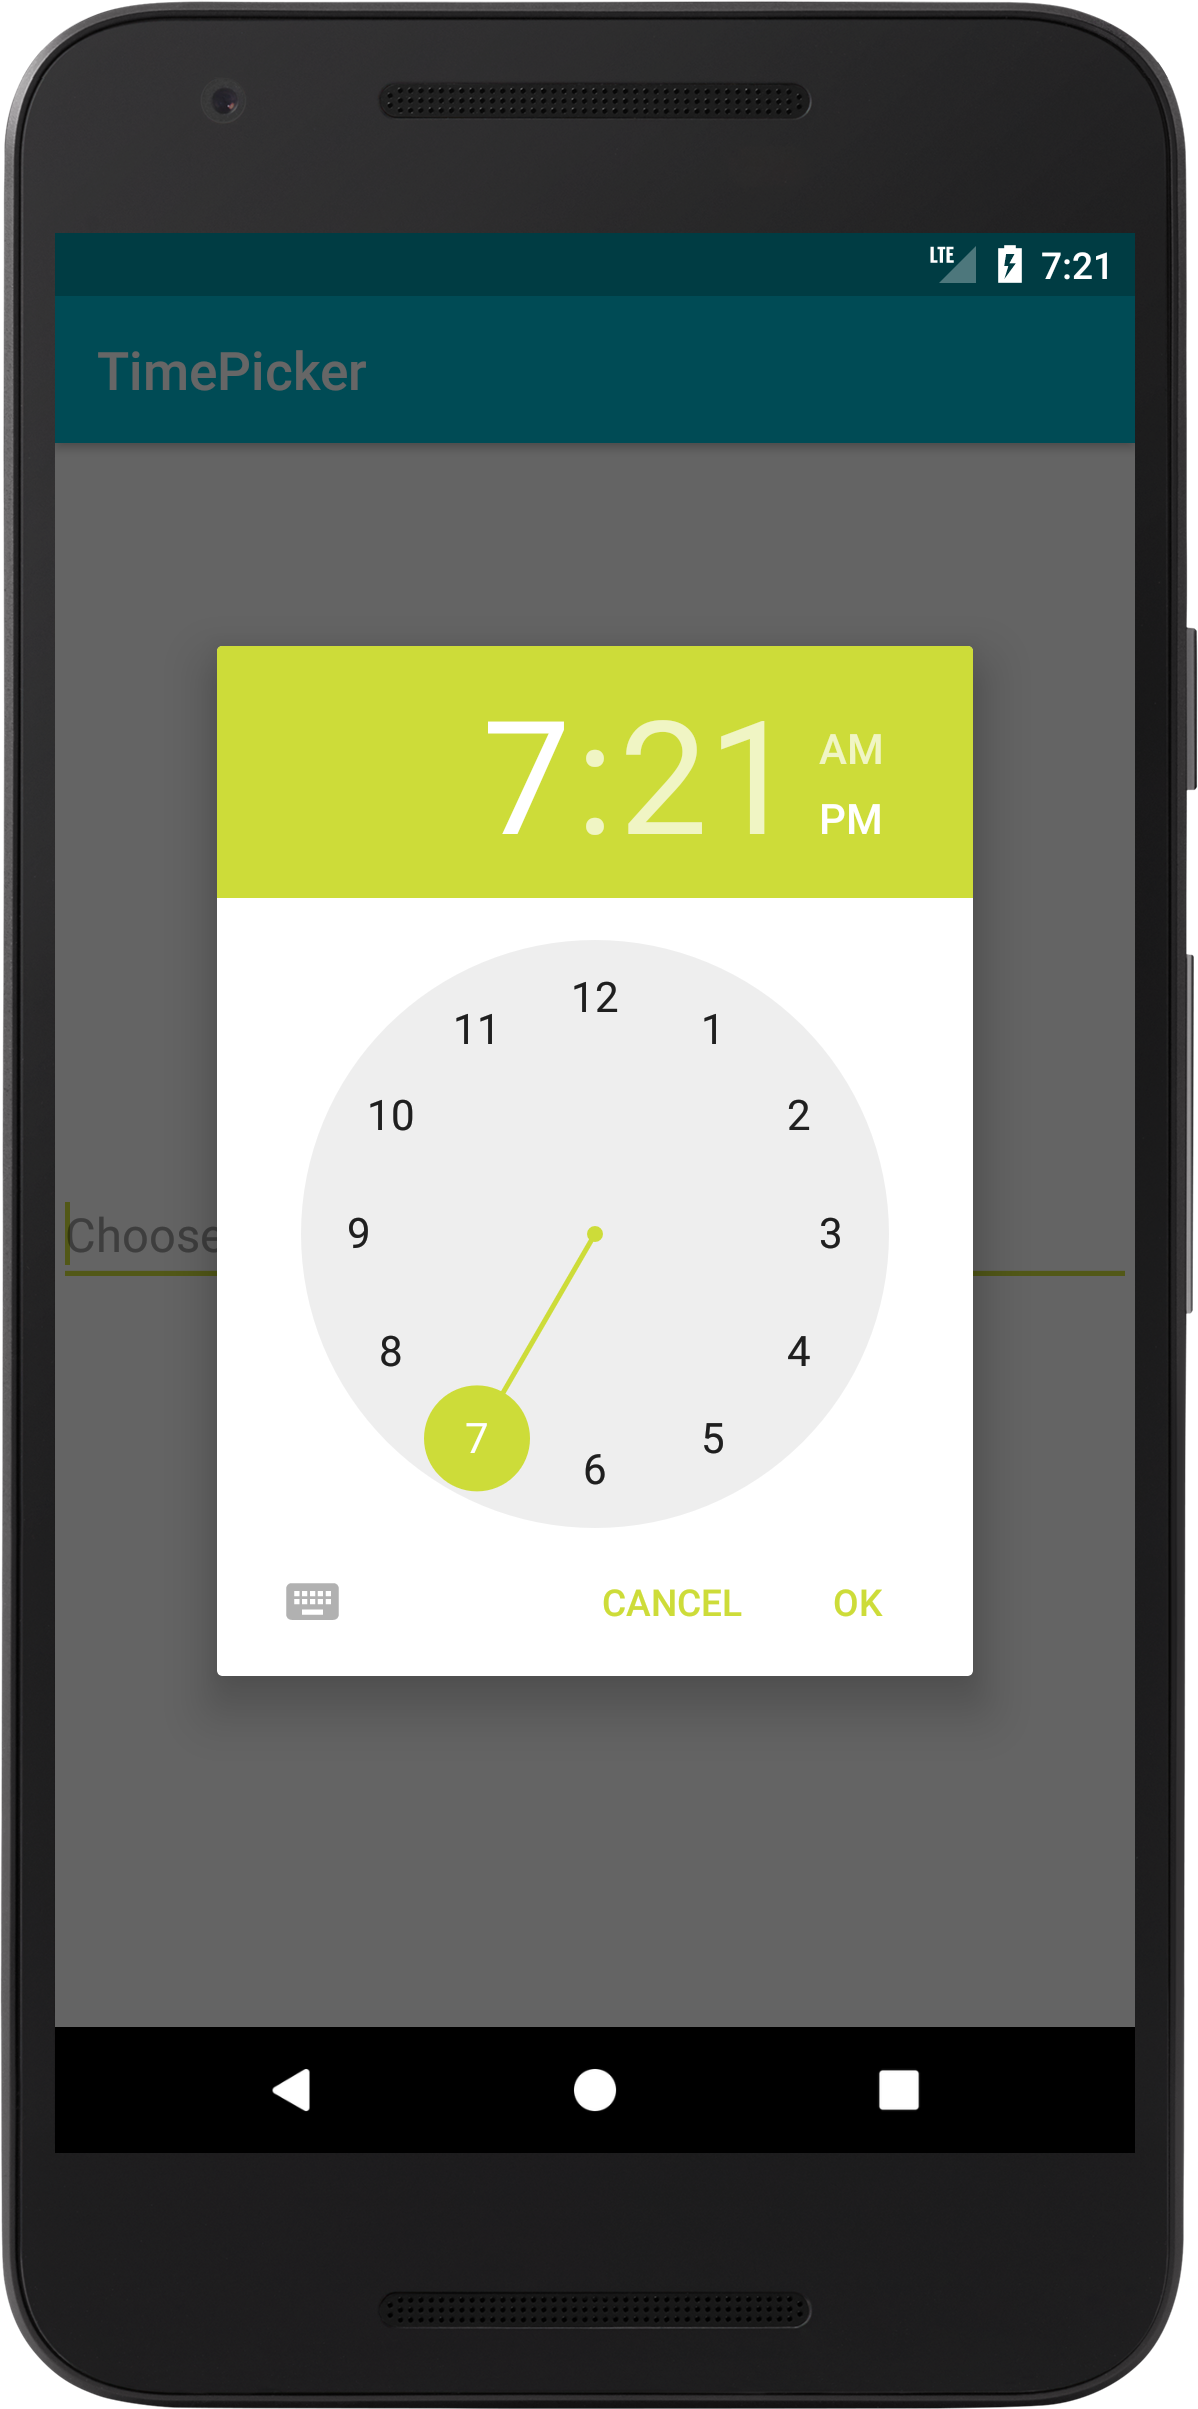
10- Now build and run the app to see Android Timepicker.

Android Time Picker. (Large preview)
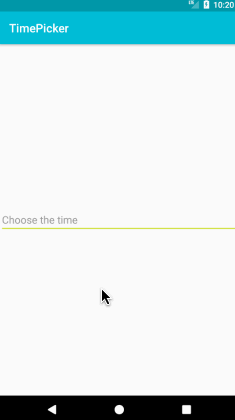
11- Tapping on TimePickerDialog OK button doesn’t do anything at the moment, well you can improve that user experience by showing the selected time inside EditText. Add the following code inside Android onTimeSet method.
chooseTime.setText(hourOfDay + ":" + minutes);
12- Build and run the app to see the result.
Tap on EditText to show timepicker. (Large preview)
How to show Android Timepicker current time
In this section, you will learn how to show the current time inside Android Timepicker.
13- Open up MainActivity.java file and add the following code inside Android OnClick method.
Calendar calendar = Calendar.getInstance();
int currentHour = calendar.get(Calendar.HOUR_OF_DAY);
int currentMinute = calendar.get(Calendar.MINUTE);
Here you define Android Calendar so that you can use it to get the current hour and minute values.
14- Now you need to make some changes to Android onTimeSet method by passing currentHour and currentMinute values, so that you can actually see the current hour and minute inside TimePickerDialog.
timePickerDialog = new TimePickerDialog(MainActivity.this, new TimePickerDialog.OnTimeSetListener() {
                    @Override
                    public void onTimeSet(TimePicker timePicker, int hourOfDay, int minutes) {
                        chooseTime.setText(hourOfDay + ":" + minutes);
    }
}, currentHour, currentMinute, false);
15- Build and run the app.
Tap on EditText to see Android Timepicker current time. (Large preview)
Android Time Picker format time
In this section, you will learn how to format time so that it appears like this (hh:mm).
16- Add the following code inside Android onTimeSet method.
chooseTime.setText(String.format("%02d:%02d", hourOfDay, minutes));
17- Now build and run the app to see the output.
Android Time Picker with correct time format. (Large preview)
Android Timepicker with am pm format
In this section, you will learn how to show AM-PM inside TimePickerDialog and EditText.
18- Modify Android onTimeSet method to include the following code.
String amPm;
if (hourOfDay >= 12) {
        amPm = "PM";
    } else {
        amPm = "AM";
    }
chooseTime.setText(String.format("%02d:%02d", hourOfDay, minutes) + amPm);
Here you check if the selected hour value is greater than or equal to (12), you would then initialize amPm as PM. Otherwise you initialize it as AM.
19- Build and run the app to see the result.
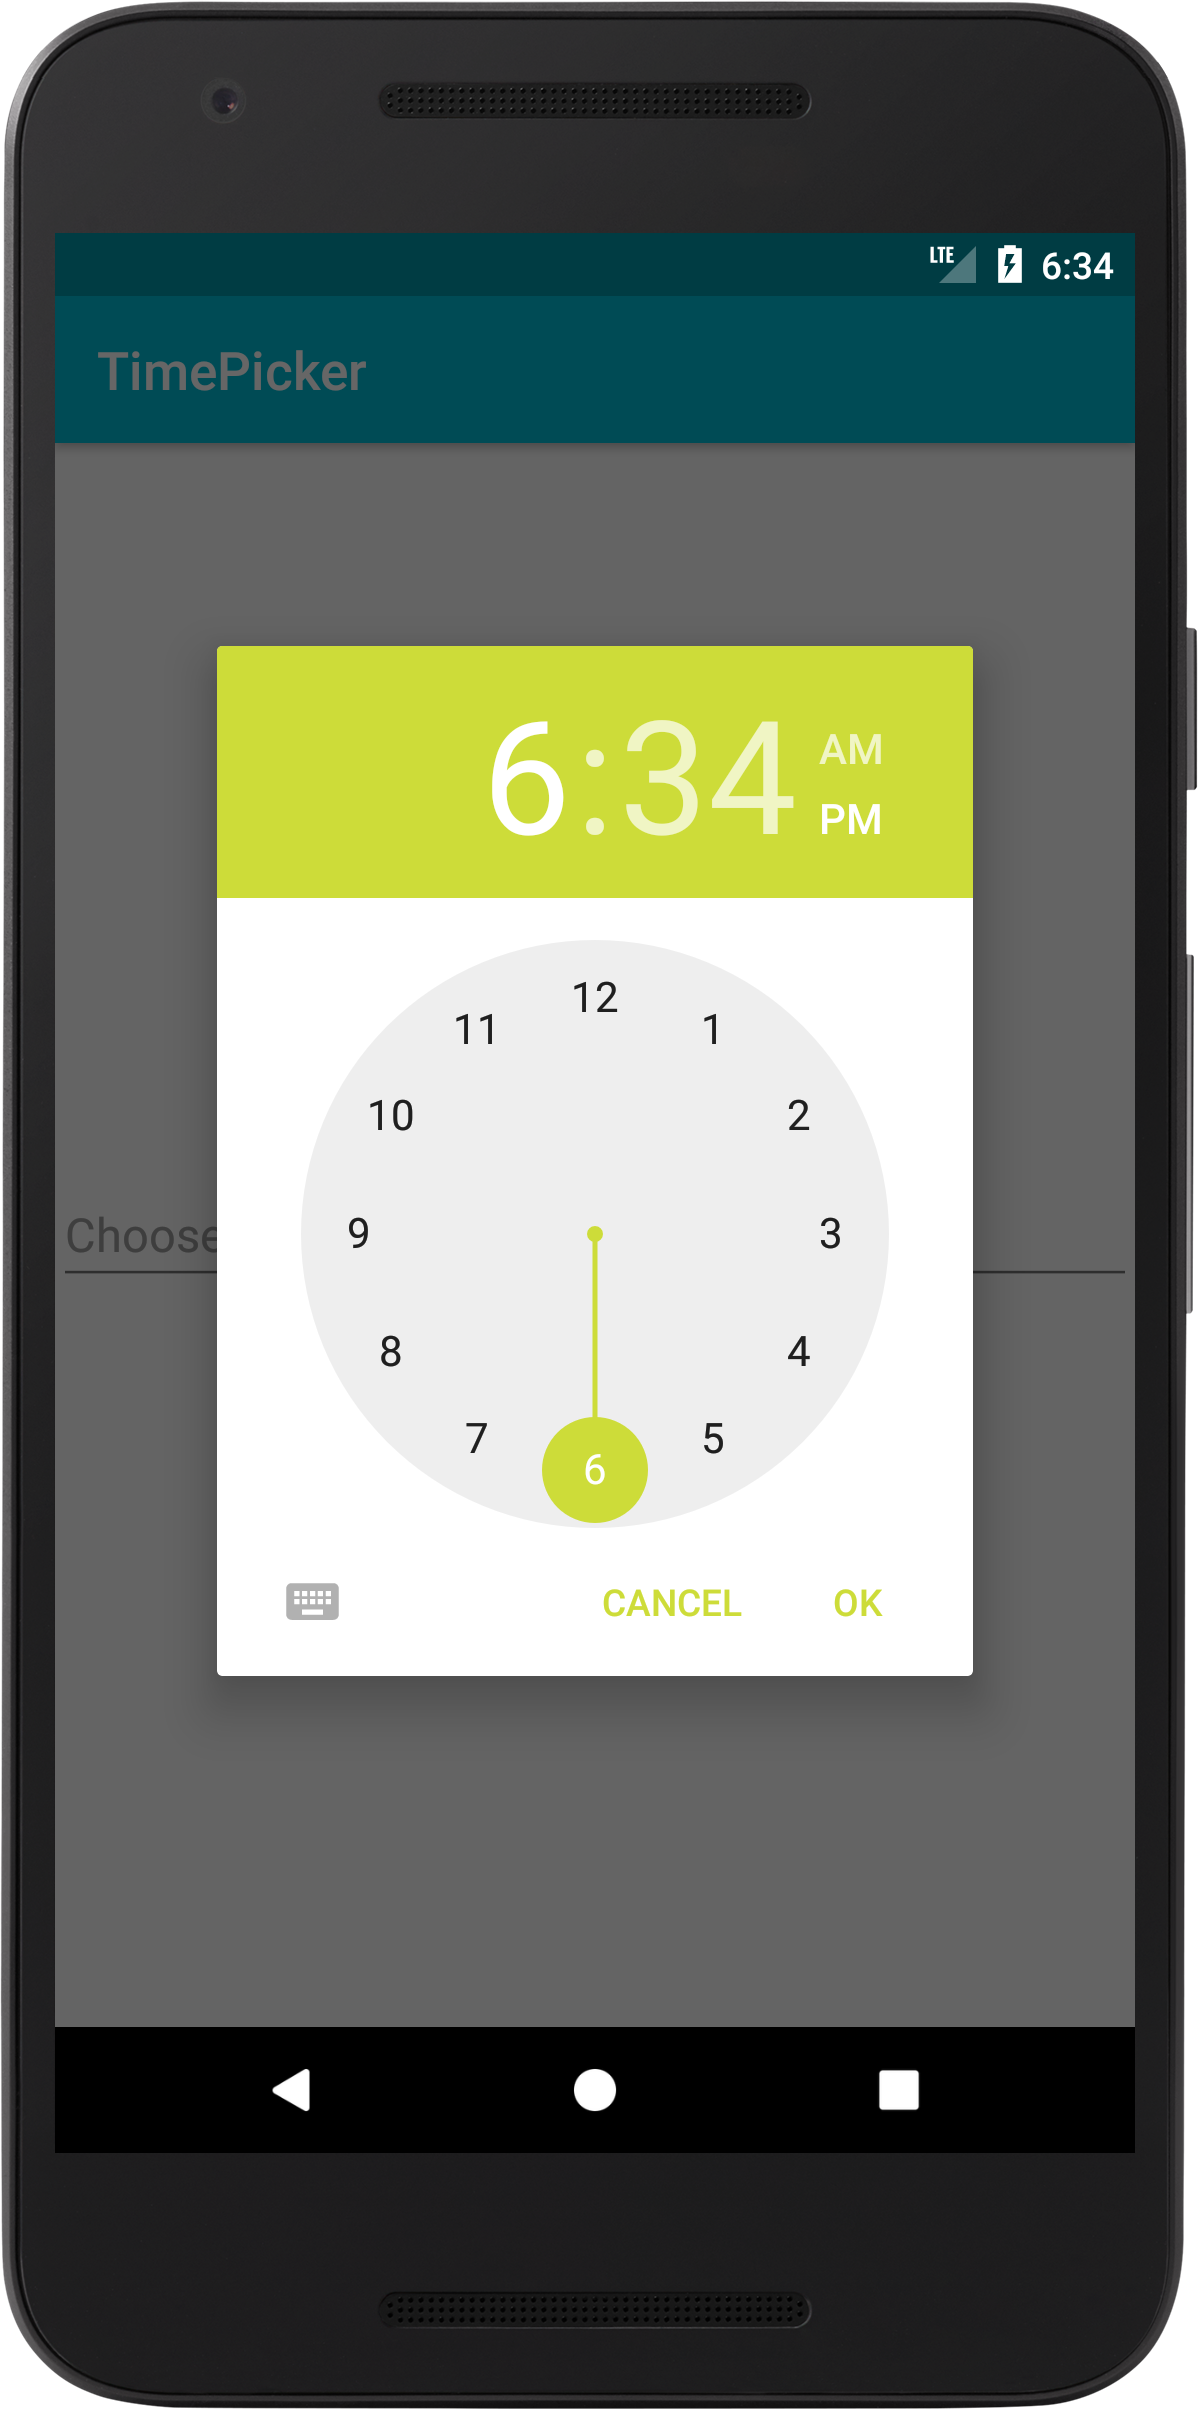
Android Timepicker with am pm format. (Large preview)
20- Here is the full code for MainActivity.java file.
public class MainActivity extends AppCompatActivity {

    EditText chooseTime;
    TimePickerDialog timePickerDialog;
    Calendar calendar;
    int currentHour;
    int currentMinute;
    String amPm;

    @Override
    protected void onCreate(Bundle savedInstanceState) {
        super.onCreate(savedInstanceState);
        setContentView(R.layout.activity_main);

        chooseTime = findViewById(R.id.etChooseTime);
        chooseTime.setOnClickListener(new View.OnClickListener() {
            @Override
            public void onClick(View view) {
                calendar = Calendar.getInstance();
                currentHour = calendar.get(Calendar.HOUR_OF_DAY);
                currentMinute = calendar.get(Calendar.MINUTE);

                timePickerDialog = new TimePickerDialog(MainActivity.this, new TimePickerDialog.OnTimeSetListener() {
                    @Override
                    public void onTimeSet(TimePicker timePicker, int hourOfDay, int minutes) {
                        if (hourOfDay >= 12) {
                            amPm = "PM";
                        } else {
                            amPm = "AM";
                        }
                        chooseTime.setText(String.format("%02d:%02d", hourOfDay, minutes) + amPm);
                    }
                }, currentHour, currentMinute, false);

                timePickerDialog.show();
            }
        });
    }
}
21- The source code for Android TimePicker example is available on GitHub, I hope you find this tutorial helpful and if you have any question please post them in the comment below.
Nice Tutorial and great explanation, keep going :), but now I want to read the void “chooseTime”-value and put into a String. How do I do this ? I would really appreciate your help. 🙂
Hi, I’m happy to hear that 🙂
You can read the value from “chooseTime” like this:
String someData = chooseTime.getText().toString();
Hello, thanks for your web site, I can only say thanks
Continue with strength
Thank you for such a great tutorial. But my app crashed in “chooseTime.setText(String.format(“%02d:%02d”, hourOfDay, minutes) + amPm);” line and show the error in logcat is-
java.lang.NullPointerException: Attempt to invoke virtual method ‘void android.widget.TextView.setText(java.lang.CharSequence)’ on a null object reference
at com.gdm.ragevent.MainActivity$3$1.onTimeSet(MainActivity.java:112)
can you tell me where is the problem? TIA.
Hi, did you reference chooseTime to it’s correct ID inside layout file before trying to set its value in this line: chooseTime.setText(String.format(“%02d:%02d”, hourOfDay, minutes) + amPm); ?
I couldn’t able to get the colour for Time picker
Hi, the color for TimePicker comes from the colors that you set inside colors.xml file which is located inside your project.
It’s nice for me but I have had trouble with the click. The date picker has just shown after double click. I wanted to know how to show the date picker with one click in the first time.
Can you help me about that ?
My timepicker.show() is not working, it says it cannot resolve show(), can you please help me?
Hi, i have learn a lot of things in this tutorial i m working on prayer time manager app. i want to change the time of digital clock from app but i have problem how i parse the time from app to clock. which library or tools will help to parse the time to clock. if you have any idea plz share with me thanx.
Thank you Very Much
Thanks