
Last Updated on February 6, 2018
Hi and welcome to another tutorial from Codingdemos, today you will learn how to build pinch to zoom Android function on an ImageView using 3rd party library called PhotoView. The experience will be a lot similar to what you see today in social media apps.
You will be building an app that have an Android ImageView and a TextView, when you tap on the ImageView an Android Alertdialog will appear on the screen showing you the image in full size where you can pinch and zoom on the image itself.
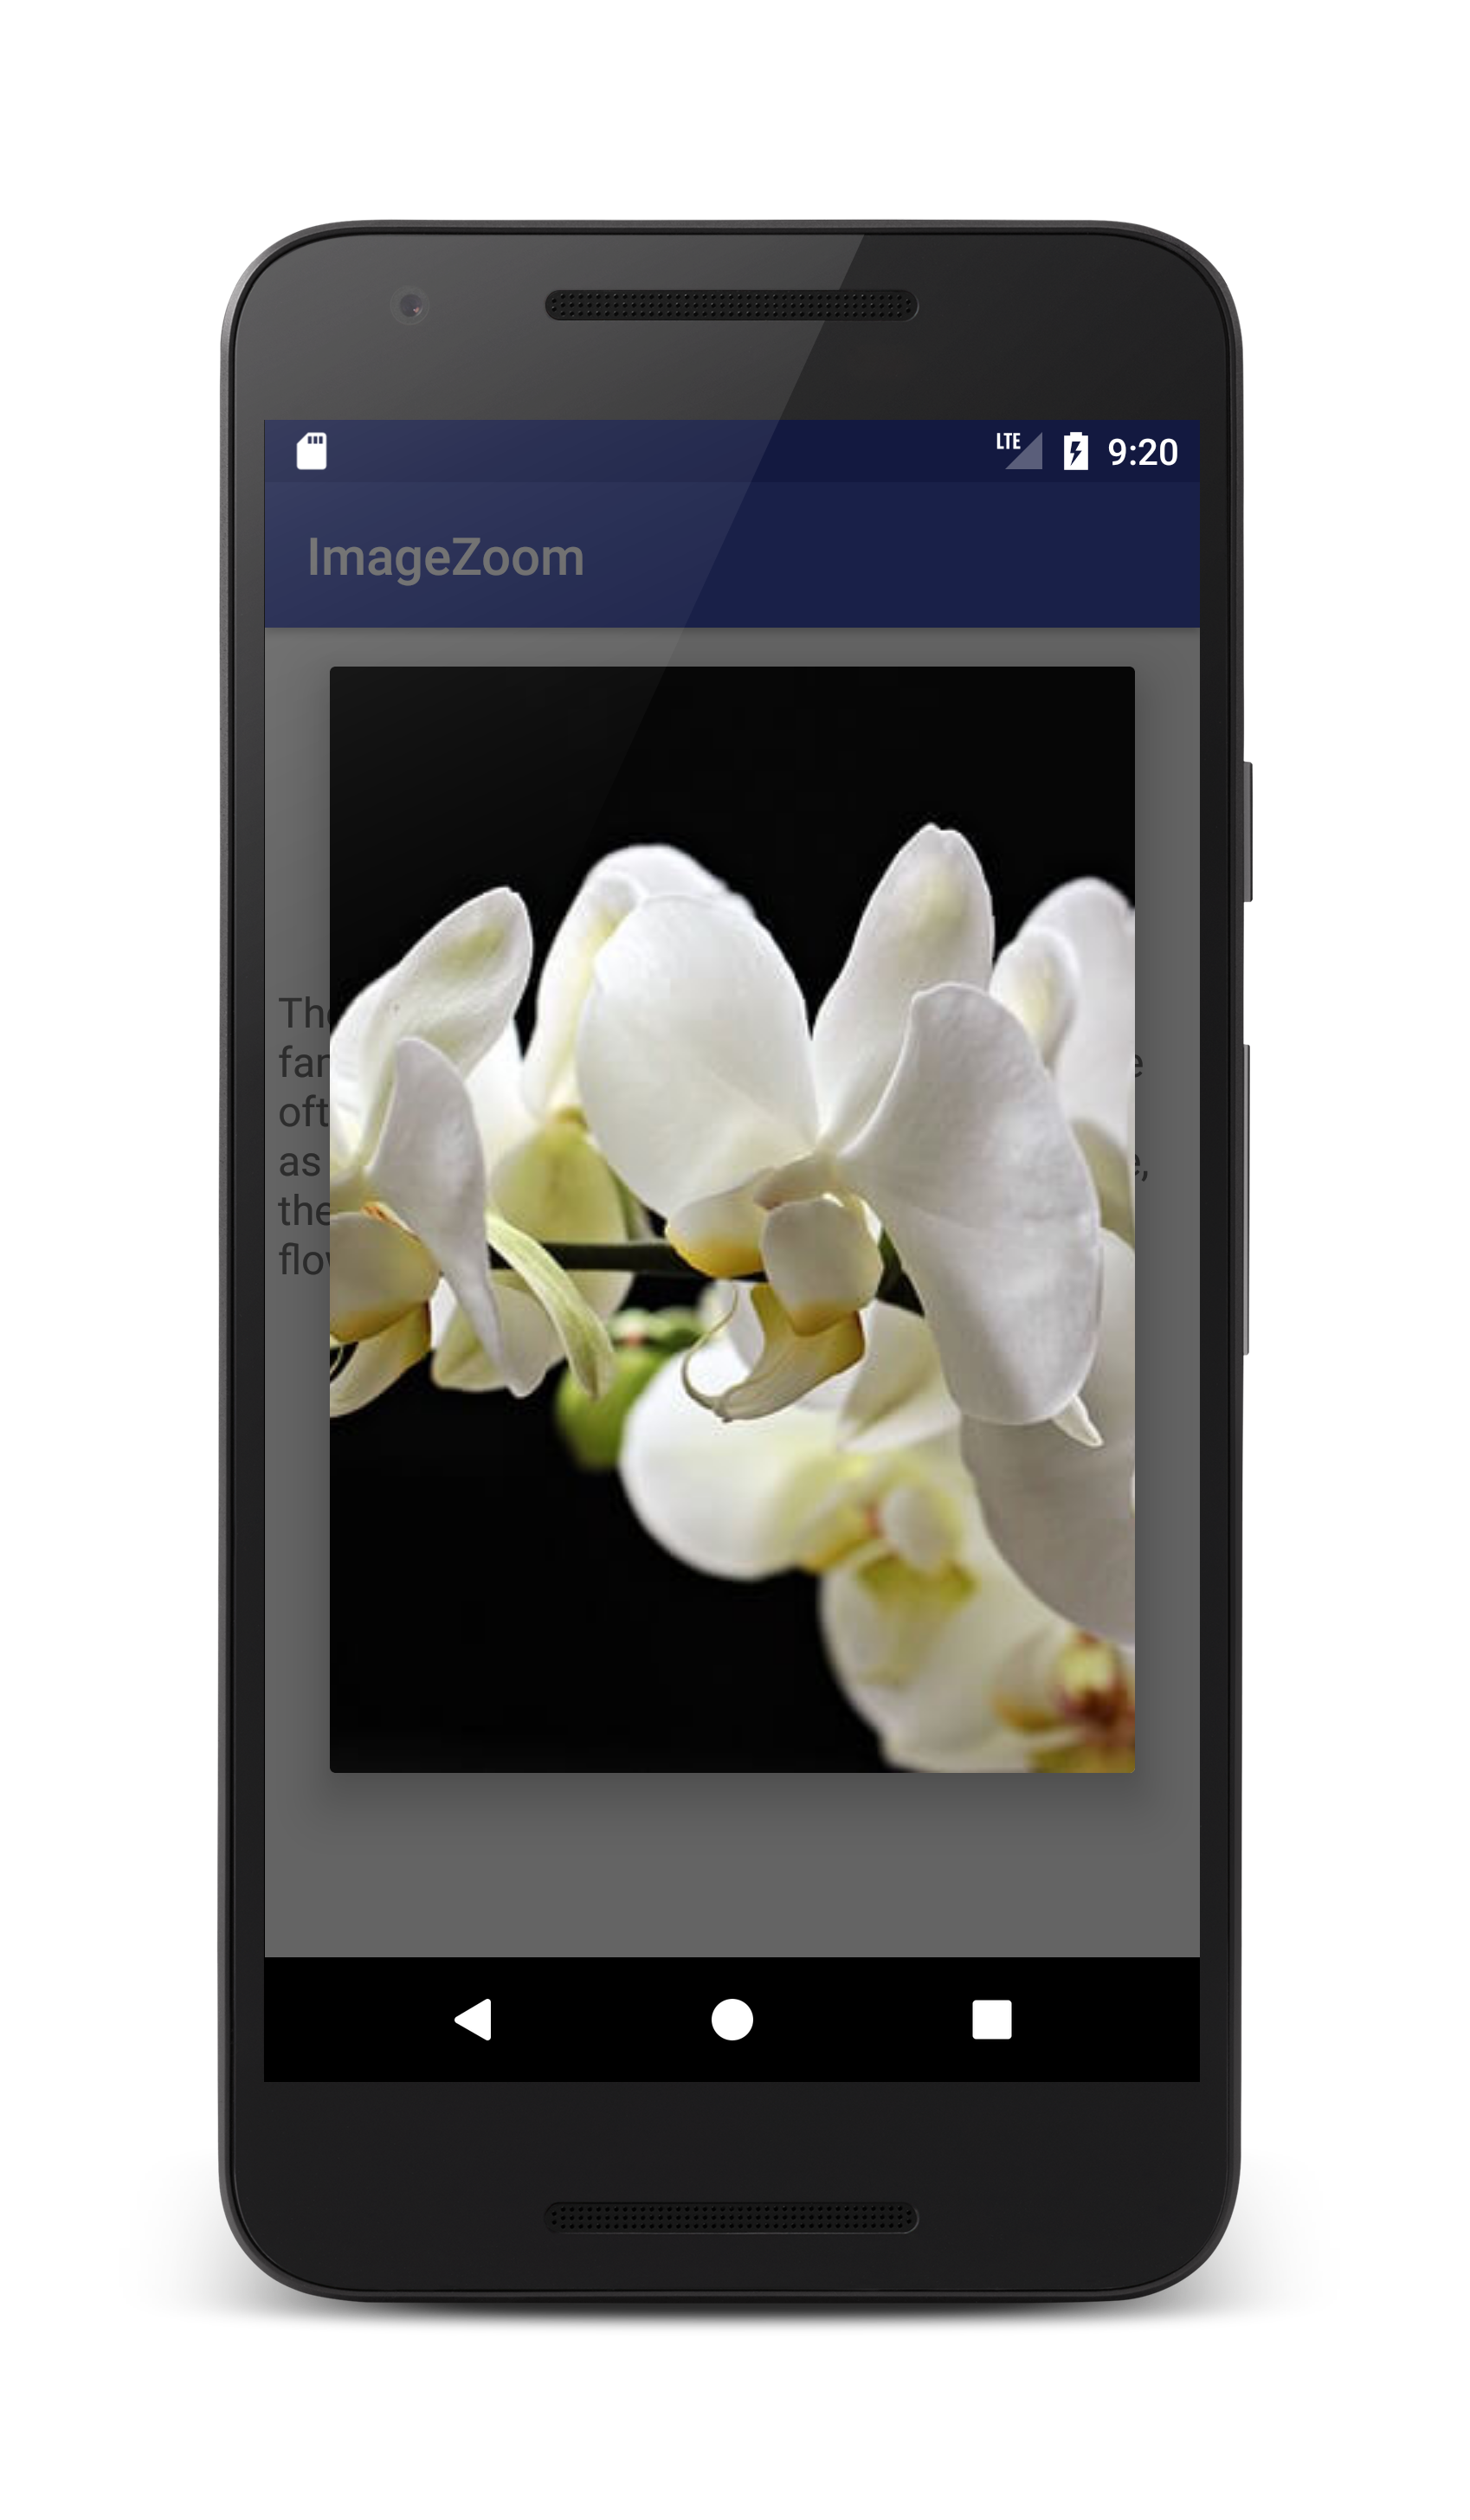
By the end of this tutorial, you will have an app that looks like this. (Large preview)
In this tutorial we will be using the following:
-
– Android studio version 3.0
– Android emulator Nexus 5 with API 26
– Minimum SDK API 16
– PhotoView 3rd party library
1- Open up Android Studio and create a new project and give it a name, in our case we’ve named it (ImageZoom), choose API 16 as the minimum SDK, then choose a blank activity, click “Finish” and wait for Android Studio to build your project.
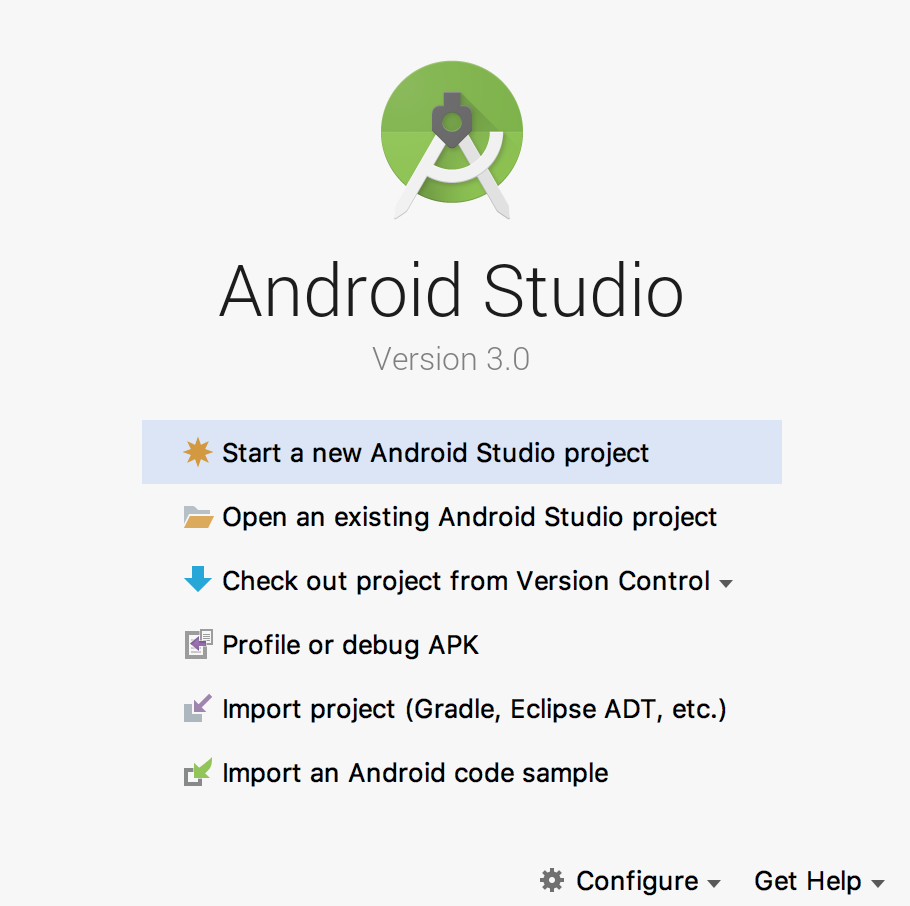
Create new Android Studio project. (Large preview)
2- Open up build.gradle (Module:app) and add PhotoView library.
compile 'com.github.chrisbanes:PhotoView:2.1.3'
3- Now you need to open up build.gradle (Project) and you need to add this line maven { url "https://jitpack.io" } inside (allprojects) tag.
allprojects {
    repositories {
        google()
        jcenter()
        maven { url "https://jitpack.io" }
    }
}
4- Sync the project by clicking on (Sync Now).
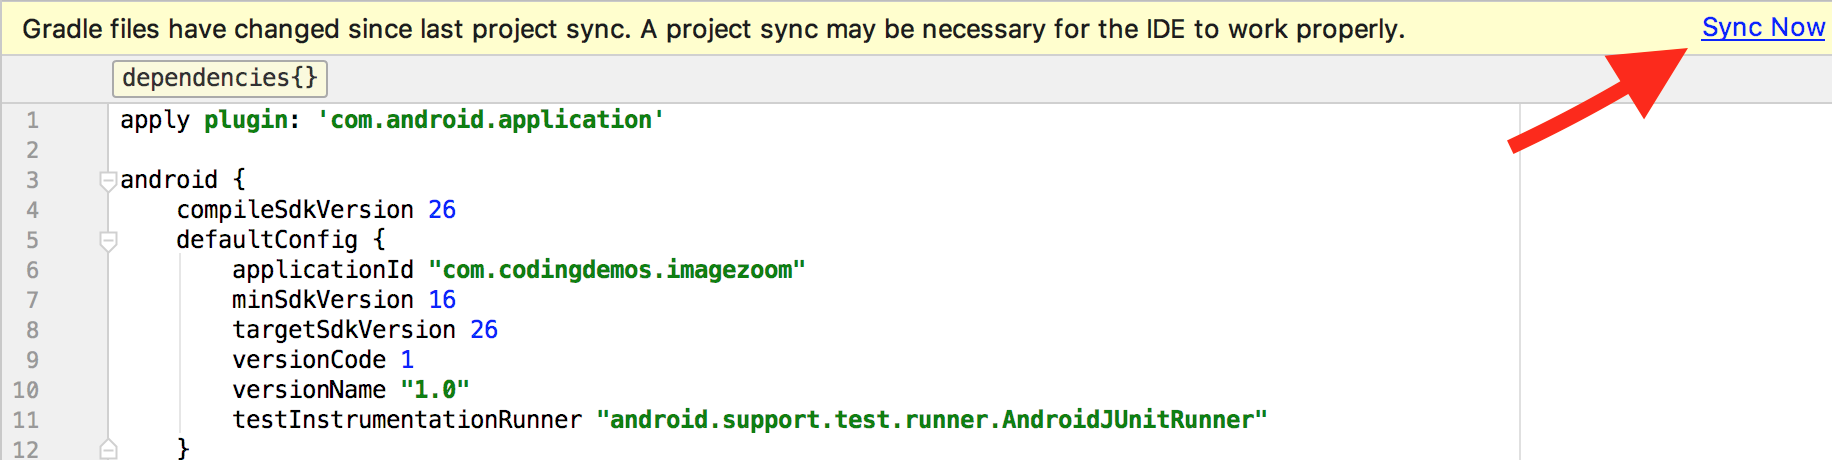
Android studio sync gradle file. (Large preview)
5- Open activity_main.xml file, here you will add 3 views:
– Android ImageView that will hold the picture.
– Android TextView for the image title and description.
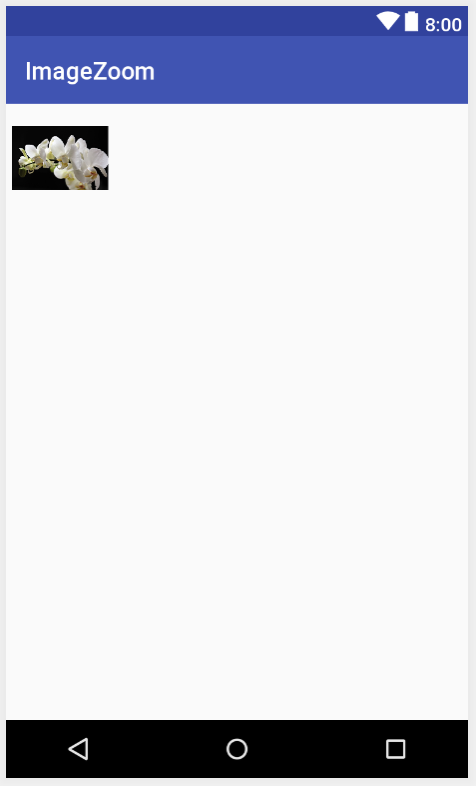
6- Add Android ImageView and make sure that you have added the image that you want to use for the ImageView inside the project drawable folder.
< ImageView
    android:id="@+id/ivIcon"
    android:layout_width="wrap_content"
    android:layout_height="wrap_content"
    app:srcCompat="@drawable/nature" />
Android ImageView with image. (Large preview)
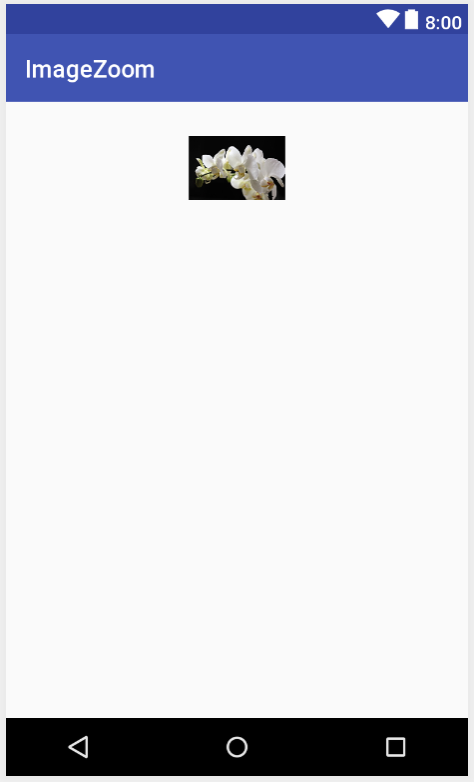
7- Reduce the size of the ImageView by adjusting android:layout_width and android:layout_height
< ImageView
    android:id="@+id/ivIcon"
    android:layout_width="80dp"
    android:layout_height="80dp"
    app:srcCompat="@drawable/nature" />
Adjust width and height of Android ImageView. (Large preview)
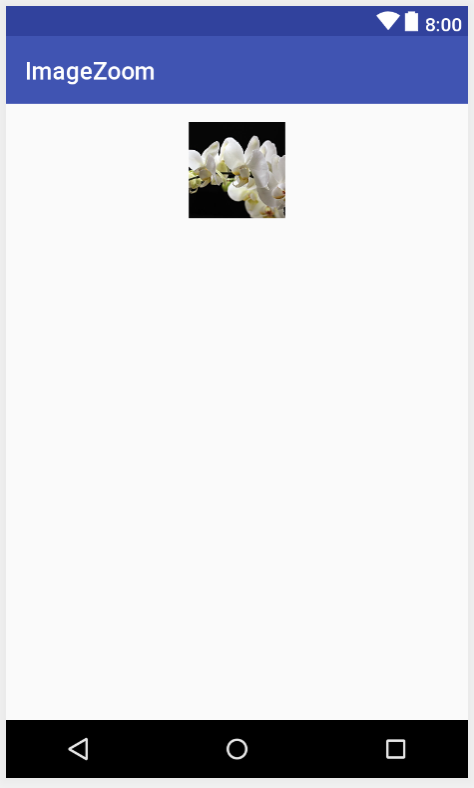
8- Add some margin above the ImageView and place it in the center.
< ImageView
    android:id="@+id/ivIcon"
    android:layout_width="80dp"
    android:layout_height="80dp"
    android:layout_centerHorizontal="true"
    android:layout_marginTop="10dp"
    app:srcCompat="@drawable/nature" />
Android ImageView placed in the center with margin. (Large preview)
9- When you tap on the ImageView inside Android Studio preview window, you will see an empty space from top and bottom of the ImageView. You can fix that by using android:scaleType="centerCrop" which allow the image to fill the remaining space.
< ImageView
    android:id="@+id/ivIcon"
    android:layout_width="80dp"
    android:layout_height="80dp"
    android:layout_centerHorizontal="true"
    android:layout_marginTop="10dp"
    android:scaleType="centerCrop"
    app:srcCompat="@drawable/nature" />
Android ImageView with scaletype. (Large preview)
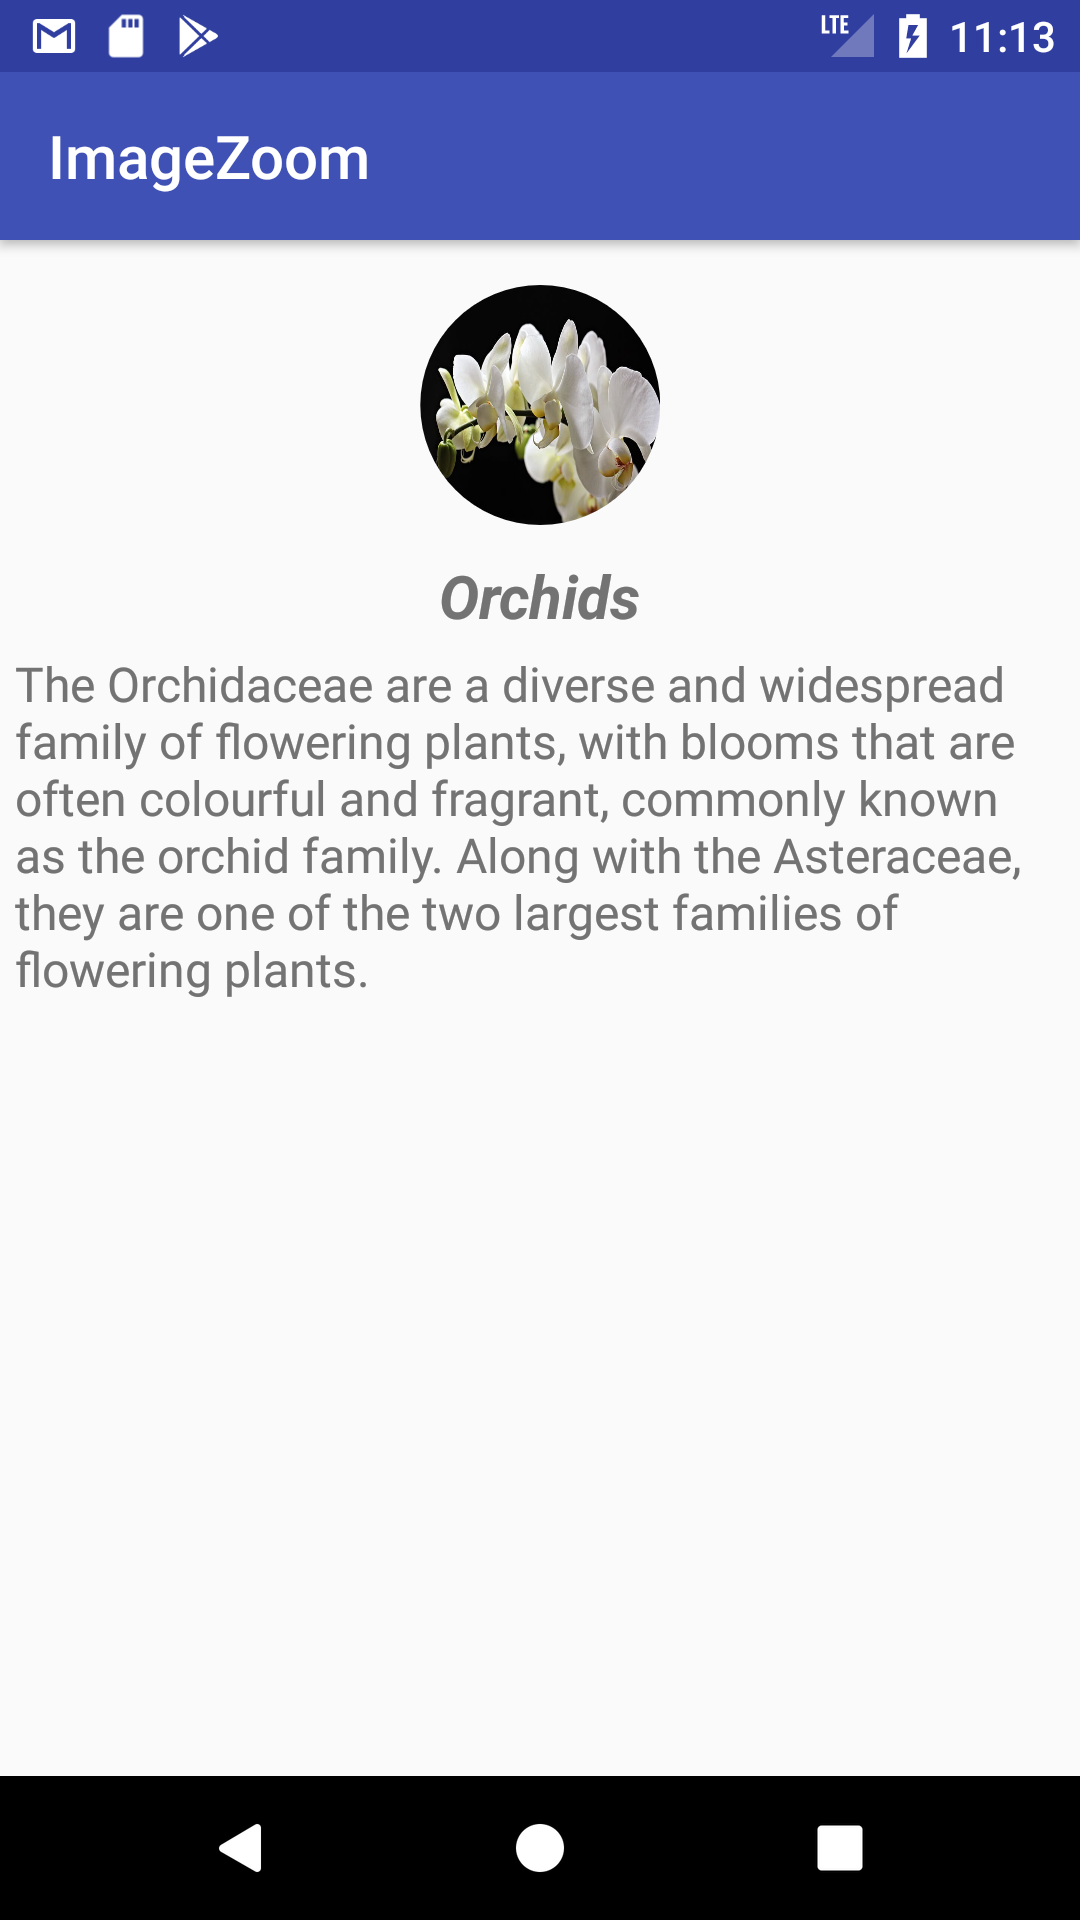
10- Add Android TextView which will hold the name of the picture, this TextView will be placed below ImageView (ivIcon) in the center, add some margin from the top, try to increase text size to (20sp) and change text style to (italic and bold).
< TextView
    android:id="@+id/tvName"
    android:layout_width="wrap_content"
    android:layout_height="wrap_content"
    android:layout_marginTop="10dp"
    android:layout_below="@+id/ivIcon"
    android:text="@string/flower_name"
    android:layout_centerHorizontal="true"
    android:textSize="20sp"
    android:textStyle="italic|bold" />
11- Now you add the final TextView for this layout which will hold the description about the picture, this TextView will be placed below (tvName), try to increase text size to (16sp) and don’t forget to add some margin from the top so that it doesn’t appear to close with (tvName) TextView.
< TextView
    android:id="@+id/textView"
    android:layout_width="wrap_content"
    android:layout_height="wrap_content"
    android:layout_below="@+id/tvName"
    android:textSize="16sp"
    android:layout_marginTop="5dp"
    android:text="@string/flower_description" />
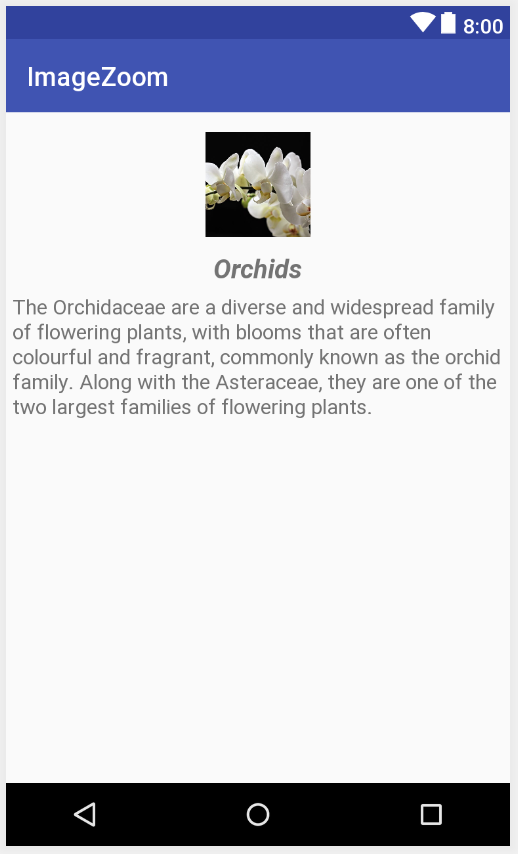
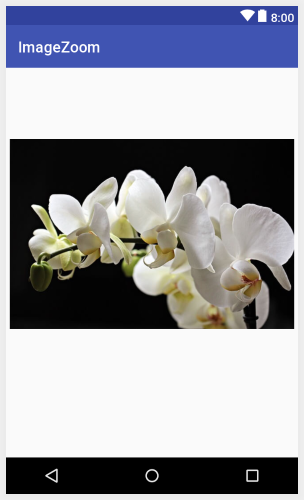
Flower title and description. (Large preview)
12- Now you are done working on activity_main.xml file, next you need to open up MainActivity.java file and initialize Android ImageView and Android AlertDialog.
13- Initialize ImageView (ivIcon).
ImageView mIcon = findViewById(R.id.ivIcon);
14- Next you need to change the shape of ImageView (ivIcon) to circle using RoundedBitmapDrawable and Bitmap.
Bitmap bitmap = BitmapFactory.decodeResource(getResources(), R.drawable.nature);
RoundedBitmapDrawable mDrawable = RoundedBitmapDrawableFactory.create(getResources(), bitmap);
mDrawable.setCircular(true);
mIcon.setImageDrawable(mDrawable);
15- Build and run the app to see the progress.
Changed the shape of ImageView (ivIcon) to circle. (Large preview)
16- Now you need to work on Android AlertDialog, the AlertDialog will appear on the screen when you try to tap on ImageView (ivIcon). Before you start that, you first need to create another layout file that you will use it later for AlertDialog.
17- Create a new layout file and name it (dialog_custom_layout.xml), this file will have a PhotoView that will match the width and height of the screen.
< com.github.chrisbanes.photoview.PhotoView
    android:id="@+id/imageView"
    android:layout_width="match_parent"
    android:layout_height="match_parent" />
18- Now go back to MainActivity.java file, to be able to tap on the ImageView you will need to use setOnClickListener and inside onClick is where you will create AlertDialog.
mIcon.setOnClickListener(new View.OnClickListener() {
            @Override
            public void onClick(View view) {
                AlertDialog.Builder mBuilder = new AlertDialog.Builder(MainActivity.this);
                View mView = getLayoutInflater().inflate(R.layout.dialog_custom_layout, null);
                PhotoView photoView = mView.findViewById(R.id.imageView);
                photoView.setImageResource(R.drawable.nature);
                mBuilder.setView(mView);
                AlertDialog mDialog = mBuilder.create();
                mDialog.show();
            }
        });
19- Build and run the app to test out Android pinch and zoom function.
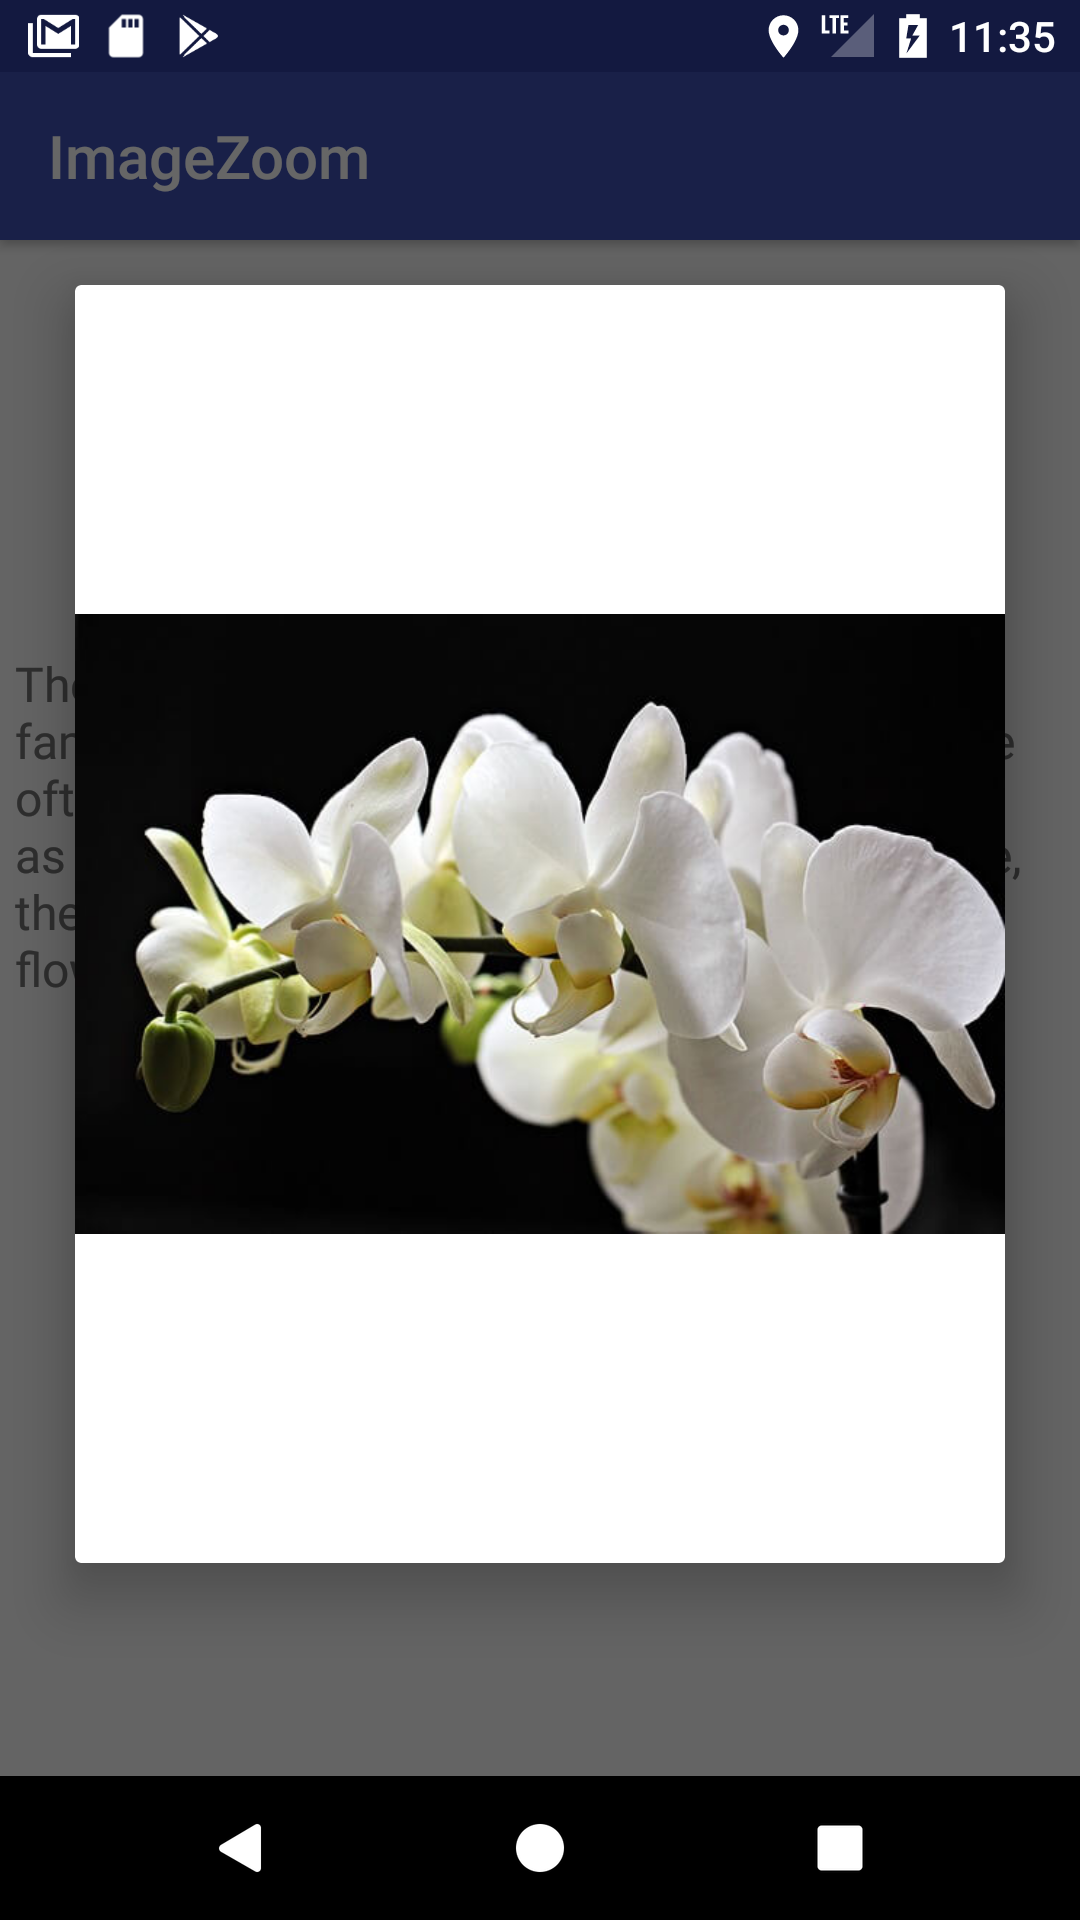
PhotoView image doesn’t completely fill out AlertDialog. (Large preview)
20- Hmm it seems that the image doesn’t fill the entire AlertDialog! You can actually fix it by using android:scaleType="centerCrop".
< com.github.chrisbanes.photoview.PhotoView
    android:id="@+id/imageView"
    android:layout_width="match_parent"
    android:layout_height="match_parent"
    android:scaleType="centerCrop" />
21- Build and run the app to see the result.
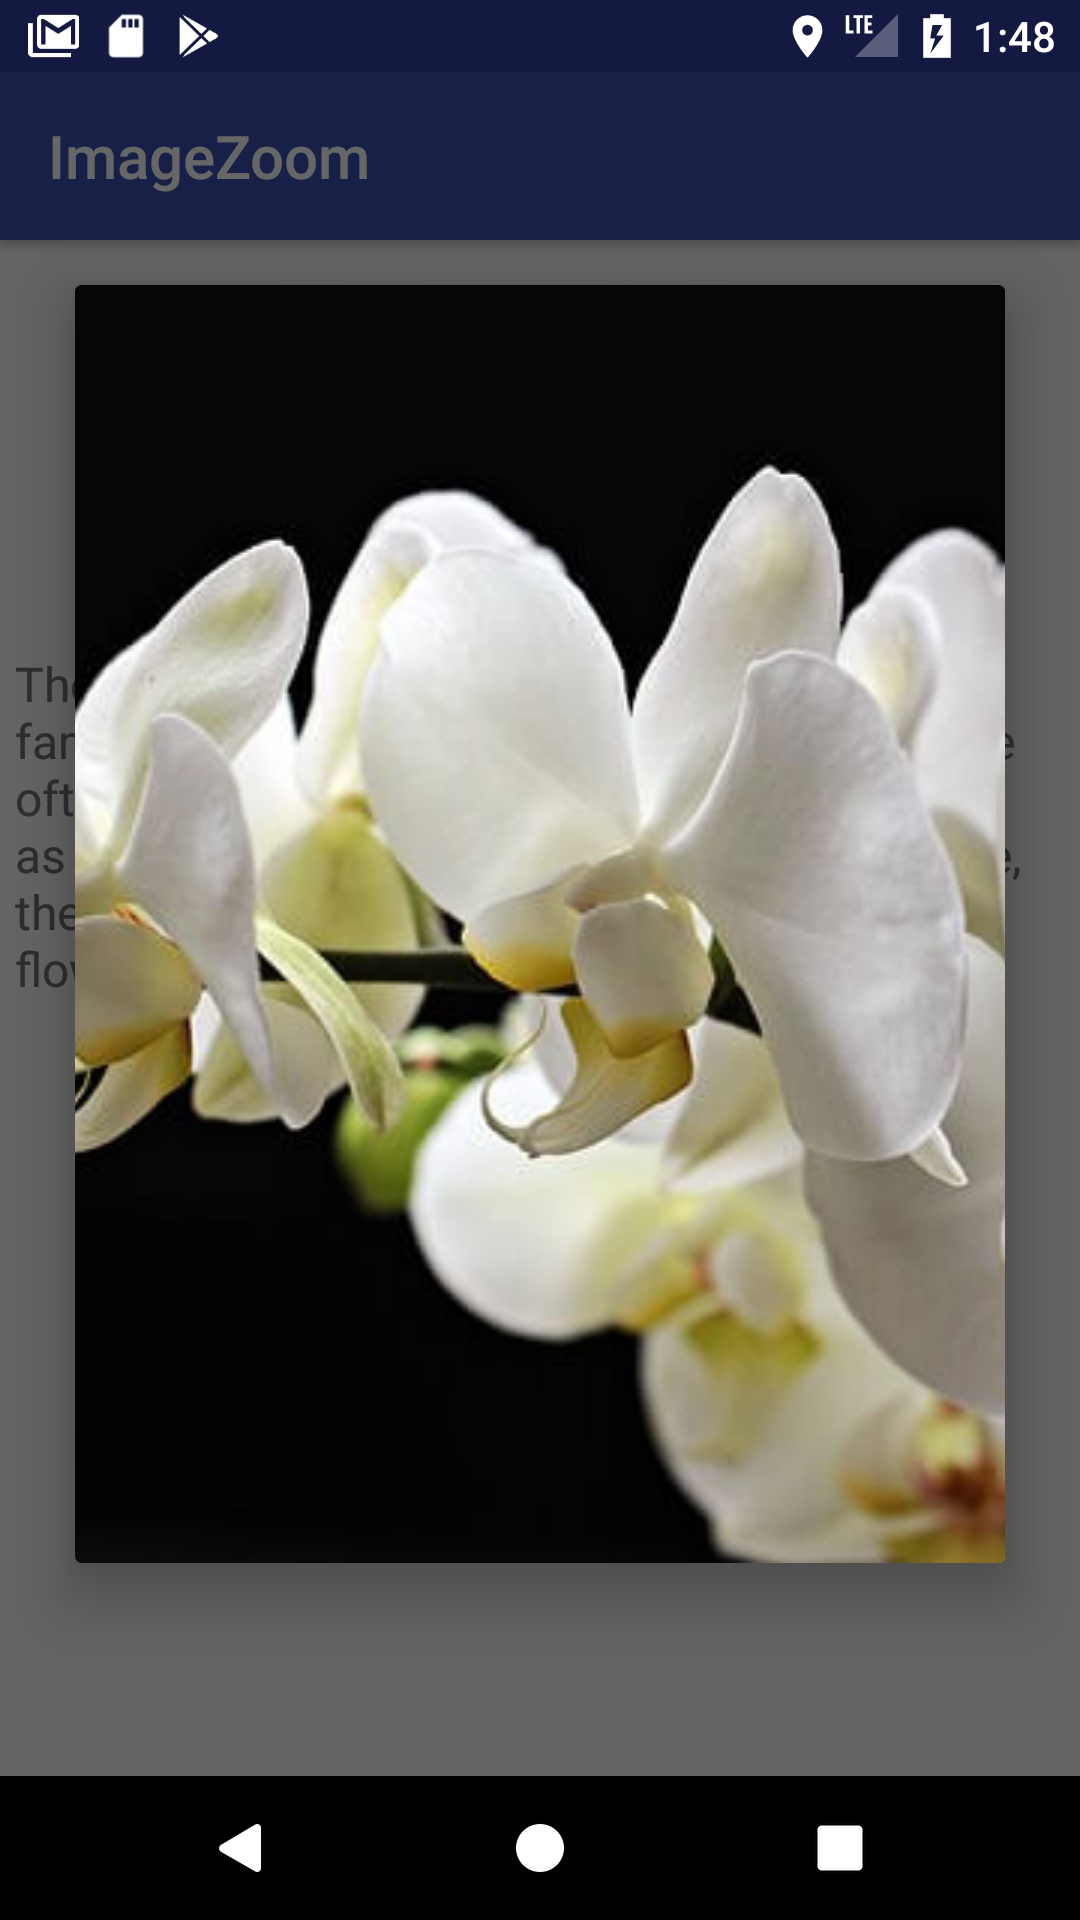
PhotoView image appears inside AlertDialog. (Large preview)
22- Great now you have a fully working app with pinch to zoom Android function 🙂
The source code for this tutorial is available on GitHub, I hope you find this tutorial helpful and if you have any question please post them in the comment below.
Niiiice man, Ultra many thanks¡¡¡¡ 🙂 .. from Colombia
Nice, thanks!!!
I would like to know how to set image coming from database in photoview?
This didn’t work for me. The height is not displayed properly
private void zoomingImage () {
photoImageView.setOnClickListener(new View.OnClickListener() {
@Override
public void onClick(View v) {
AlertDialog.Builder mBuilder = new AlertDialog.Builder(MessageAdapter.this);
View mView = getLayoutInflater().inflate(R.layout.alertdialogue, null);
PhotoView photoView = (PhotoView) mView.findViewById(R.id.picView);
photoView.setImageResource(R.id.photoImageView);
mBuilder.setView(mView);
AlertDialog mDialog = mBuilder.create();
mDialog.show();
}
});
}
i am taking image from my firebase but its showing red line in getLayoutInflater() and also it is not accepting context in the AlertDialogue.Builder(//class name i have provided here)
and lastly setImageResources(photoImageView i have given here since it is my image view id) but though its not working please tell the solution
Hi, based on the given code, i’m guessing the reason you getting these errors is because you writing your code inside a non-activity class right? If possible please email me (codingdemos@gmail.com) that class code so that I see the issue.
Do like this:–
View mView = LayoutInflater.from(getApplicationContext()).inflate(R.layout.alertdialog, null);
Thanks for this very well explained post, it helped me a lot!
Cheers,
Pedro
Your welcome Pedro 🙂
Hi Codedmin,
How can I zoom to a specified coordinate on the image?
Thank and Best Regards,
Hoa
From Viet Nam
Thanks so much Codedmin.
how to load url image in photoView..???
Hi, you can use Picasso library to load the image. Here is the link: https://github.com/square/picasso
is there any solution to writing this code inside of a non-activity class (adapter class for example)?
This is not working when we have to show image from url
please solve it i m not getting proper output
AlertDialog.Builder mBuilder = new AlertDialog.Builder(UploadProofActivity.this);
View mView = getLayoutInflater().inflate(R.layout.zoom_image_dialog, null);
PhotoView photoView = mView.findViewById(R.id.imageView);
photoView.setImageBitmap(BitmapFactory.decodeFile(mediaPath));
mBuilder.setView(mView);
AlertDialog mDialog = mBuilder.create();
mDialog.show();
Nice and useful. Thanks
Hi.. nice code..
But how can i implement your code with picasso?
Because picasso use <Image view
Thanks..
Hi,
how to load uri image in photoView ?
I noticed setImageURI.
But not getting a proper output.
Thanks
thank you so much bro for this guide
thankyouuu…. :)))
Thank you. It works like charm.
How if i want to make the picture isn’t rounded?
Hi, you can remove the code that I added in point #14.