
Last Updated on February 6, 2018
Hi and welcome to another tutorial from Codingdemos, in this tutorial you will learn how to use Android Gridlayout with Recyclerview. You will build an Android app that shows you pictures of natural places, when you tap on any of the picture you will be directed to a detail page which shows you the picture in full size.
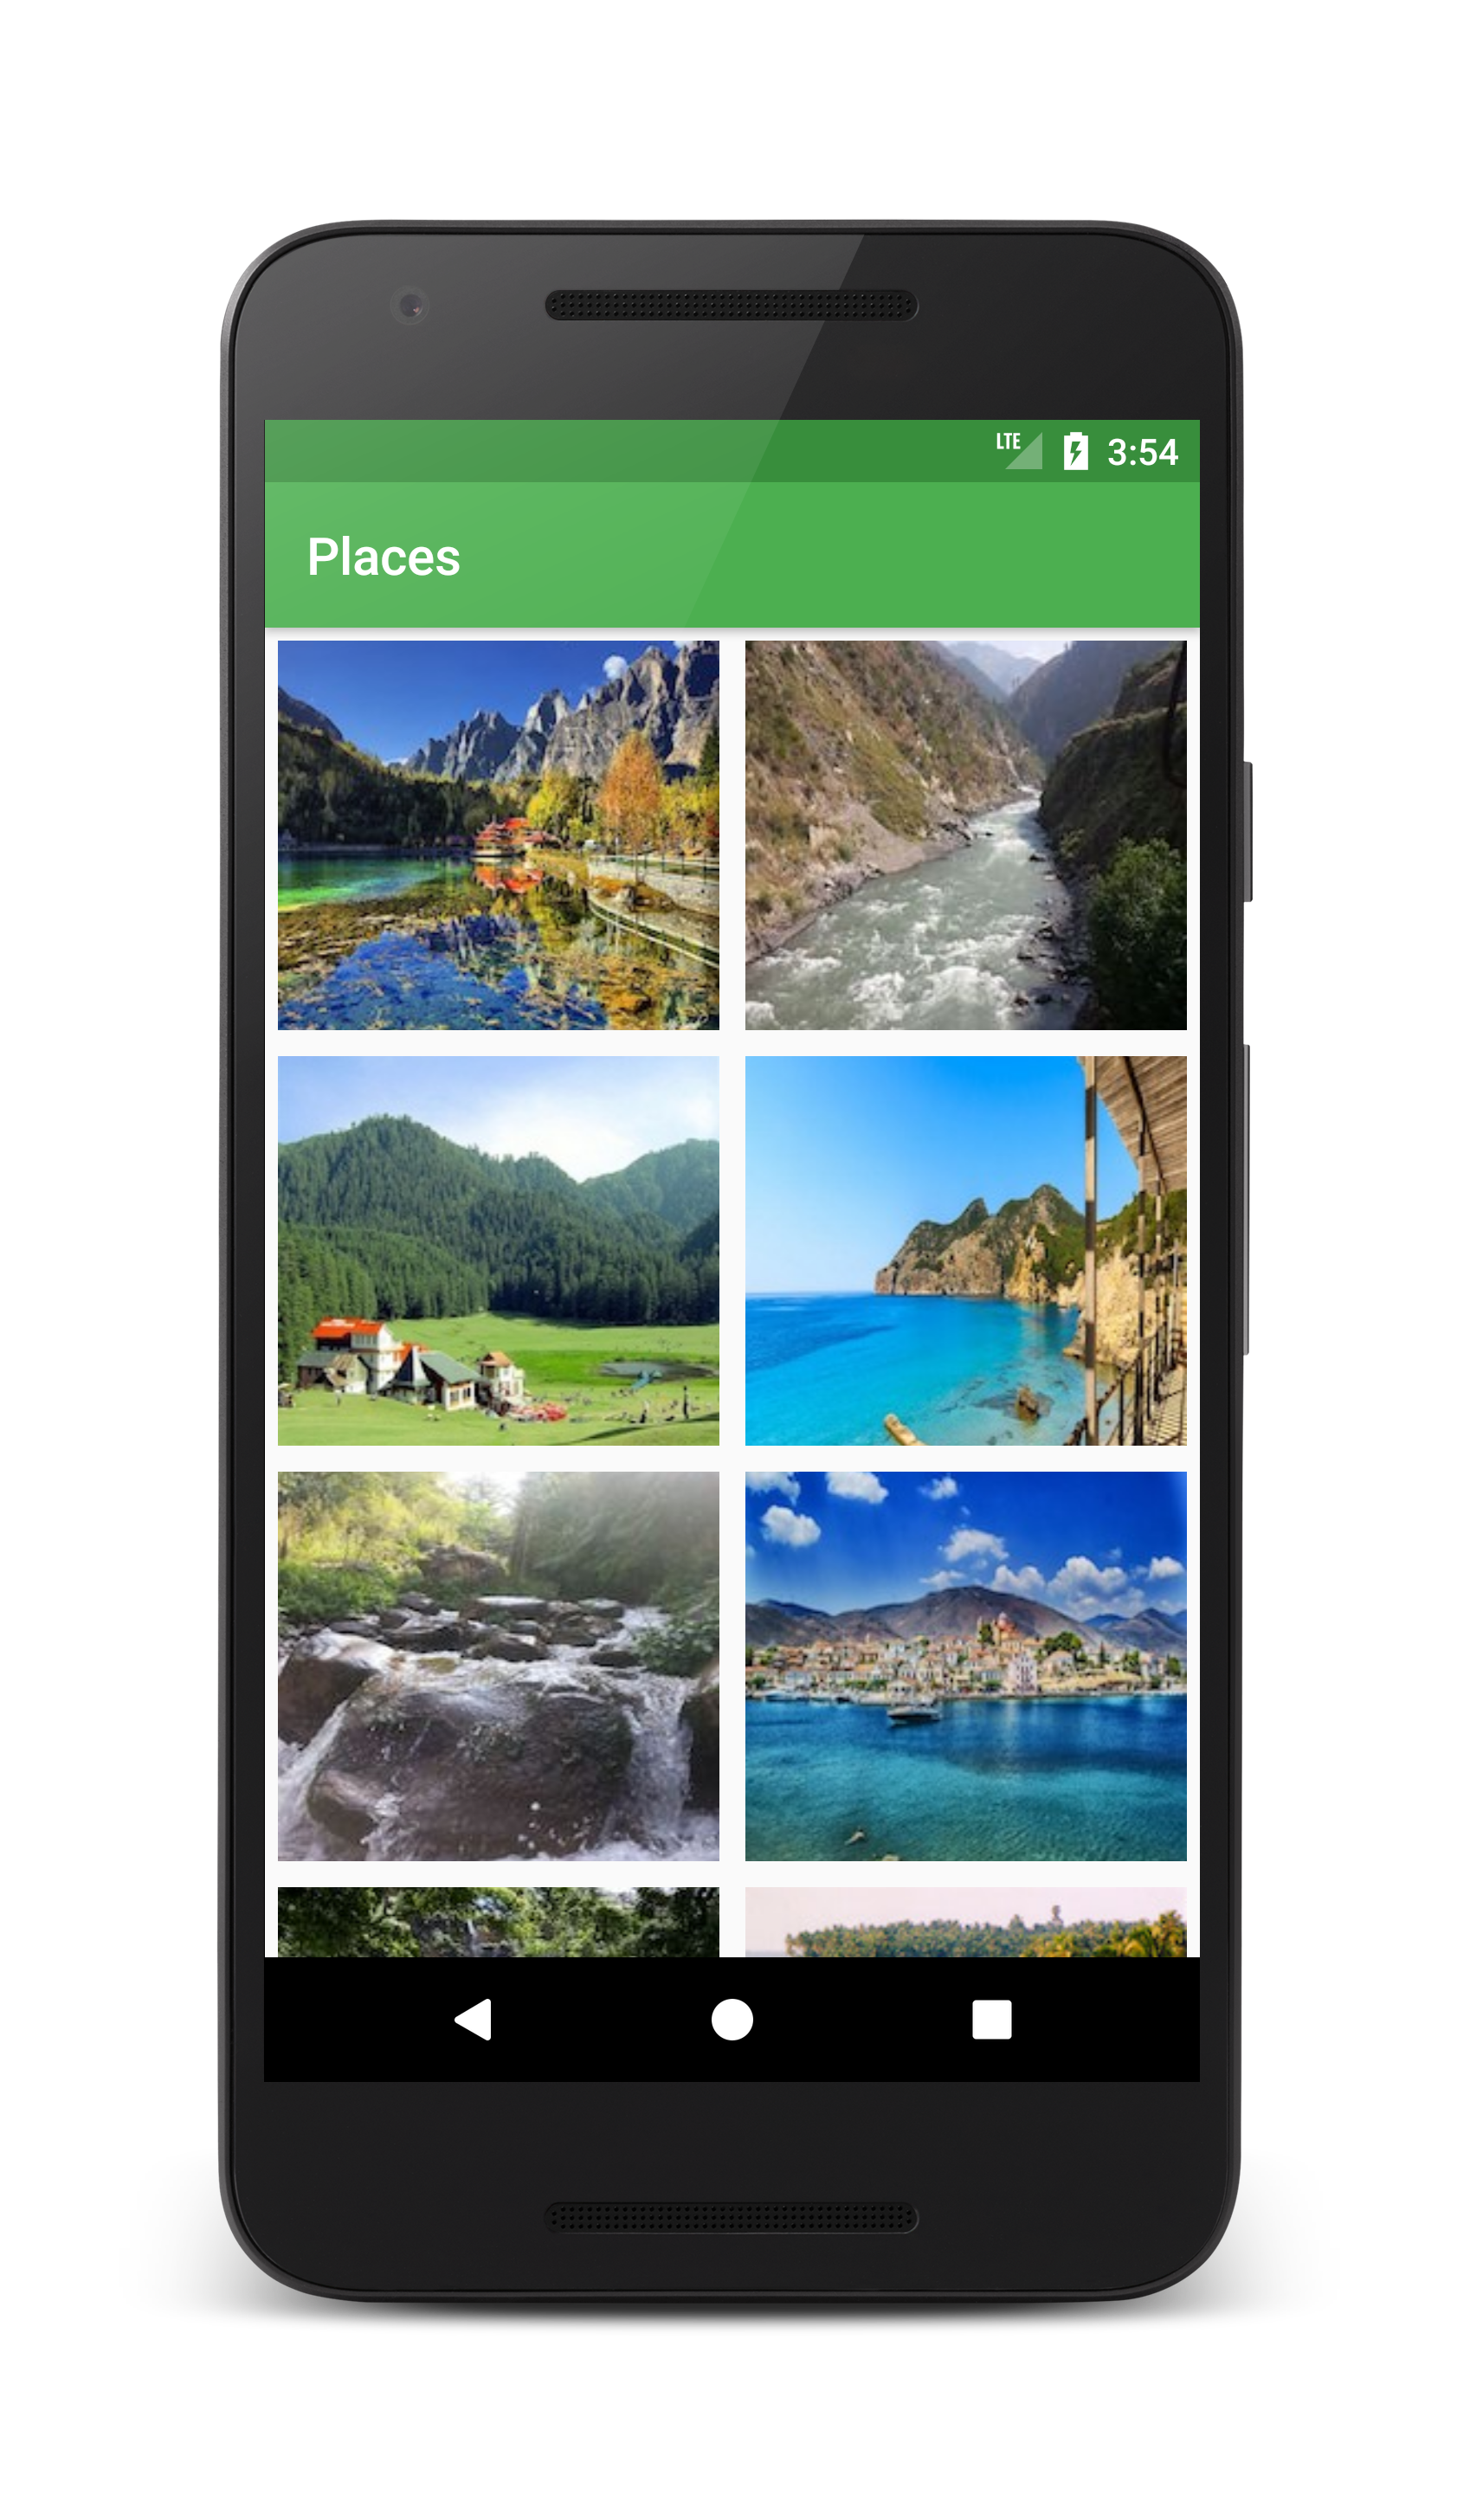
By the end of this tutorial, you will have an app that looks like this. (Large preview)
In this tutorial we will be using the following:
-
– Android studio version 3.0
– Android emulator Nexus 5 with API 26
– Minimum SDK API 16
1- Open up Android Studio and create a new project and give it a name, in our case we’ve named it (Places), choose API 16 as the minimum SDK, then choose a blank activity, click “Finish” and wait for Android Studio to build your project.
Create new Android Studio project. (Large preview)
2- Open up colors.xml file to change the main colors of the app.
  < color name="colorPrimary">#4CAF50< /color>
  < color name="colorPrimaryDark">#388E3C< /color>
  < color name="colorAccent">#FF5722< /color>
3- Open up activity_main.xml file to add Android Recyclerview.
< android.support.v7.widget.RecyclerView
    android:id="@+id/recyclerview"
    android:layout_width="match_parent"
    android:layout_height="match_parent"
    android:scrollbars="vertical" />

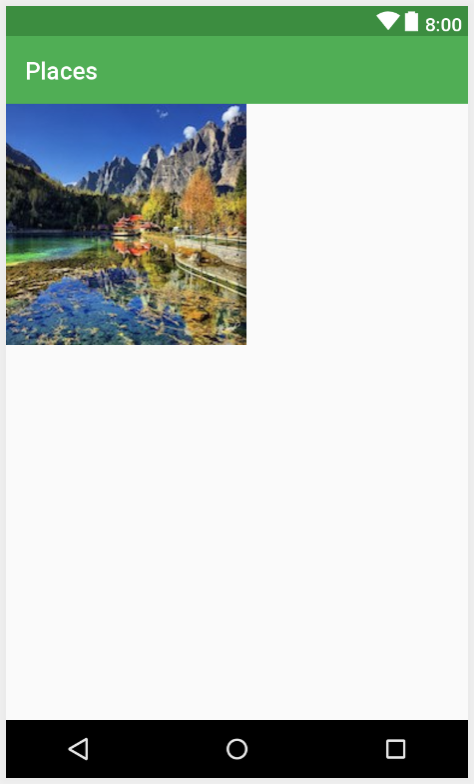
Android Recyclerview. (Large preview)
4- Make sure to add the images that you want them to appear in Gridlayout inside project drawable folder.
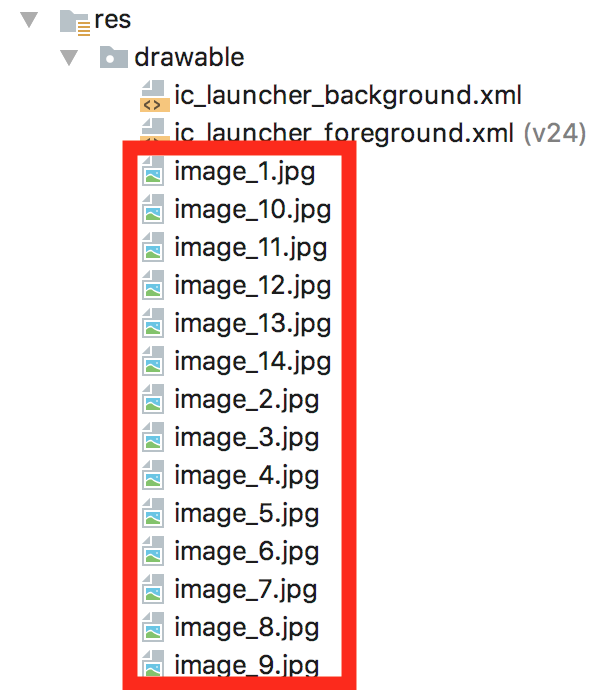
Images inside Android Studio drawable folder. (Large preview)
5- Create a new resource file and name it (recyclerview_custom_layout), inside this file you add Android ImageView and name it (ivPlace), you will use this ImageView to show images inside Android Gridlayout.
< ImageView
    android:id="@+id/ivPlace"
    android:layout_width="match_parent"
    android:layout_height="150dp"
    android:src="@drawable/image_1" />
Android ImageView for Gridlayout. (Large preview)
6- Create a new java class and name it (MyAdapter) and make it extends RecyclerView.Adapter. Make sure to implement Recyclerview required methods (onCreateViewHolder(), onBindViewHolder(), and getItemCount()), based on the error that you see below PlaceViewHolder you need to create a new class called (PlaceViewHolder).
7- Inside PlaceViewHolder class and based on the error you will need to add a default constructor.
public PlaceViewHolder(View itemView) {
        super(itemView);
    }
8- Inside MyAdapter.java class you need to declare 2 variables and a constructor, this constructor will be used to pass data from MainActivity.java to this adapter.
private Context mContext;
private int[] mPlaceList;

    public MyAdapter(Context mContext, int[] mPlaceList) {
        this.mContext = mContext;
        this.mPlaceList = mPlaceList;
    }
9- Here is the code for MyAdapter.java class.
public class MyAdapter extends RecyclerView.Adapter {

    private Context mContext;
    private int[] mPlaceList;

    public MyAdapter(Context mContext, int[] mPlaceList) {
        this.mContext = mContext;
        this.mPlaceList = mPlaceList;
    }


    @Override
    public PlaceViewHolder onCreateViewHolder(ViewGroup parent, int viewType) {
        return null;
    }

    @Override
    public void onBindViewHolder(PlaceViewHolder holder, int position) {

    }

    @Override
    public int getItemCount() {
        return 0;
    }
}

class PlaceViewHolder extends RecyclerView.ViewHolder {

    public PlaceViewHolder(View itemView) {
        super(itemView);
    }
}
10- Inside Recyclerview (onCreateViewHolder) method you need to inflate the custom layout file recyclerview_custom_layout.xml.
View view = LayoutInflater.from(parent.getContext()).inflate(R.layout.recyclerview_custom_layout,
                parent, false);
return new PlaceViewHolder(view);
11- Inside the constructor of PlaceViewHolder class you need to declare and initialize Android ImageView (ivPlace).
public PlaceViewHolder(View itemView) {
        super(itemView);
ImageView mPlace = itemView.findViewById(R.id.ivPlace);
    }
12- Inside (onBindViewHolder) is where you will initialize (ivPlace).
holder.mPlace.setImageResource(mPlaceList[position]);
13- Finally you need to change the return value inside (getItemCount()) to actually return the size of the images array instead of null value.
return mPlaceList.length;
14- The final code for MyAdapter.java.
public class MyAdapter extends RecyclerView.Adapter {

    private Context mContext;
    private int[] mPlaceList;

    public MyAdapter(Context mContext, int[] mPlaceList) {
        this.mContext = mContext;
        this.mPlaceList = mPlaceList;
    }

    @Override
    public PlaceViewHolder onCreateViewHolder(ViewGroup parent, int viewType) {
        View view = LayoutInflater.from(parent.getContext()).inflate(R.layout.recyclerview_custom_layout,
                parent, false);
        return new PlaceViewHolder(view);
    }

    @Override
    public void onBindViewHolder(final PlaceViewHolder holder, int position) {
        holder.mPlace.setImageResource(mPlaceList[position]);
    }

    @Override
    public int getItemCount() {
        return mPlaceList.length;
    }
}

class PlaceViewHolder extends RecyclerView.ViewHolder {

    ImageView mPlace;

    public PlaceViewHolder(View itemView) {
        super(itemView);

        mPlace = itemView.findViewById(R.id.ivPlace);
    }
}
15- Open up MainActivity.java file, here you will need to declare and initialize Android Recyclerview.
RecyclerView mRecyclerView = findViewById(R.id.recyclerview);
16- Now you need to declare and initialize Android GridLayoutManager, this will be used to determine how you want to arrange the images inside Recyclerview.
GridLayoutManager mGridLayoutManager = new GridLayoutManager(MainActivity.this, 2);
mRecyclerView.setLayoutManager(mGridLayoutManager);
Note: Android GridLayoutManager takes 2 argument: First one is the context, the second one is used to indicate the number of columns that you want to show inside Recyclerview.
17- Next you will need to declare and initialize the images array that you will have to use it later inside (MyAdapter).
int[] mPlaceList = new int[]{R.drawable.image_1, R.drawable.image_2, R.drawable.image_3,
                R.drawable.image_4, R.drawable.image_5, R.drawable.image_6, R.drawable.image_7,
                R.drawable.image_8, R.drawable.image_9, R.drawable.image_10, R.drawable.image_11,
                R.drawable.image_12, R.drawable.image_13, R.drawable.image_14};
18- The only thing remaining before the app is ready is you will need to declare and initialize (MyAdapter) and make sure to use this adapter with Android Recyclerview.
MyAdapter myAdapter = new MyAdapter(MainActivity.this, mPlaceList);
mRecyclerView.setAdapter(myAdapter);
19- Here is the full code for MainActivity.java file.
public class MainActivity extends AppCompatActivity {

    RecyclerView mRecyclerView;
    int[] mPlaceList;

    @Override
    protected void onCreate(Bundle savedInstanceState) {
        super.onCreate(savedInstanceState);
        setContentView(R.layout.activity_main);

        mRecyclerView = findViewById(R.id.recyclerview);
        GridLayoutManager mGridLayoutManager = new GridLayoutManager(MainActivity.this, 2);
        mRecyclerView.setLayoutManager(mGridLayoutManager);

        mPlaceList = new int[]{R.drawable.image_1, R.drawable.image_2, R.drawable.image_3,
                R.drawable.image_4, R.drawable.image_5, R.drawable.image_6, R.drawable.image_7,
                R.drawable.image_8, R.drawable.image_9, R.drawable.image_10, R.drawable.image_11,
                R.drawable.image_12, R.drawable.image_13, R.drawable.image_14};

        MyAdapter myAdapter = new MyAdapter(MainActivity.this, mPlaceList);
        mRecyclerView.setAdapter(myAdapter);
    }
}
20- Now you can build and run the app to see the progress in the emulator.
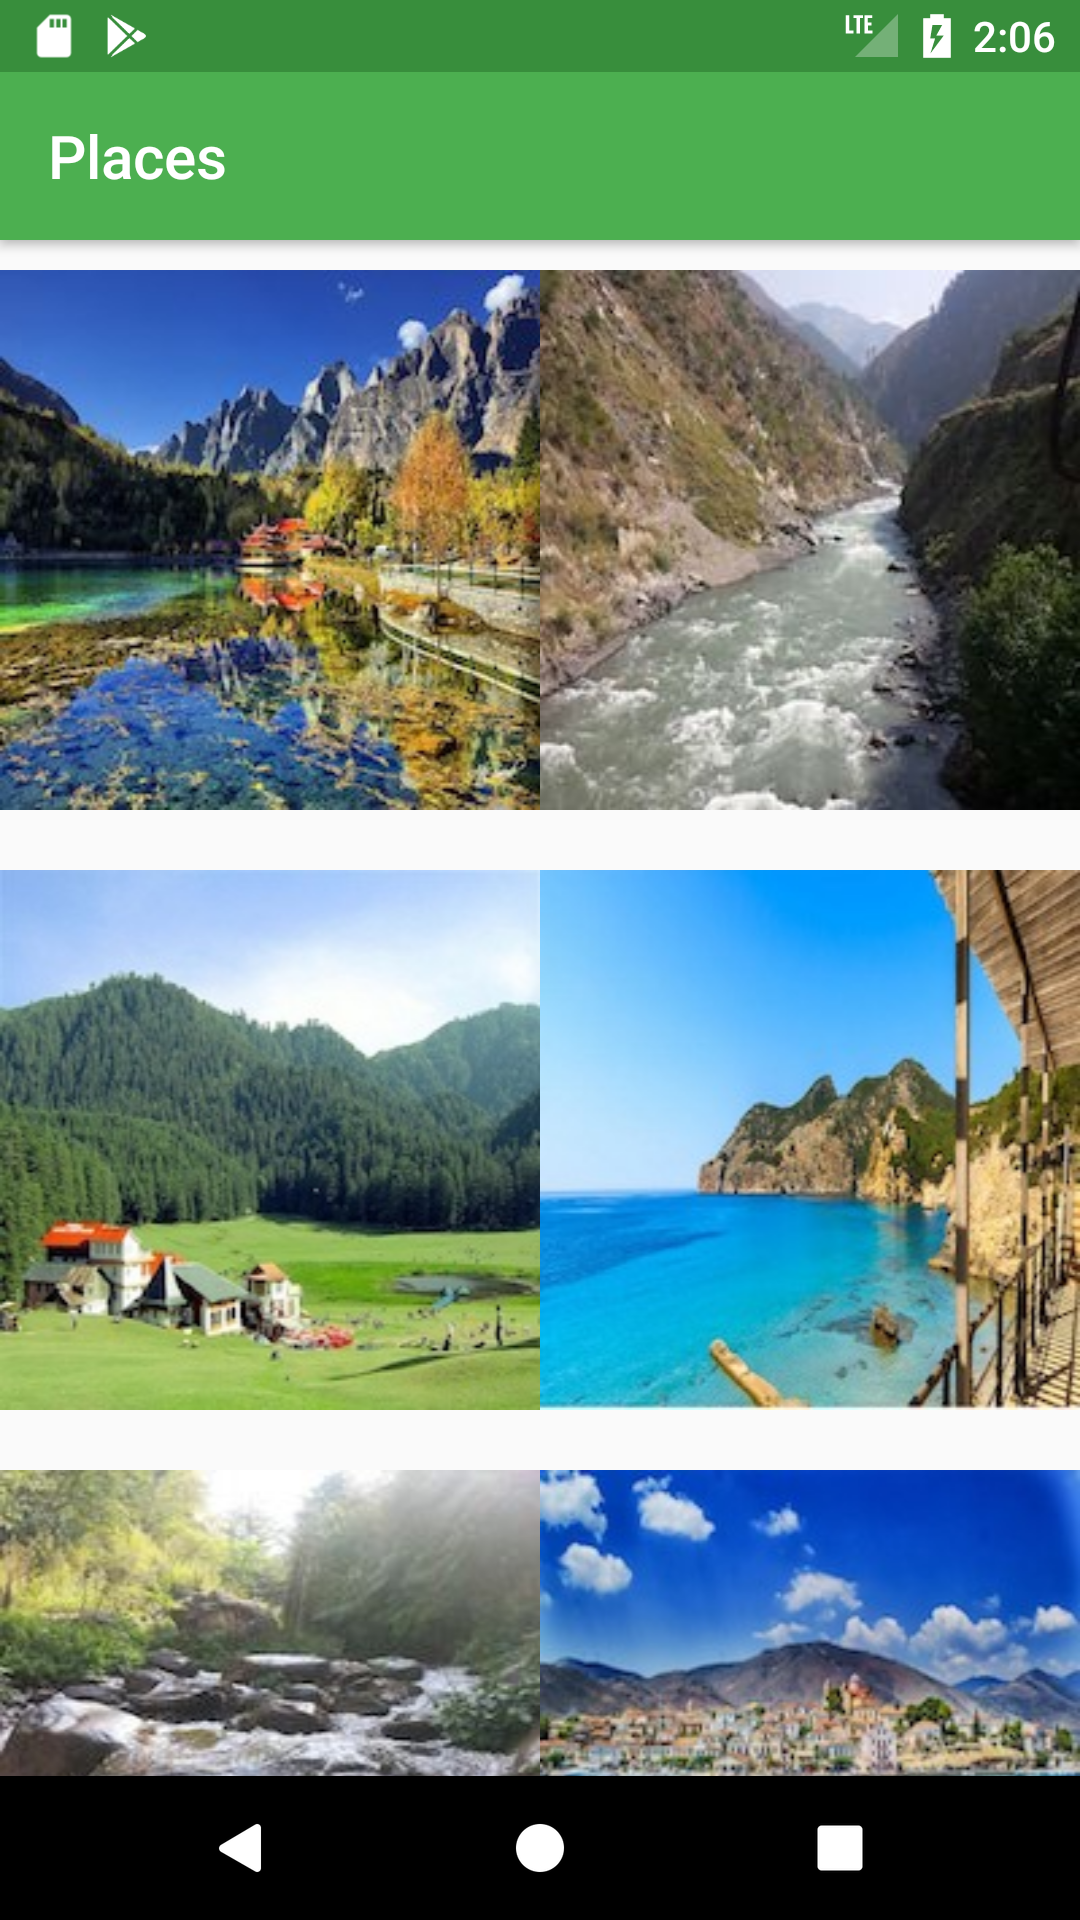
Android Gridlayout with images. (Large preview)
21- Hmm that’s odd you can see there is a space between the images inside Gridlayout even though you didn’t add any margin. Well you can remove that unwanted space between the images by adding this line android:scaleType="centerCrop" inside ImageView (ivPlace).
< ImageView
    android:id="@+id/ivPlace"
    android:layout_width="match_parent"
    android:layout_height="150dp"
    android:scaleType="centerCrop"
    android:src="@drawable/image_1" />
22- Build and run the app to see the images without unwanted space.
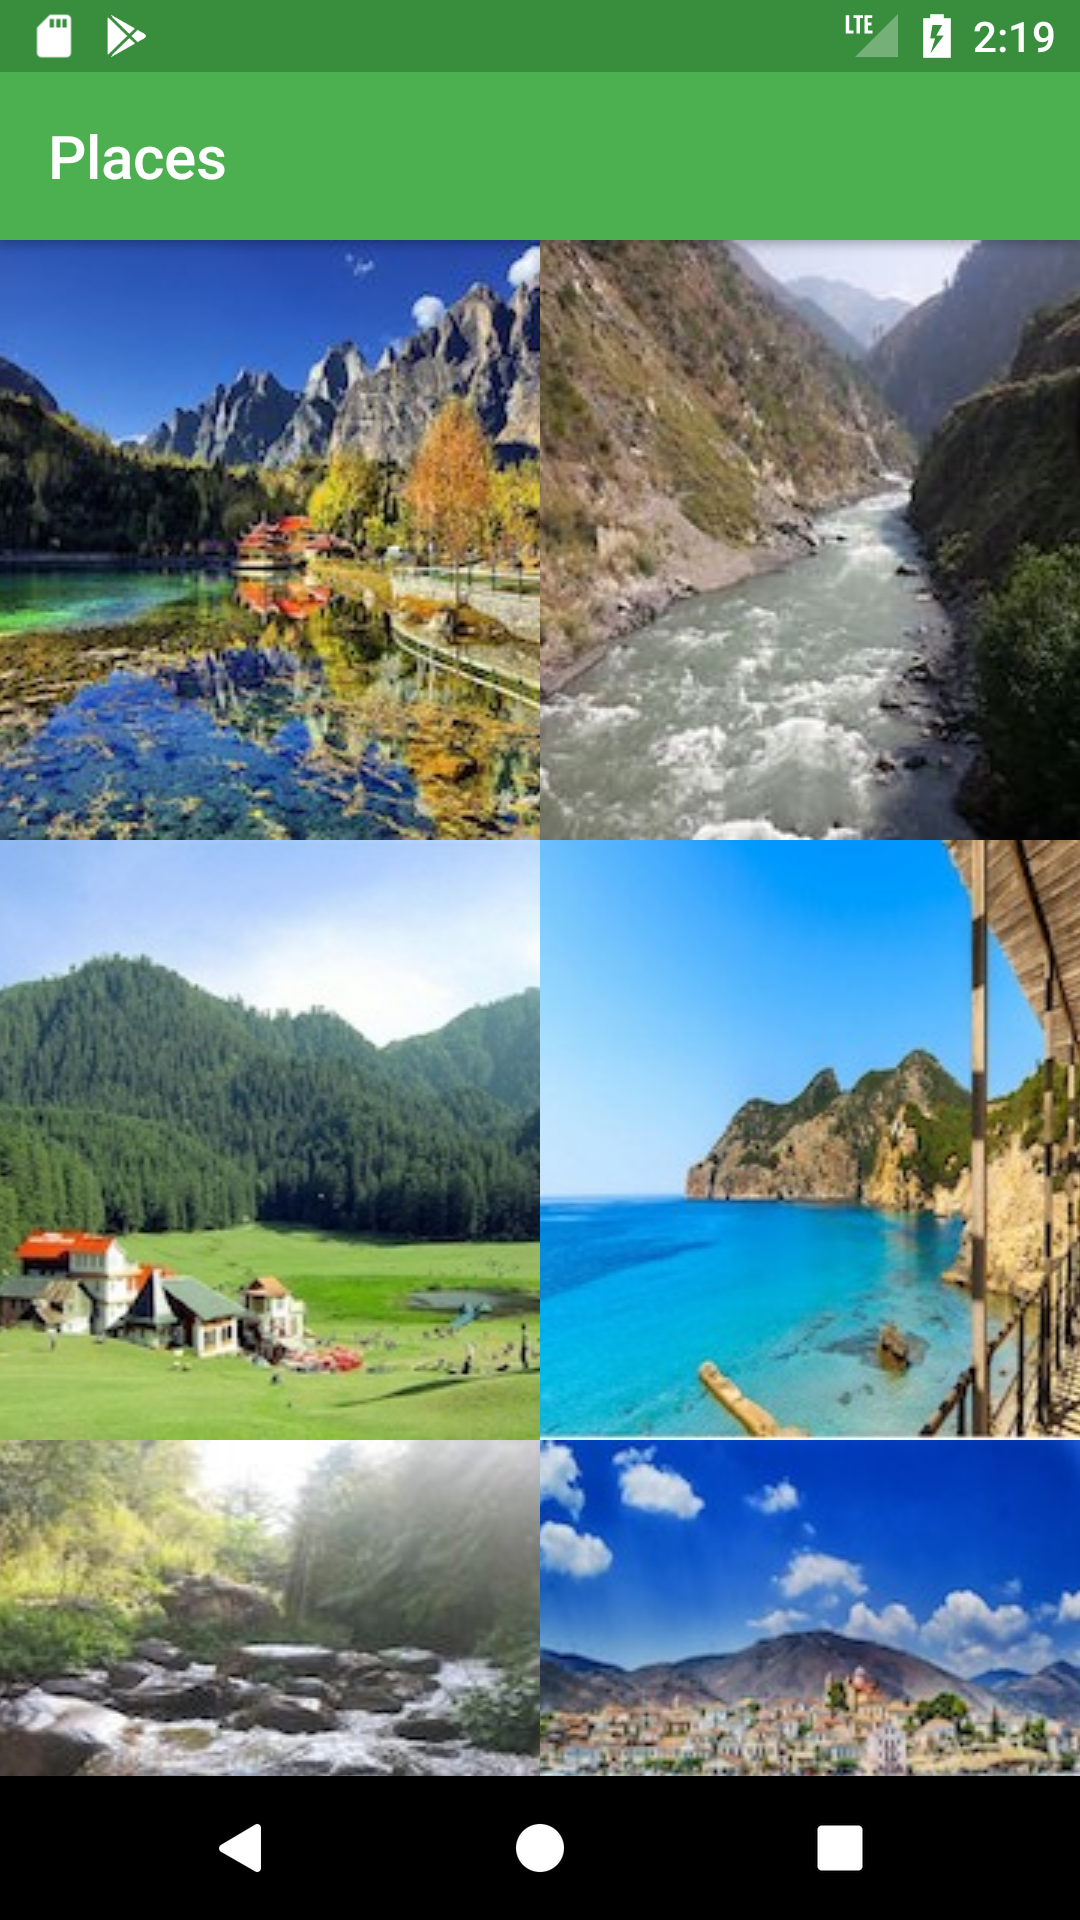
Android Gridlayout with images and without spaces. (Large preview)
23- Great, and to make it even better you can add a small margin inside ImageView (ivPlace) so that those images don’t stick to each other when they appear in Android Gridlayout.
< ImageView
    android:id="@+id/ivPlace"
    android:layout_width="match_parent"
    android:layout_height="150dp"
    android:layout_margin="5dp"
    android:scaleType="centerCrop"
    android:src="@drawable/image_1" />
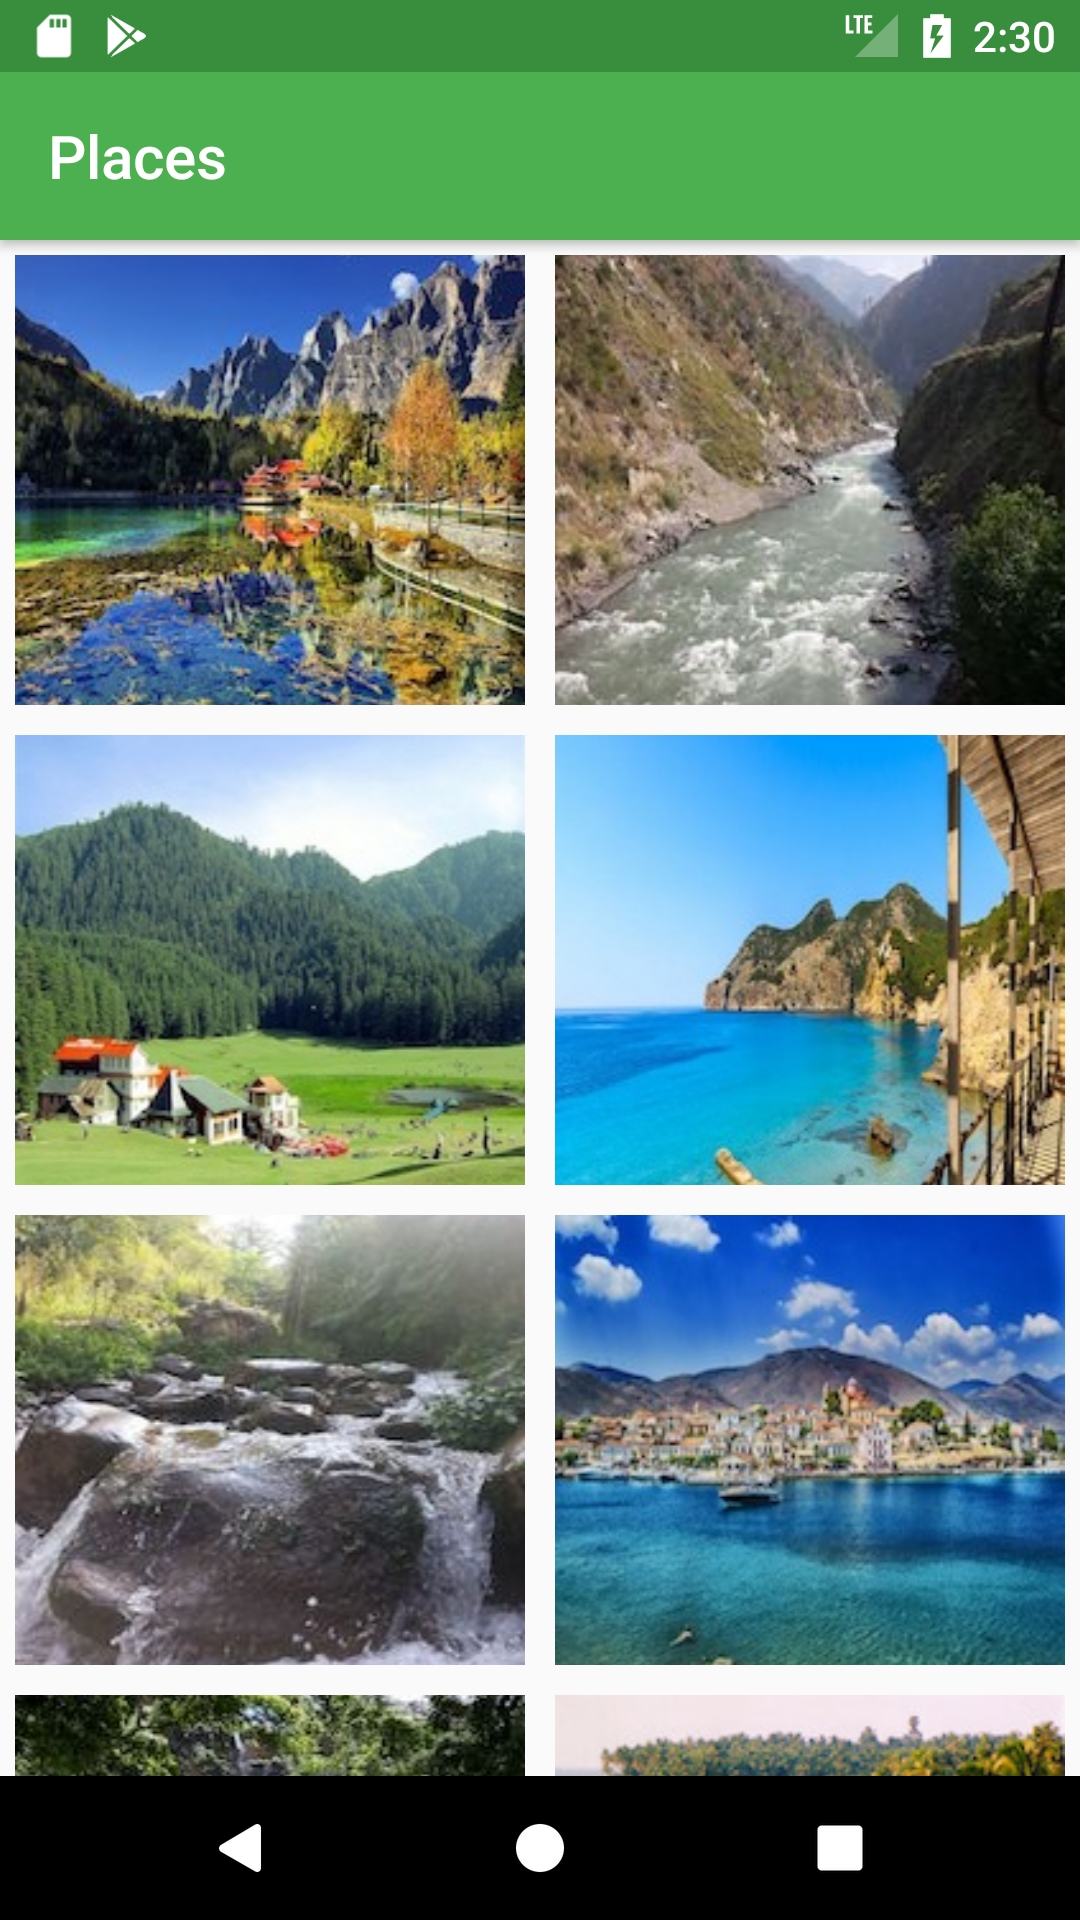
Android Gridlayout with margin between images. (Large preview)
24- Displaying images inside Gridlayout looks great but how about if you make those images clickable, that will be awesome 🙂
25- Open up MyAdapter.java file, inside (onBindViewHolder) you can make the image clickable by using setOnClickListener.
holder.mPlace.setOnClickListener(new View.OnClickListener() {
            @Override
            public void onClick(View view) {

            }
        });
26- Inside onClick method you need to pass the clicked image to another page, before you do that you have to first create a new activity and name it (DetailActivity).
27- Next you need to add an ImageView inside activity_detail.xml file, this ImageView will be use to display the image that was clicked on previously.
< ImageView
    android:id="@+id/imageView"
    android:layout_width="match_parent"
    android:layout_height="match_parent"
    android:scaleType="centerCrop" />
28- Now go back to (onBindViewHolder) and inside OnClick, you will need to use Android Intent to pass the clicked image to DetailActivity.java
Intent mIntent = new Intent(mContext, DetailActivity.class);
mIntent.putExtra("Image", mPlaceList[holder.getAdapterPosition()]);
mContext.startActivity(mIntent);
29- Open up DetailActivity.java, here you need to declare and initialize Android ImageView.
ImageView mPlace = findViewById(R.id.imageView);
30- Next you need to use Android Bundle to get the clicked image from Android Intent, then you can set that clicked image to (mPlace) ImageView.
Bundle mBundle = getIntent().getExtras();
        if(mBundle != null){
            mPlace.setImageResource(mBundle.getInt("Image"));
        }
31- The app is complete, now build and run the app to see the progress. The source code for this tutorial is available on GitHub, I hope you find this tutorial helpful and if you have any question please post them in the comment below.
thanks coding demos
I couldnt use these git files. normally I used other masters code when download it. But I couldnt use your codes? why it gives an error:
I use this pathway ;
C:\Users\USER\AndroidStudioProjects\Places-master
but it gives an error;
Invalid VCS root mapping
The directory C:\Users\USER\AndroidStudioProjects\Places-master is registered as a Git root, but no Git repositories were found there.
how can I correct it.
Hi, your welcome 🙂
Can you try to follow these steps in this answer, it may fix your problem: https://stackoverflow.com/questions/43732446/registered-as-a-git-root-but-no-git-repositories-were-found-there
codingdemo: I downloaded your codes and run. Unfortunately it ran well without error. Thanks for sharing your valuable efforts.
Please tell me one thing, I want to display different pictures on click in the same order detail_1 to detail_14. How can I do??
Actually I am making app for food recipe in which food items will be in the grid and detailed recipe will be on the clicked page as picture. Thanks for the cooperation. Waiting your reply.
Hi Mohammad,
You can use (holder.getAdapterPosition()) as shown in step No.28 with Intent to be able to pass the exact image that you’ve clicked on to the next page.
I hope that helps 🙂
Bro can you add download and share functionality in detail activity